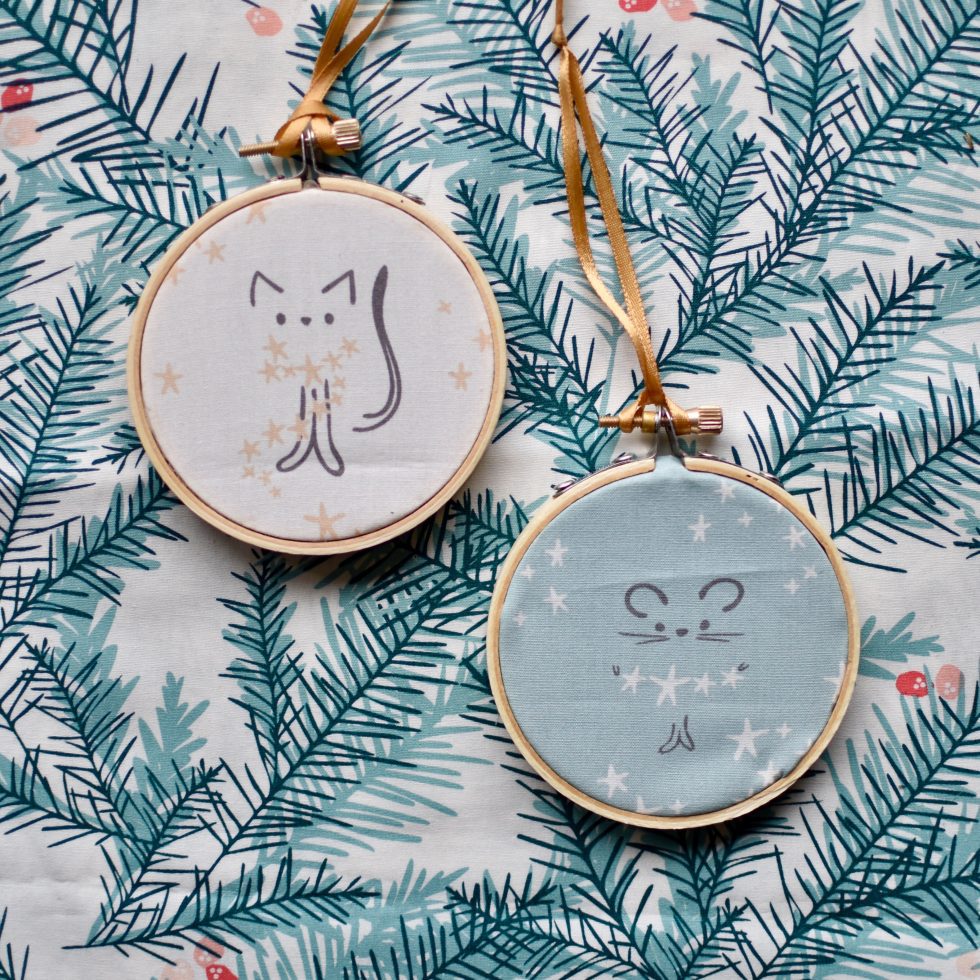
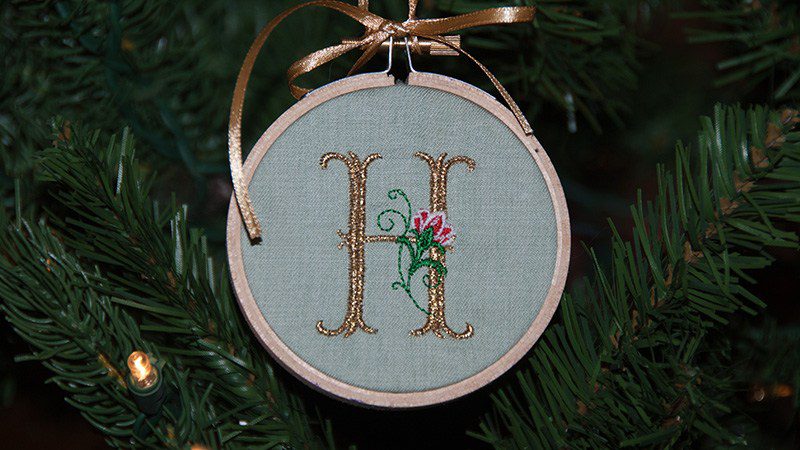
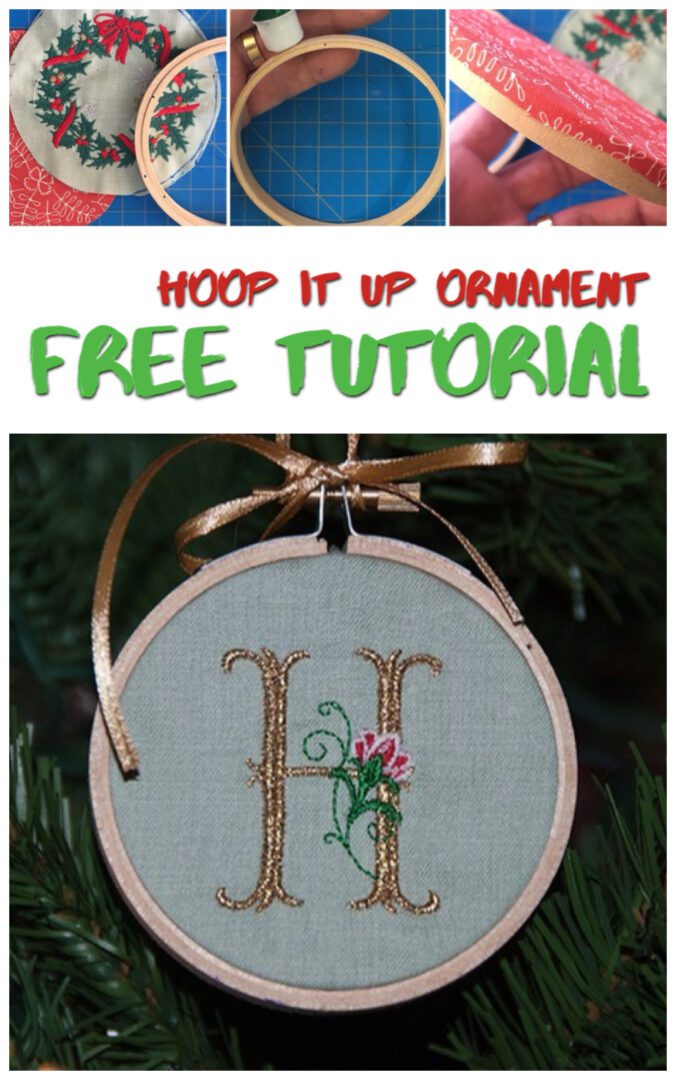
So I’m admittedly not much an embroiderer and when I do, it’s totally machine embroidery. However, I’m absolutely obsessed with these itty bitty embroidery hoops and using them for ornaments. Last year, I machine embroidered some fun graphics and created this tutorial. And this year, I found the perfect cat and mouse companion fussy cuts from Amy Sinibaldi’s Little Town fabrics to put in the hoops on their own. And make sure to check out Tara’s Hoop it Up Ornaments over on her blog.

SUPPLIES
- Fabric
- Small embroidery hoops (I used 3″ hoops)
- Glue stick
- Satin ribbon (I used 1/8″)
TUTORIAL
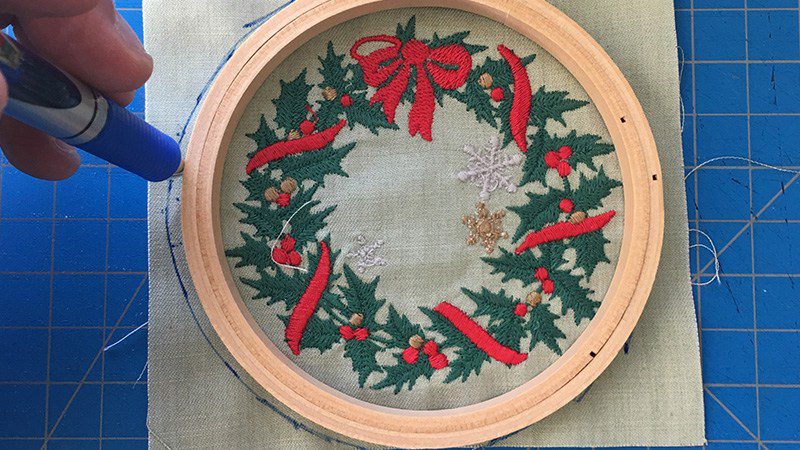
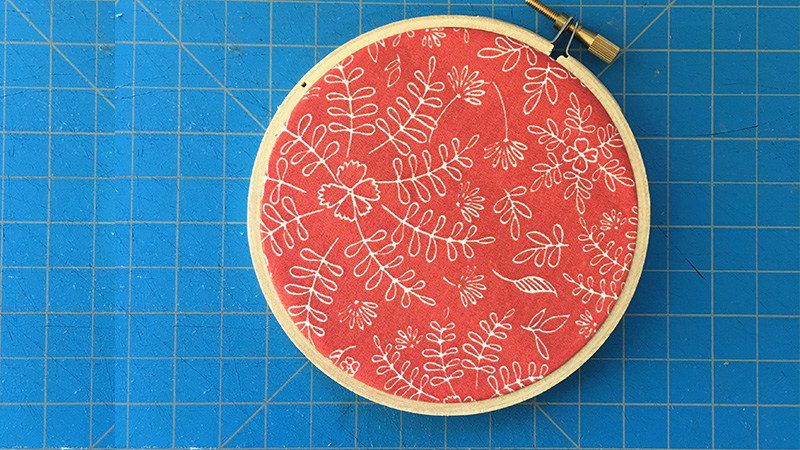
Once you’ve decided what you’re going to put into the hoops, you’ll need to prepare the fabric to place inside of the hoops. With the outer and inner circles of the embroidery hoop still together, place on top of the design and trace a circle around the hoop. Make sure that the pen is straight up and down so that the circle is slightly larger than the outer hoop.
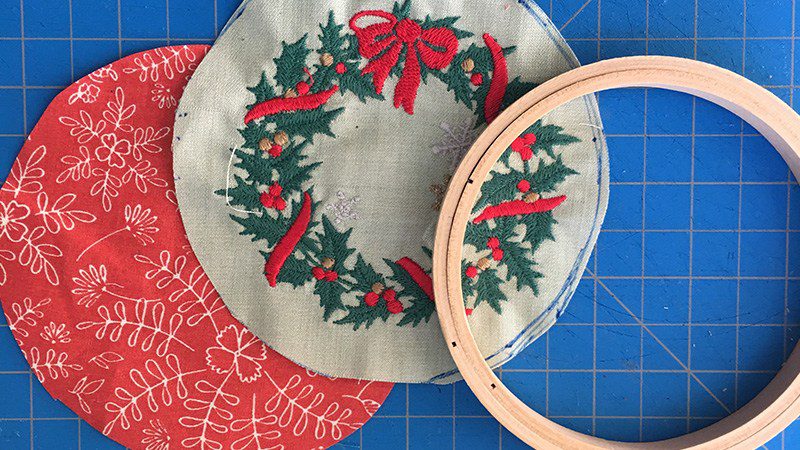
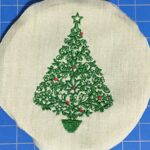
You will now need to cut two circles: the one that you traced and another one for the back that is the same size. I used a different but complementary fabric for the back circle to give it some extra ooh la la and cut them both at the same time.
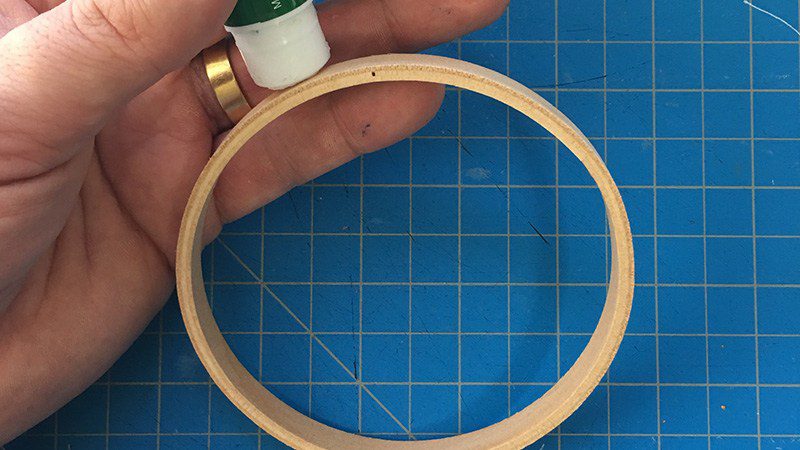
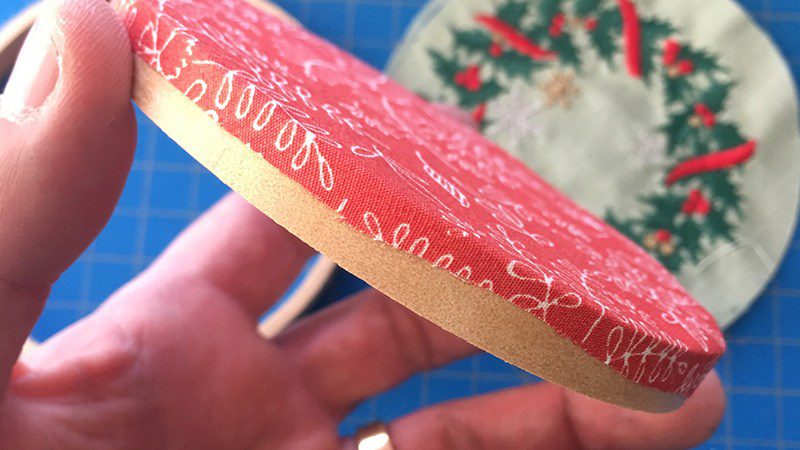
Okay so I’m gonna start this section by highly suggesting that when I say to let the glue dry, you should do that and I may or may not have learned that by not listening to my own advice. Now use your glue stick to cover the one rim and side of the inner circle of the embroidery hoop.
Center the back fabric on top of the glued rim of the circle. Use the outer ring of the embroidery hoop to smooth down the sides of the fabric. Tighten the hoop and let dry per manufacturer specifications.
Once it’s dry, remove the outer hoop and enjoy the smoothed down fabric that your patience has brought you.
Repeat the same steps for the front fabric to go into the hoop.

Cut a piece of ribbon between 18” and 24”. Tie a double knot on both sides of the embroidery screw about 3” on either side of the center of the ribbon. Tie a bow with the loose lengths of ribbon and enjoy.
PRIZE
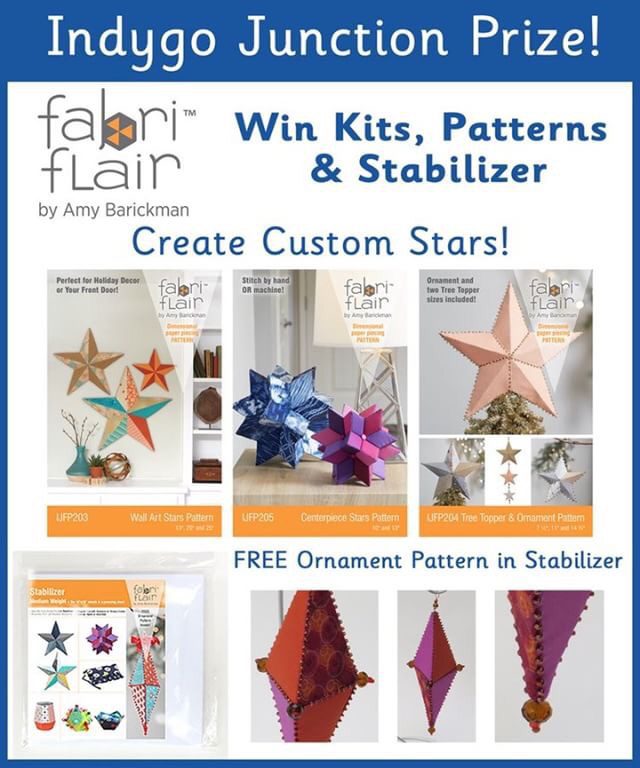
The prize for this week comes to you from Indygo Junction. Don’t forget to use the hashtags #ornamentalong and #hoopitupornament to be eligible for the prize.
While I don’t promote anything unless I legit love it, this post contains affiliate links.