
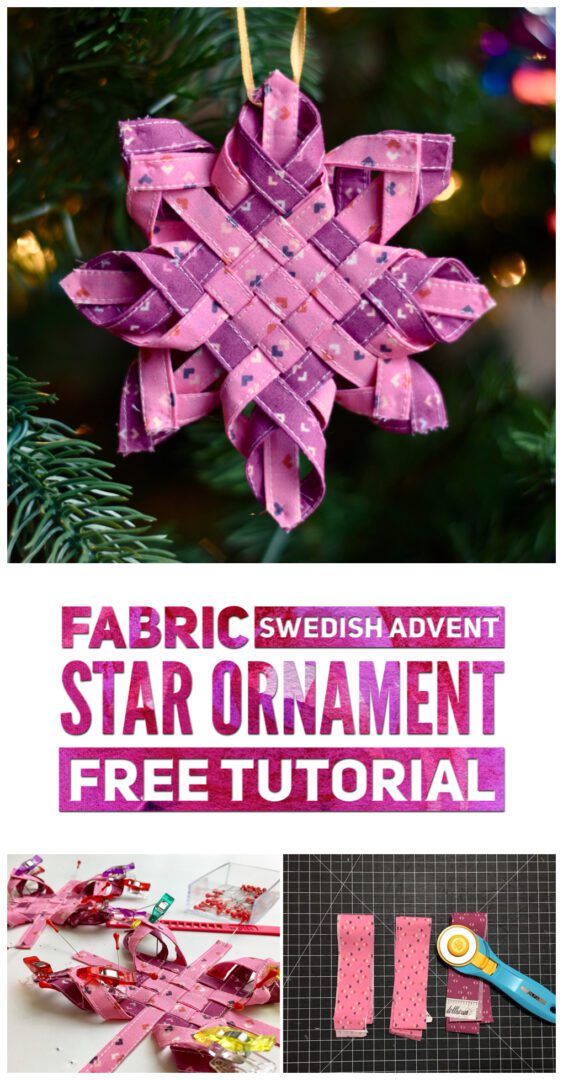
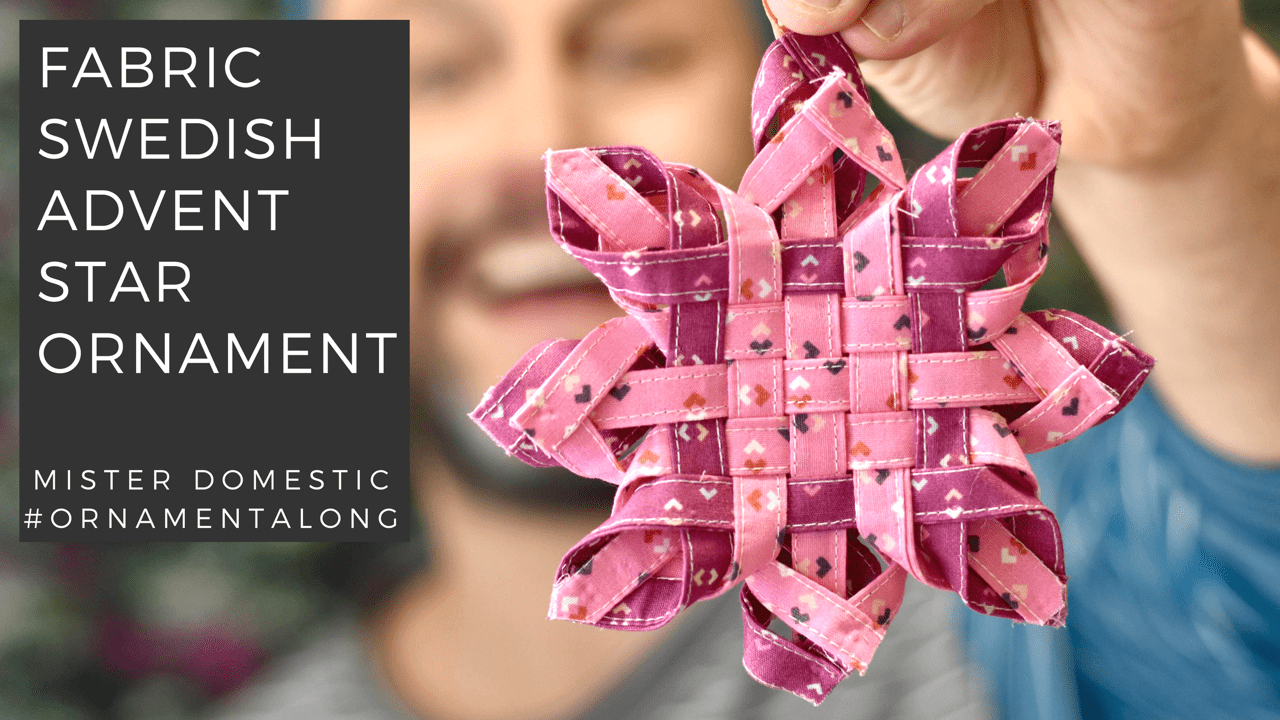
The final ornament in the Ornament Along is here. I’m officially obsessed with making fabric ornaments, especially since I’m discovering some pretty rad things to make. I’ve seen gobs of tutorials on how to make these using recycled paper, but nothing with fabric, so tada…. now there is one.
Here are the supplies you’ll need:
- Aleene’s Fabric Fusion Fabric Glue
- Straight Pins
- Small Clips
- Fabric (I used Blithe Fabrics)
- WEFTY needle
- Foam Board
PREPARING THE FABRIC
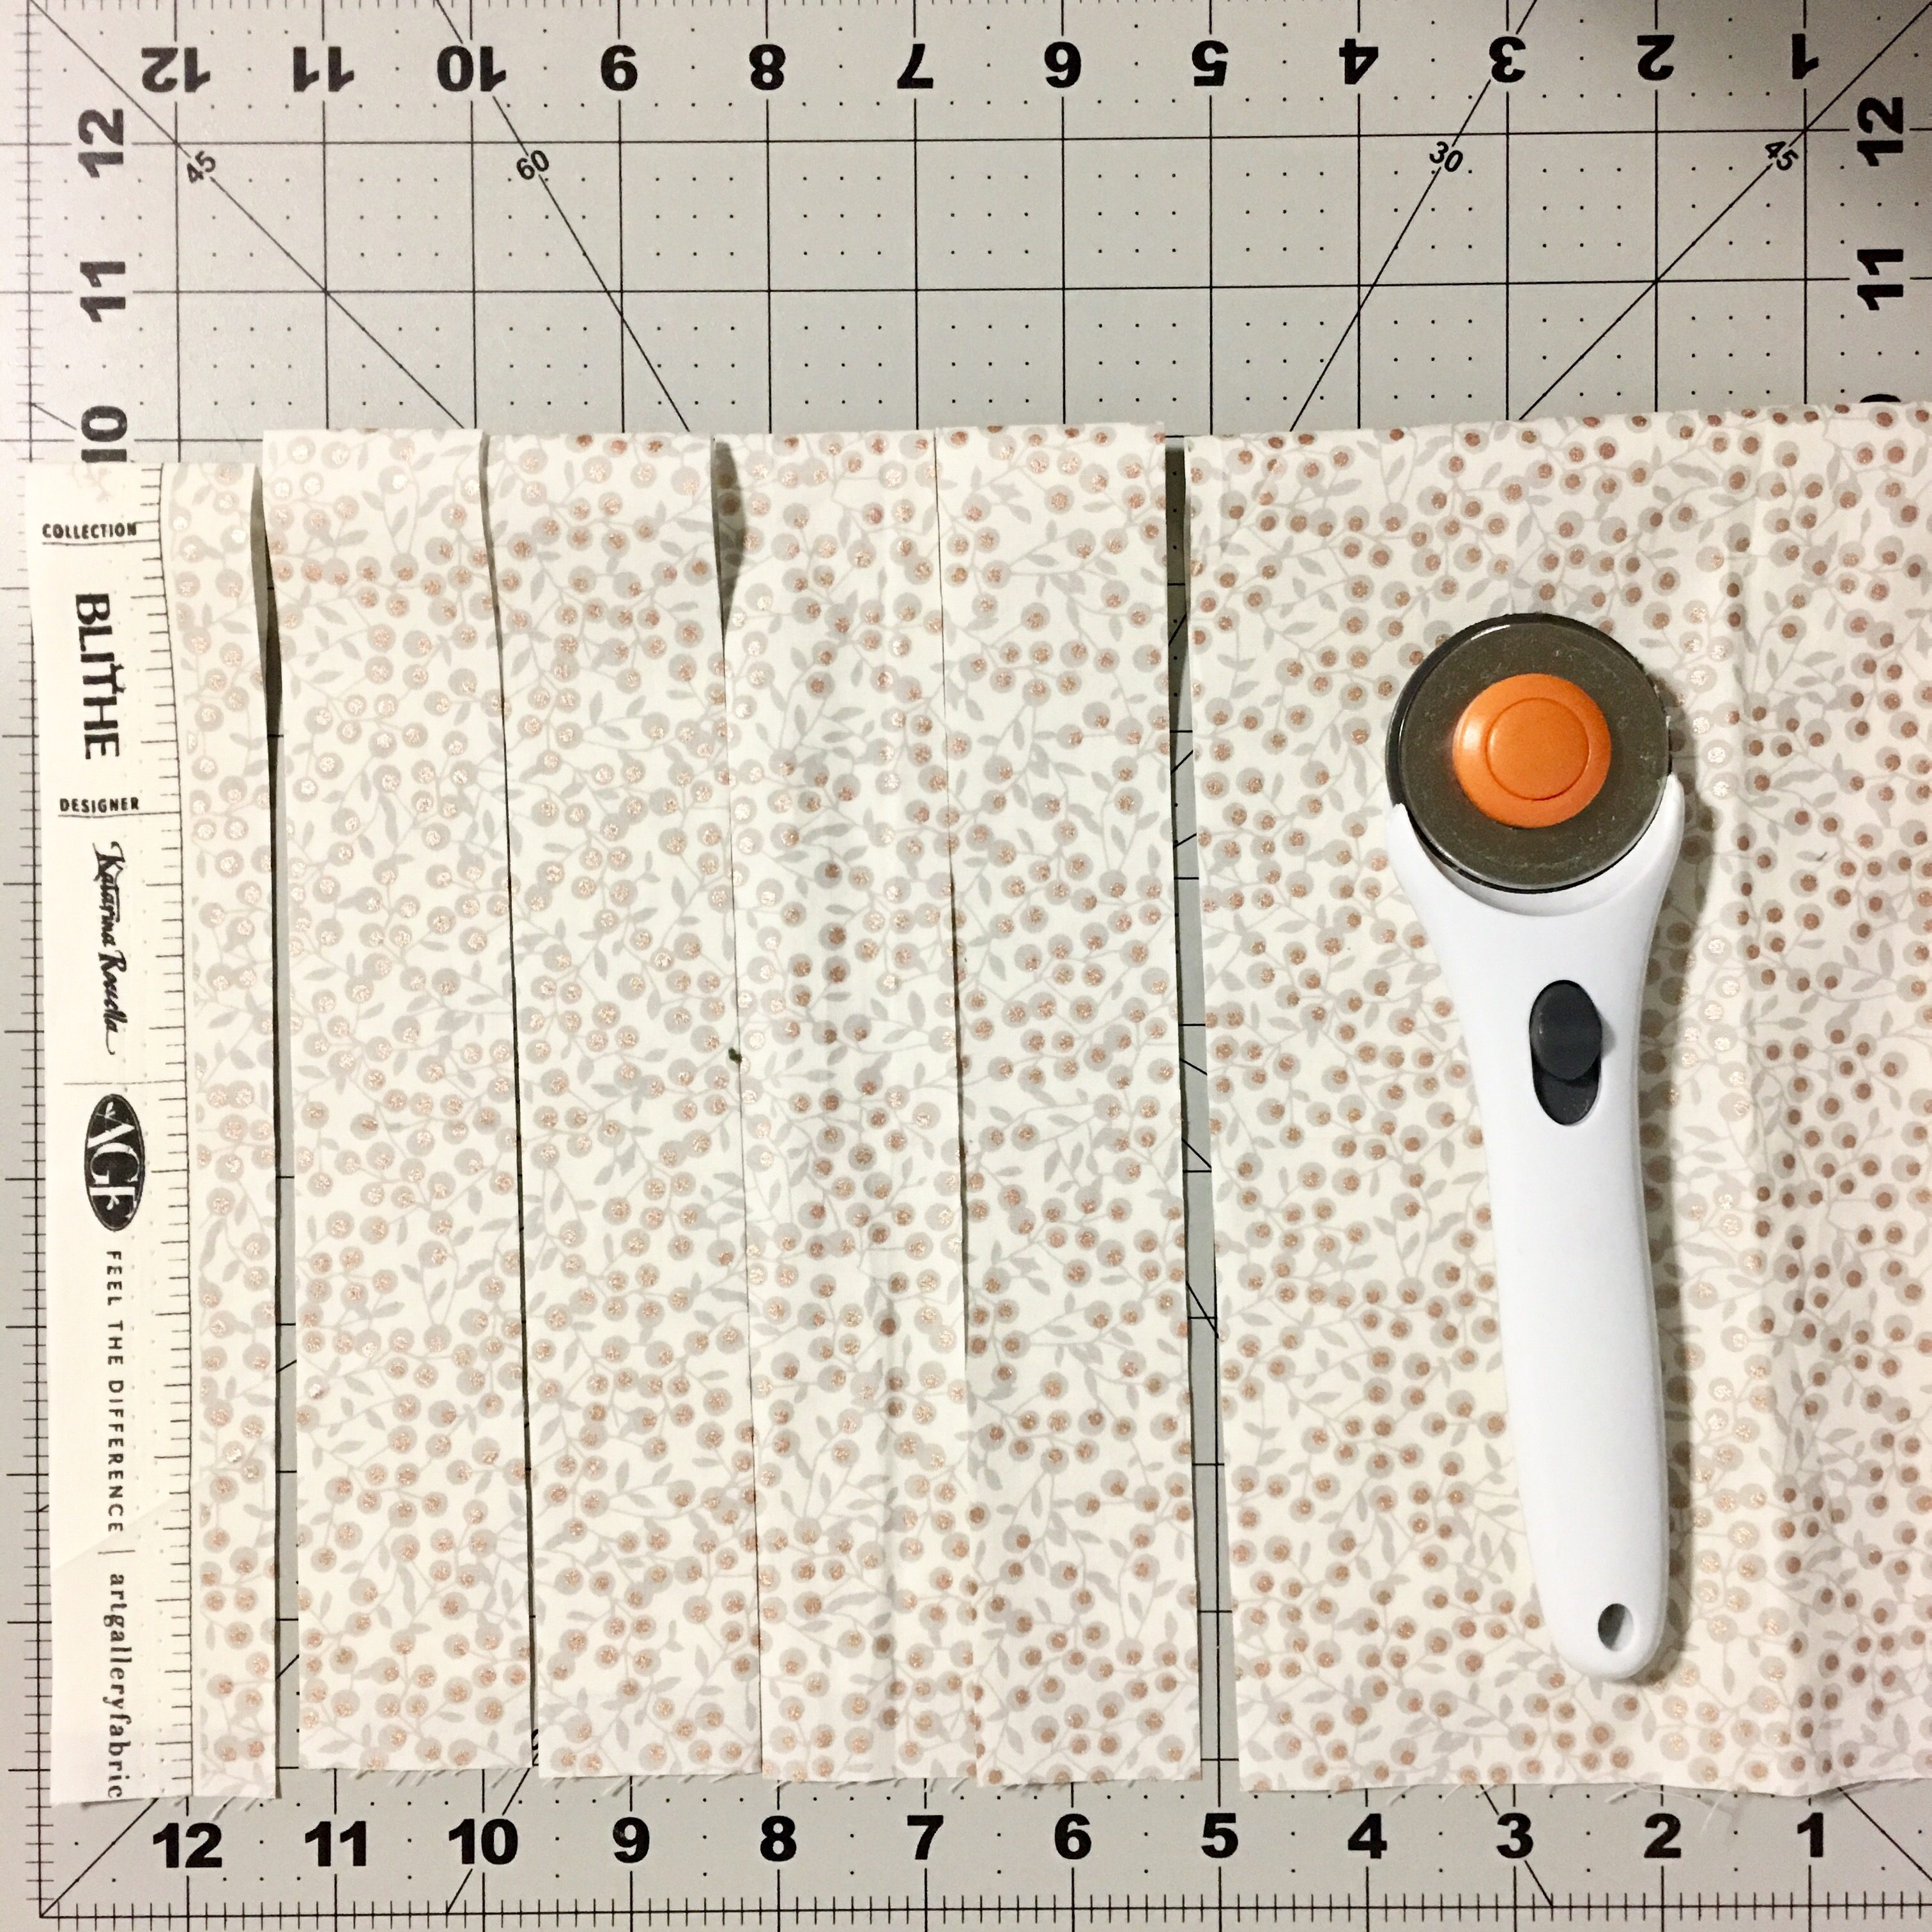
Slice your fabric into 1.5″ strips. You’ll need around 20 five inch strips in the end, so however many cuts it takes to get to 100 inches, that’s what you’ll need.
 Once you have the strips cut, you’ll need to fold them like double fold bias tape, folding the lengthwise edges toward the center and then folding that in half.
To make it extra purty, edge stitch the length of both edges of the folded strip. Cut these long strips into five inch strips. You’ll need 20.
GETTING YOUR WEAVE ON
Before you get started, just wanted to let you know that you will need to follow these steps twice in order to make one star. I’ll tell you again at the end, but in case you wanted to do both at once and don’t feel like reading ahead, go for it.
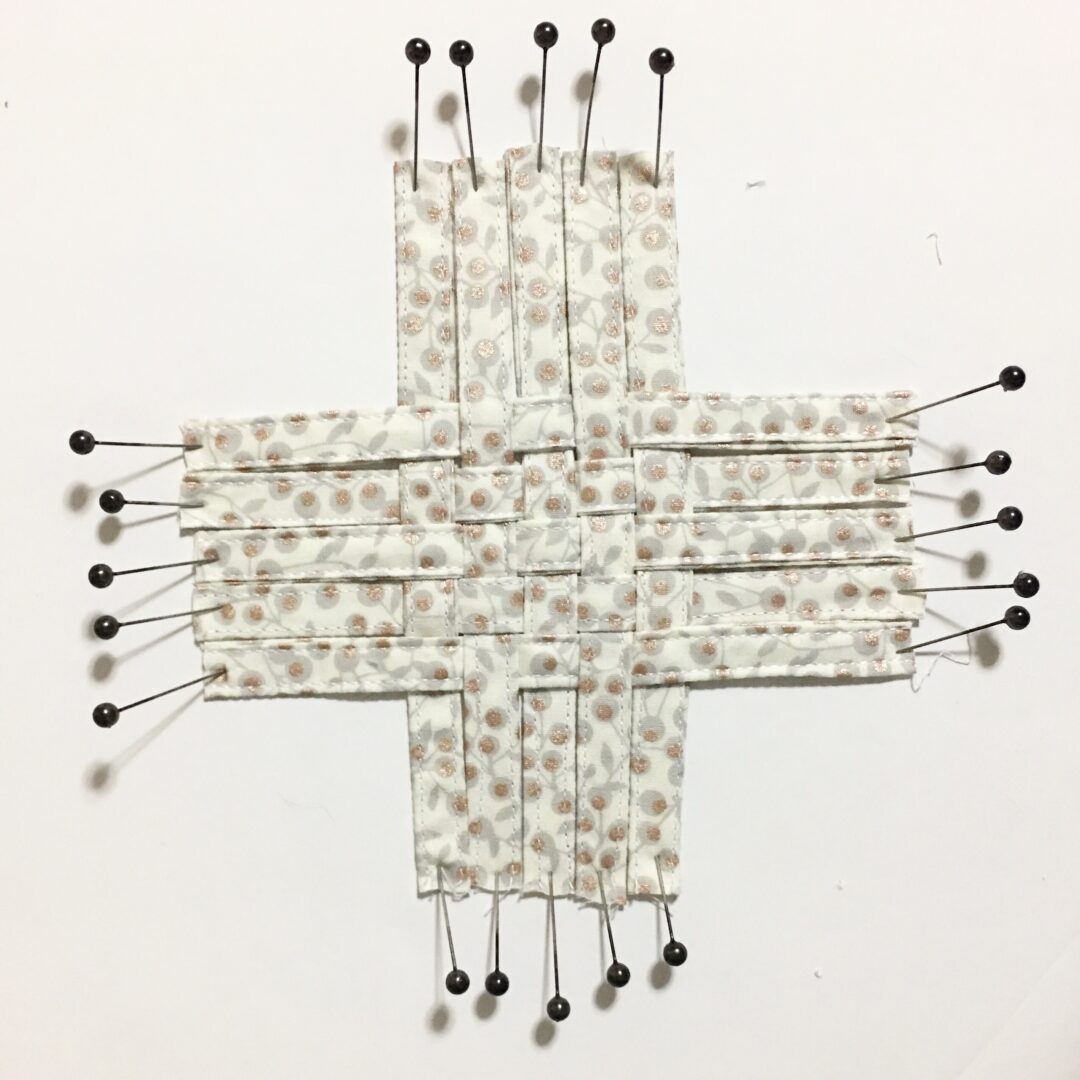
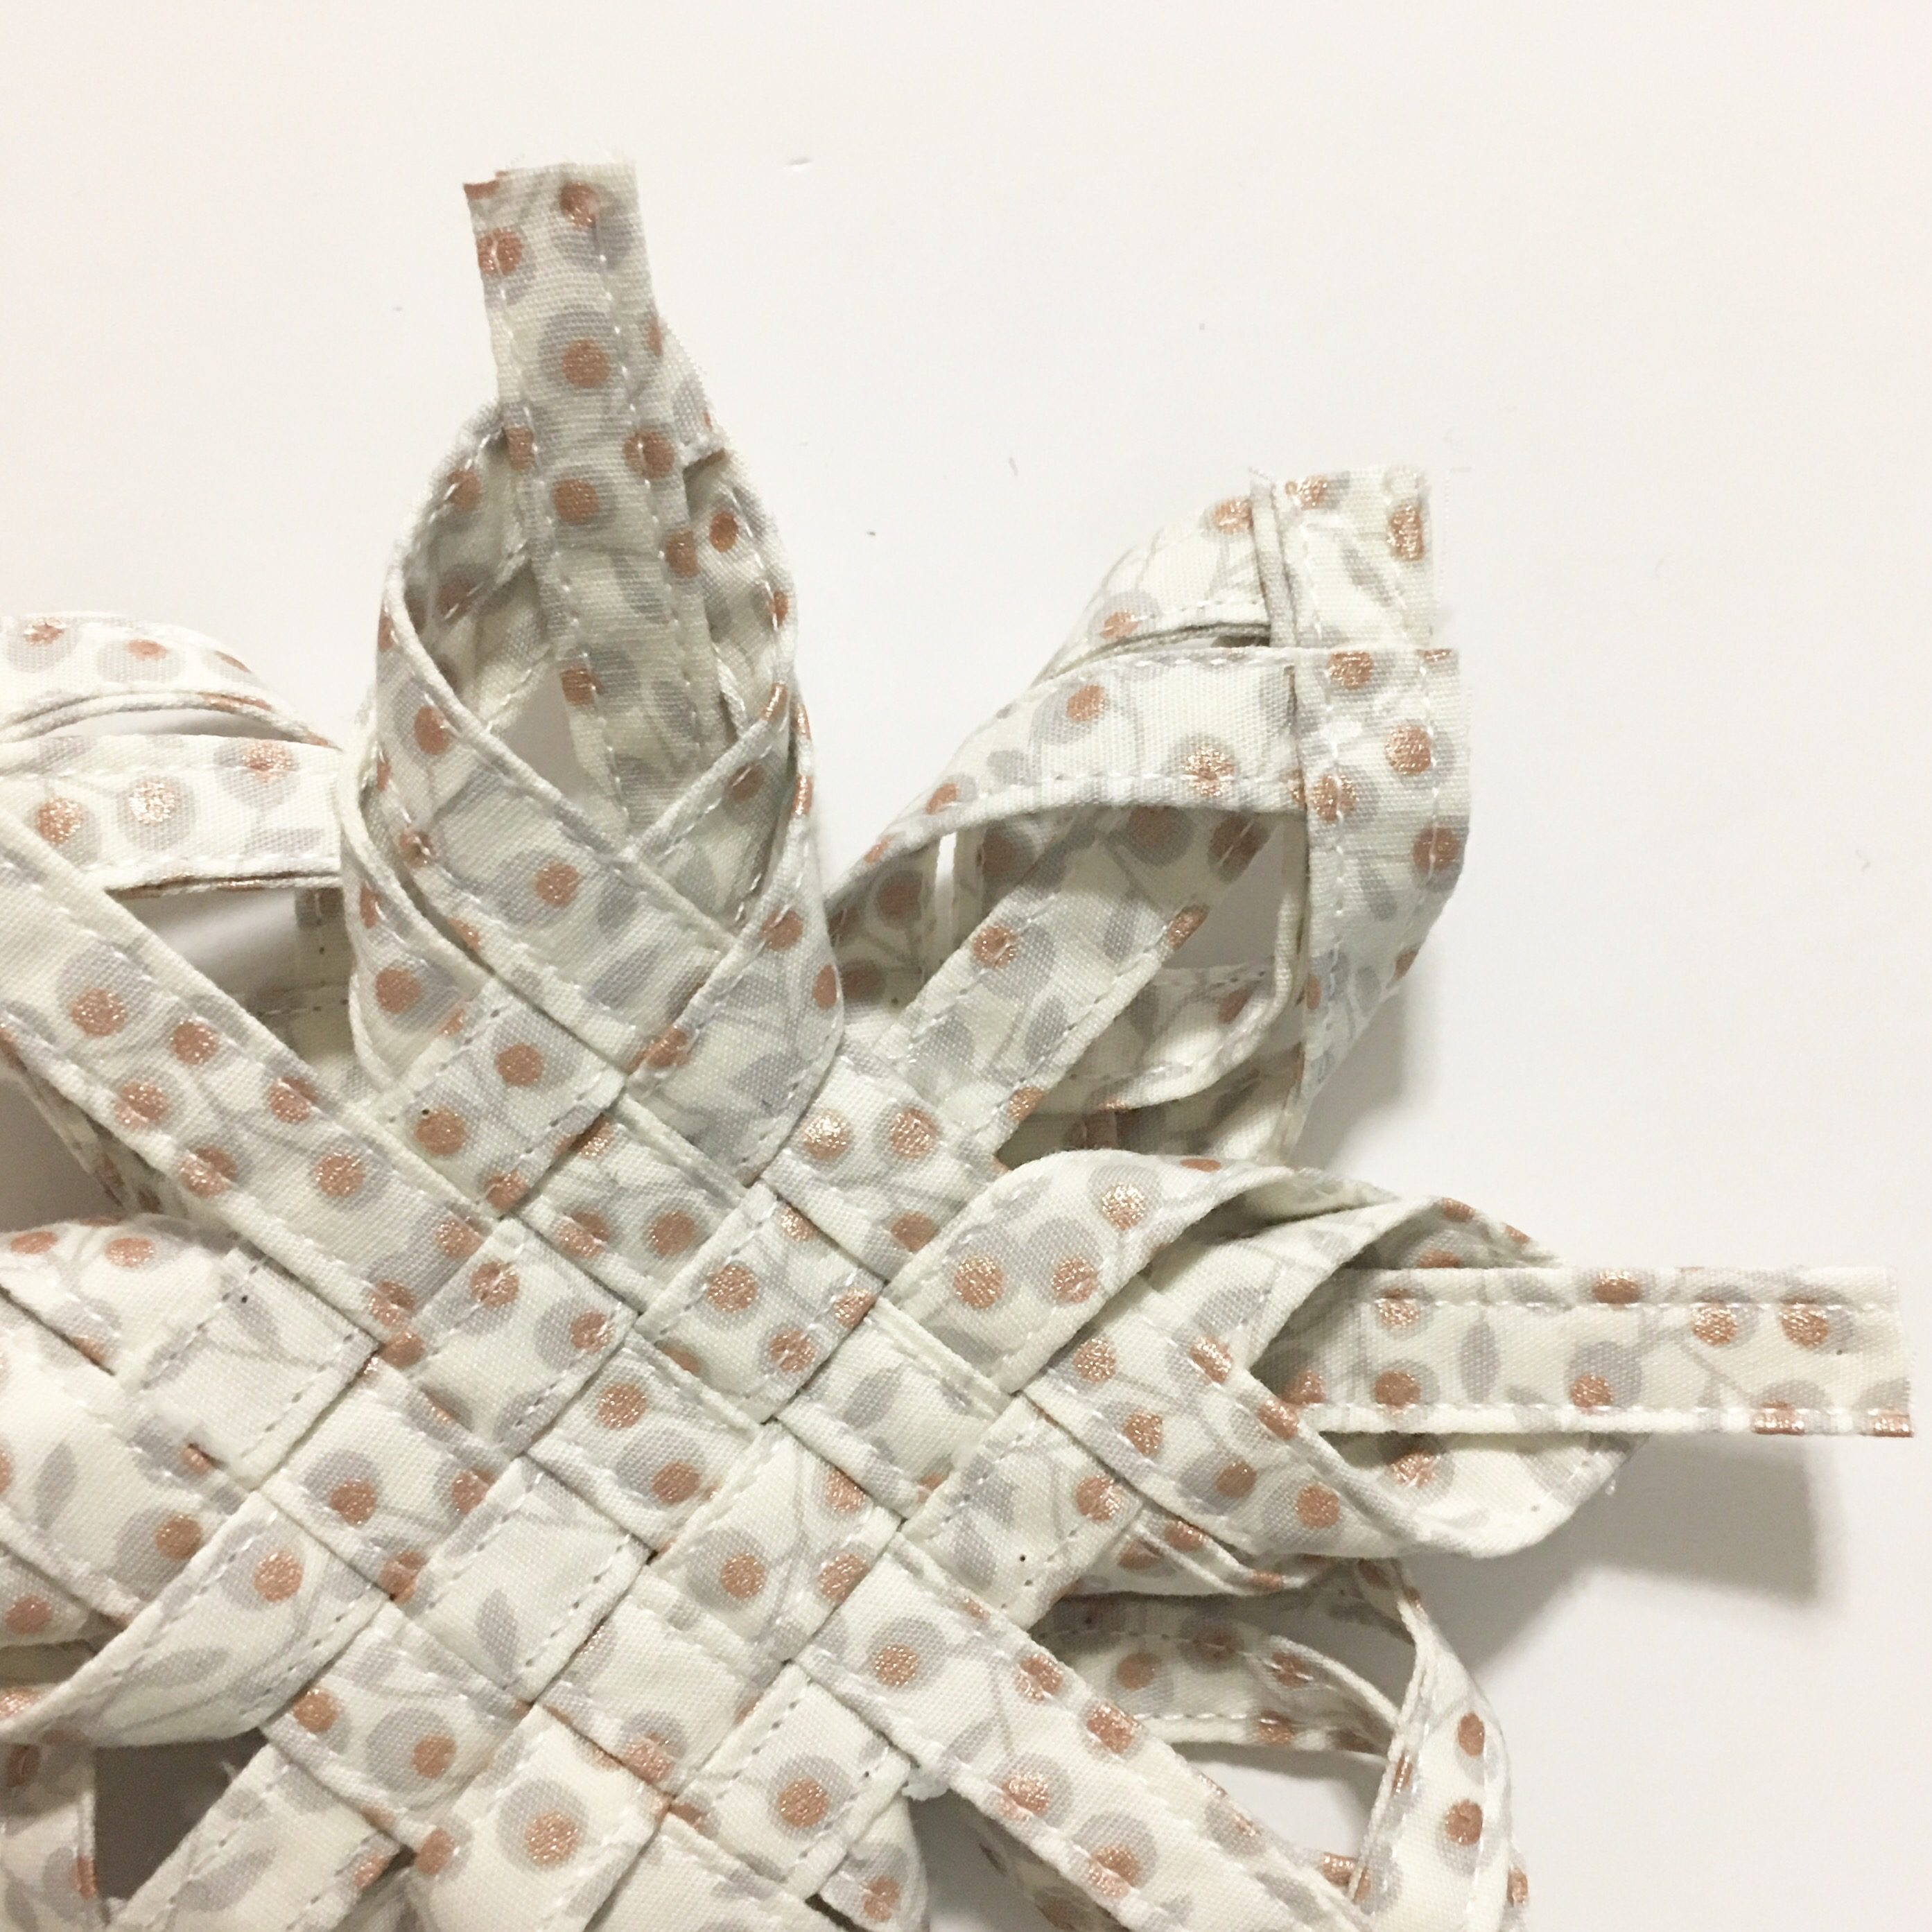
Pin down five strips next to each other onto the foam board. Next, find the middle point on the strips and weave under-one/over-one and pin that strip down.
 Then weave the rest of the strips alternating whether you start over or under and pin down those strips.
 FUN WITH GLUE
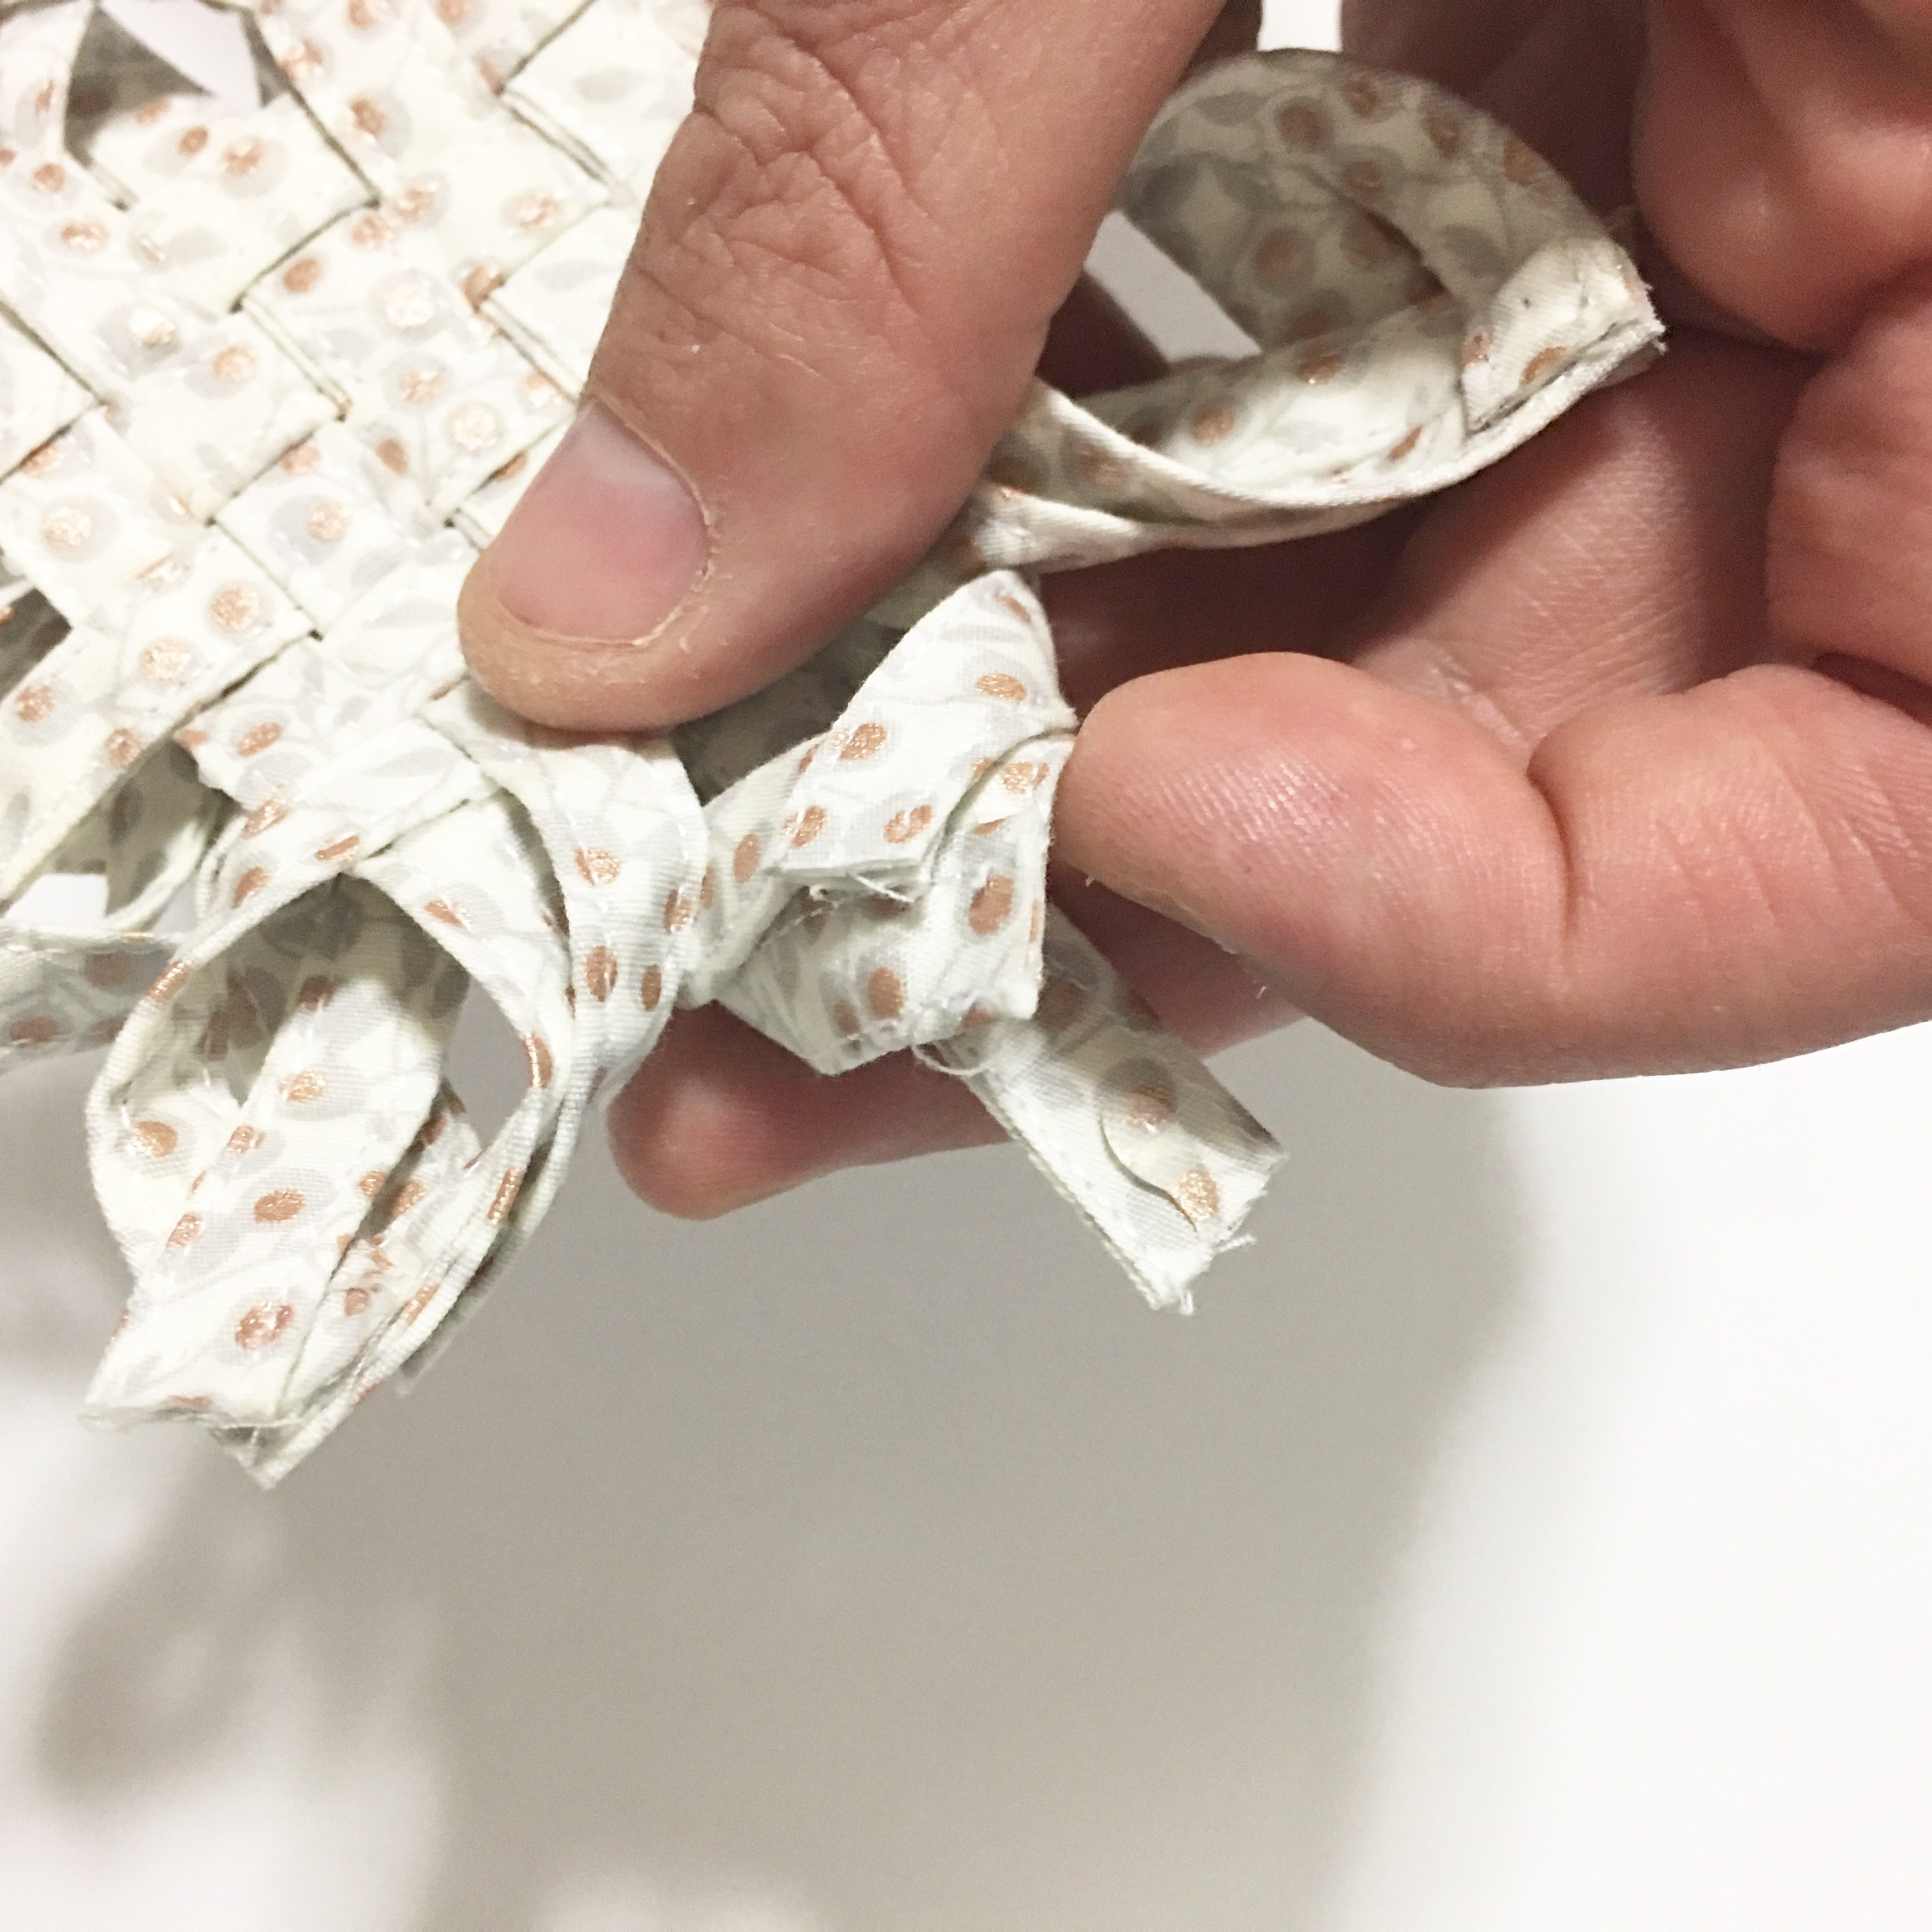
Using the fabric glue, place a spot of glue on the intersection of each corner and secure with a pin.
 Using more glue, connect the outer strips of each corner (see below) and clip it.
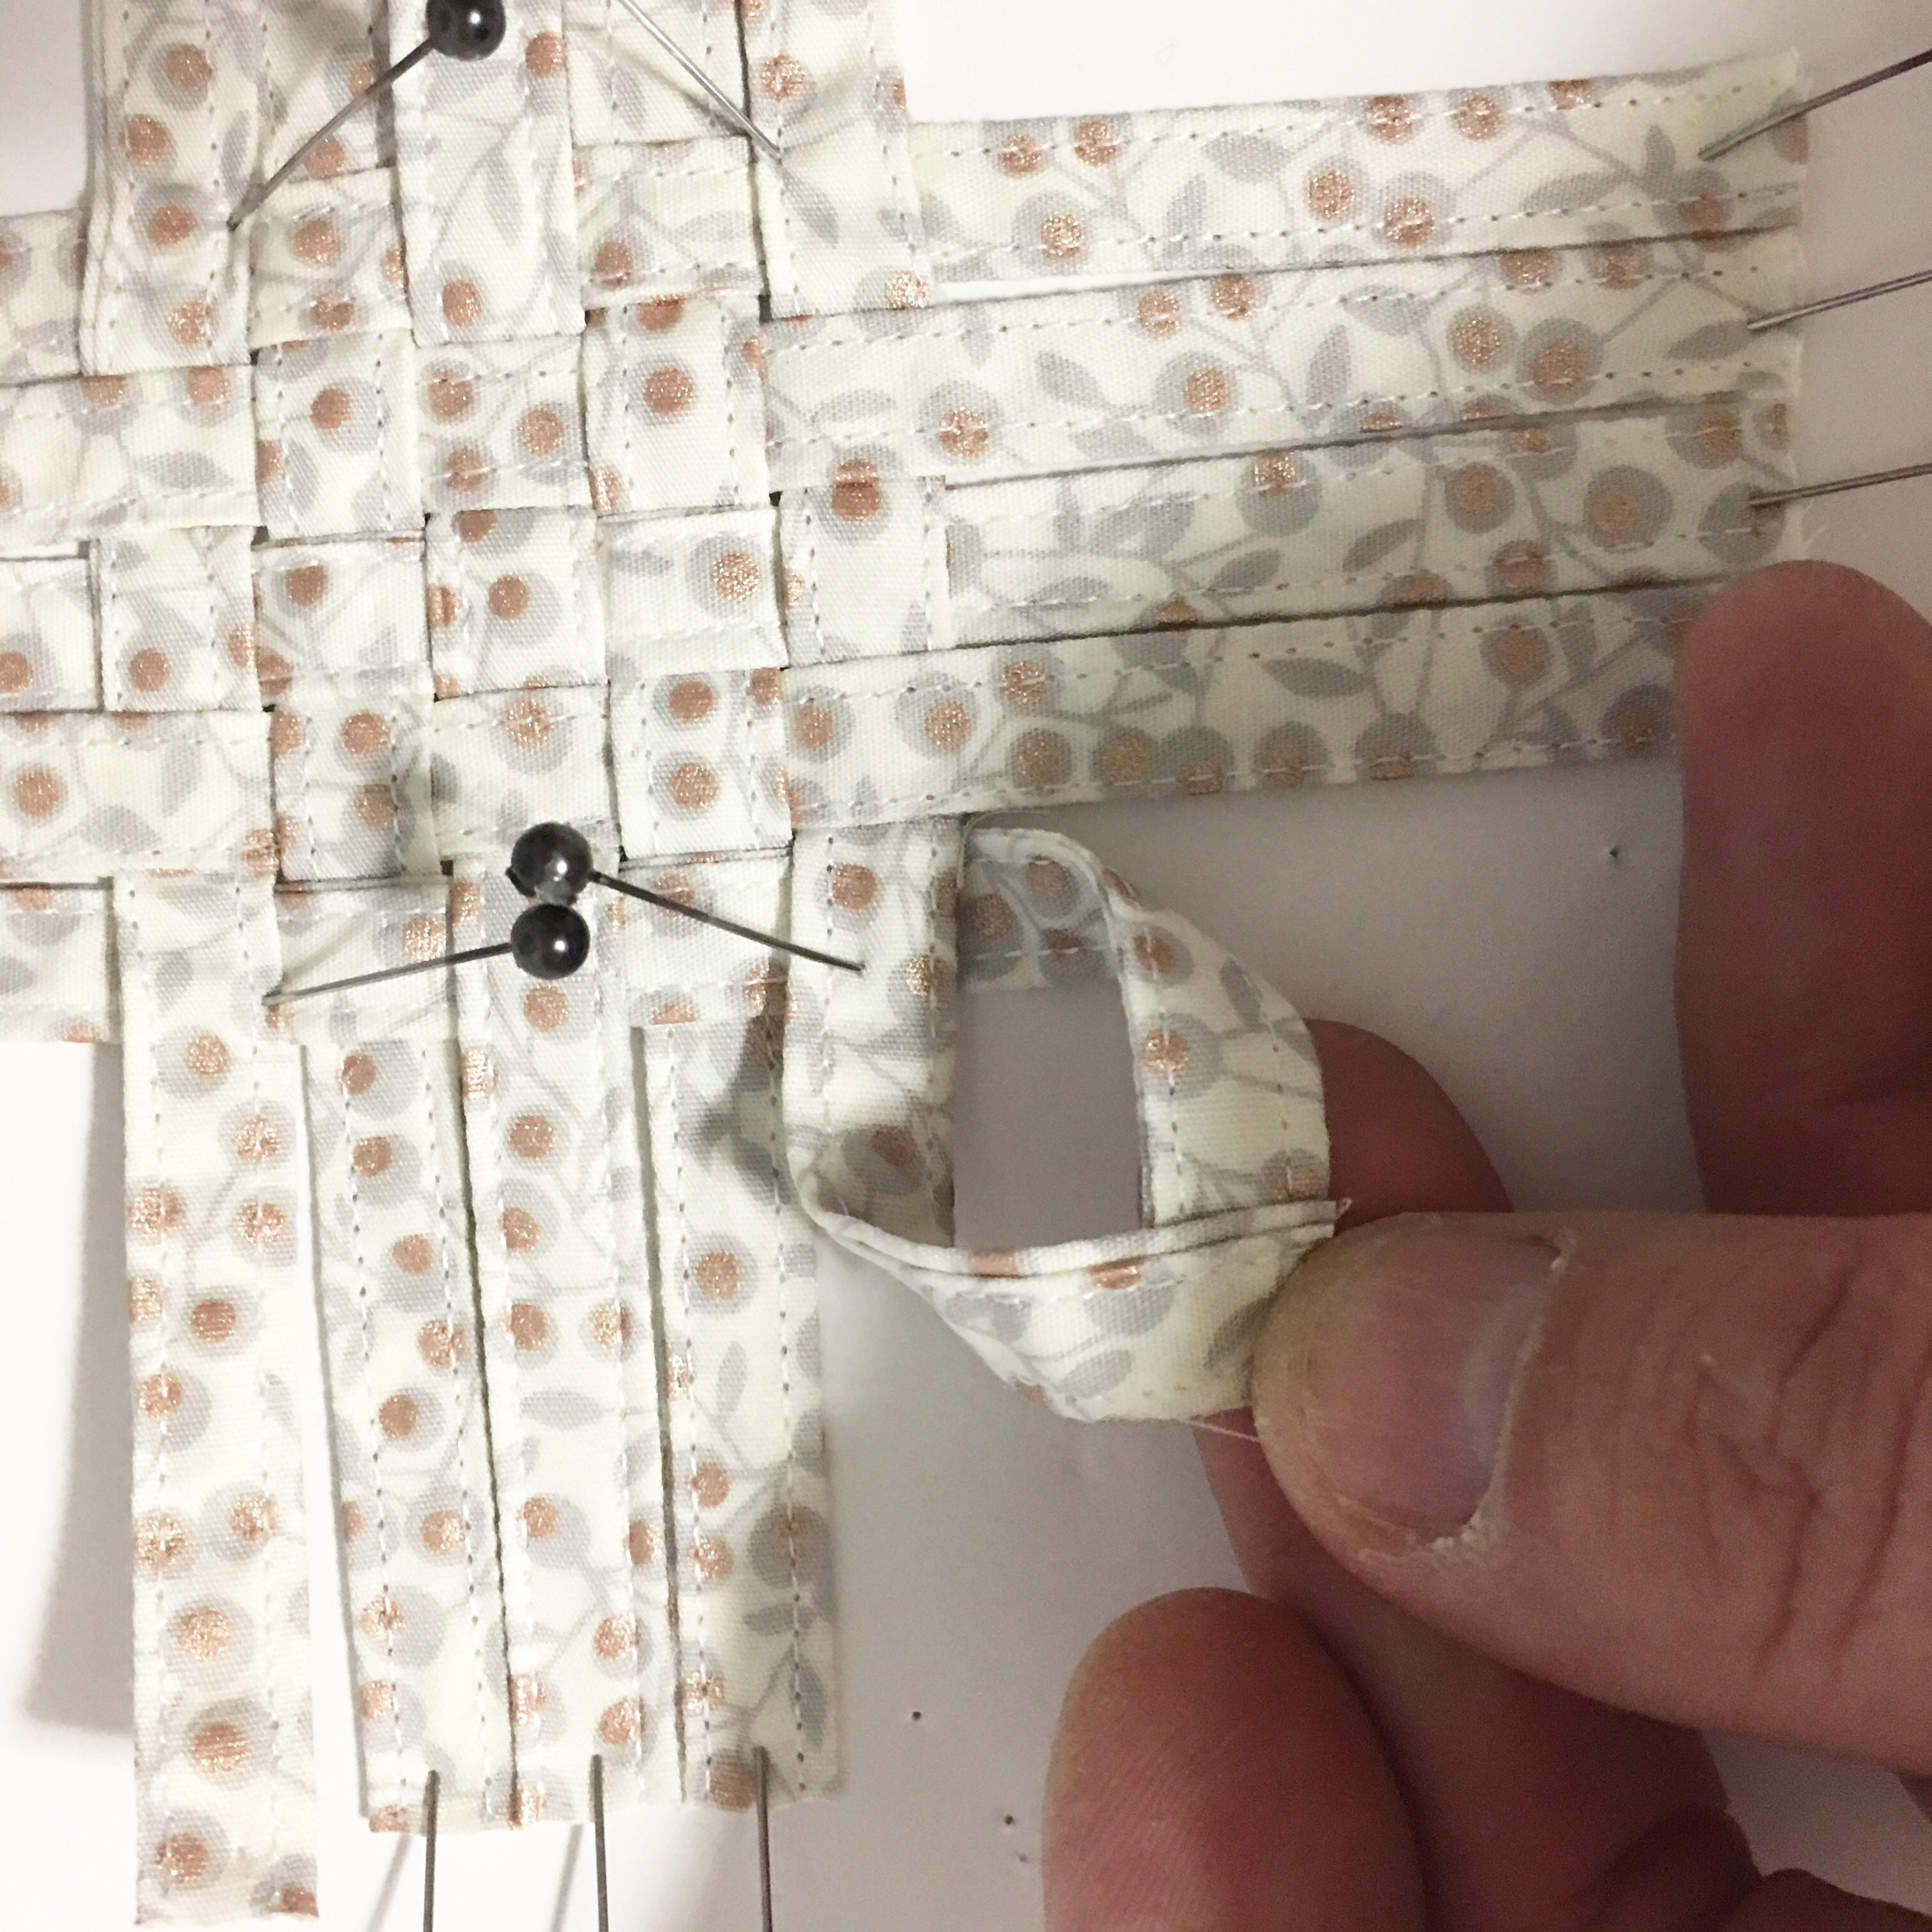 Once done with each corner, place a spot of glue under the four strips that are going over and secure them down with a pin.
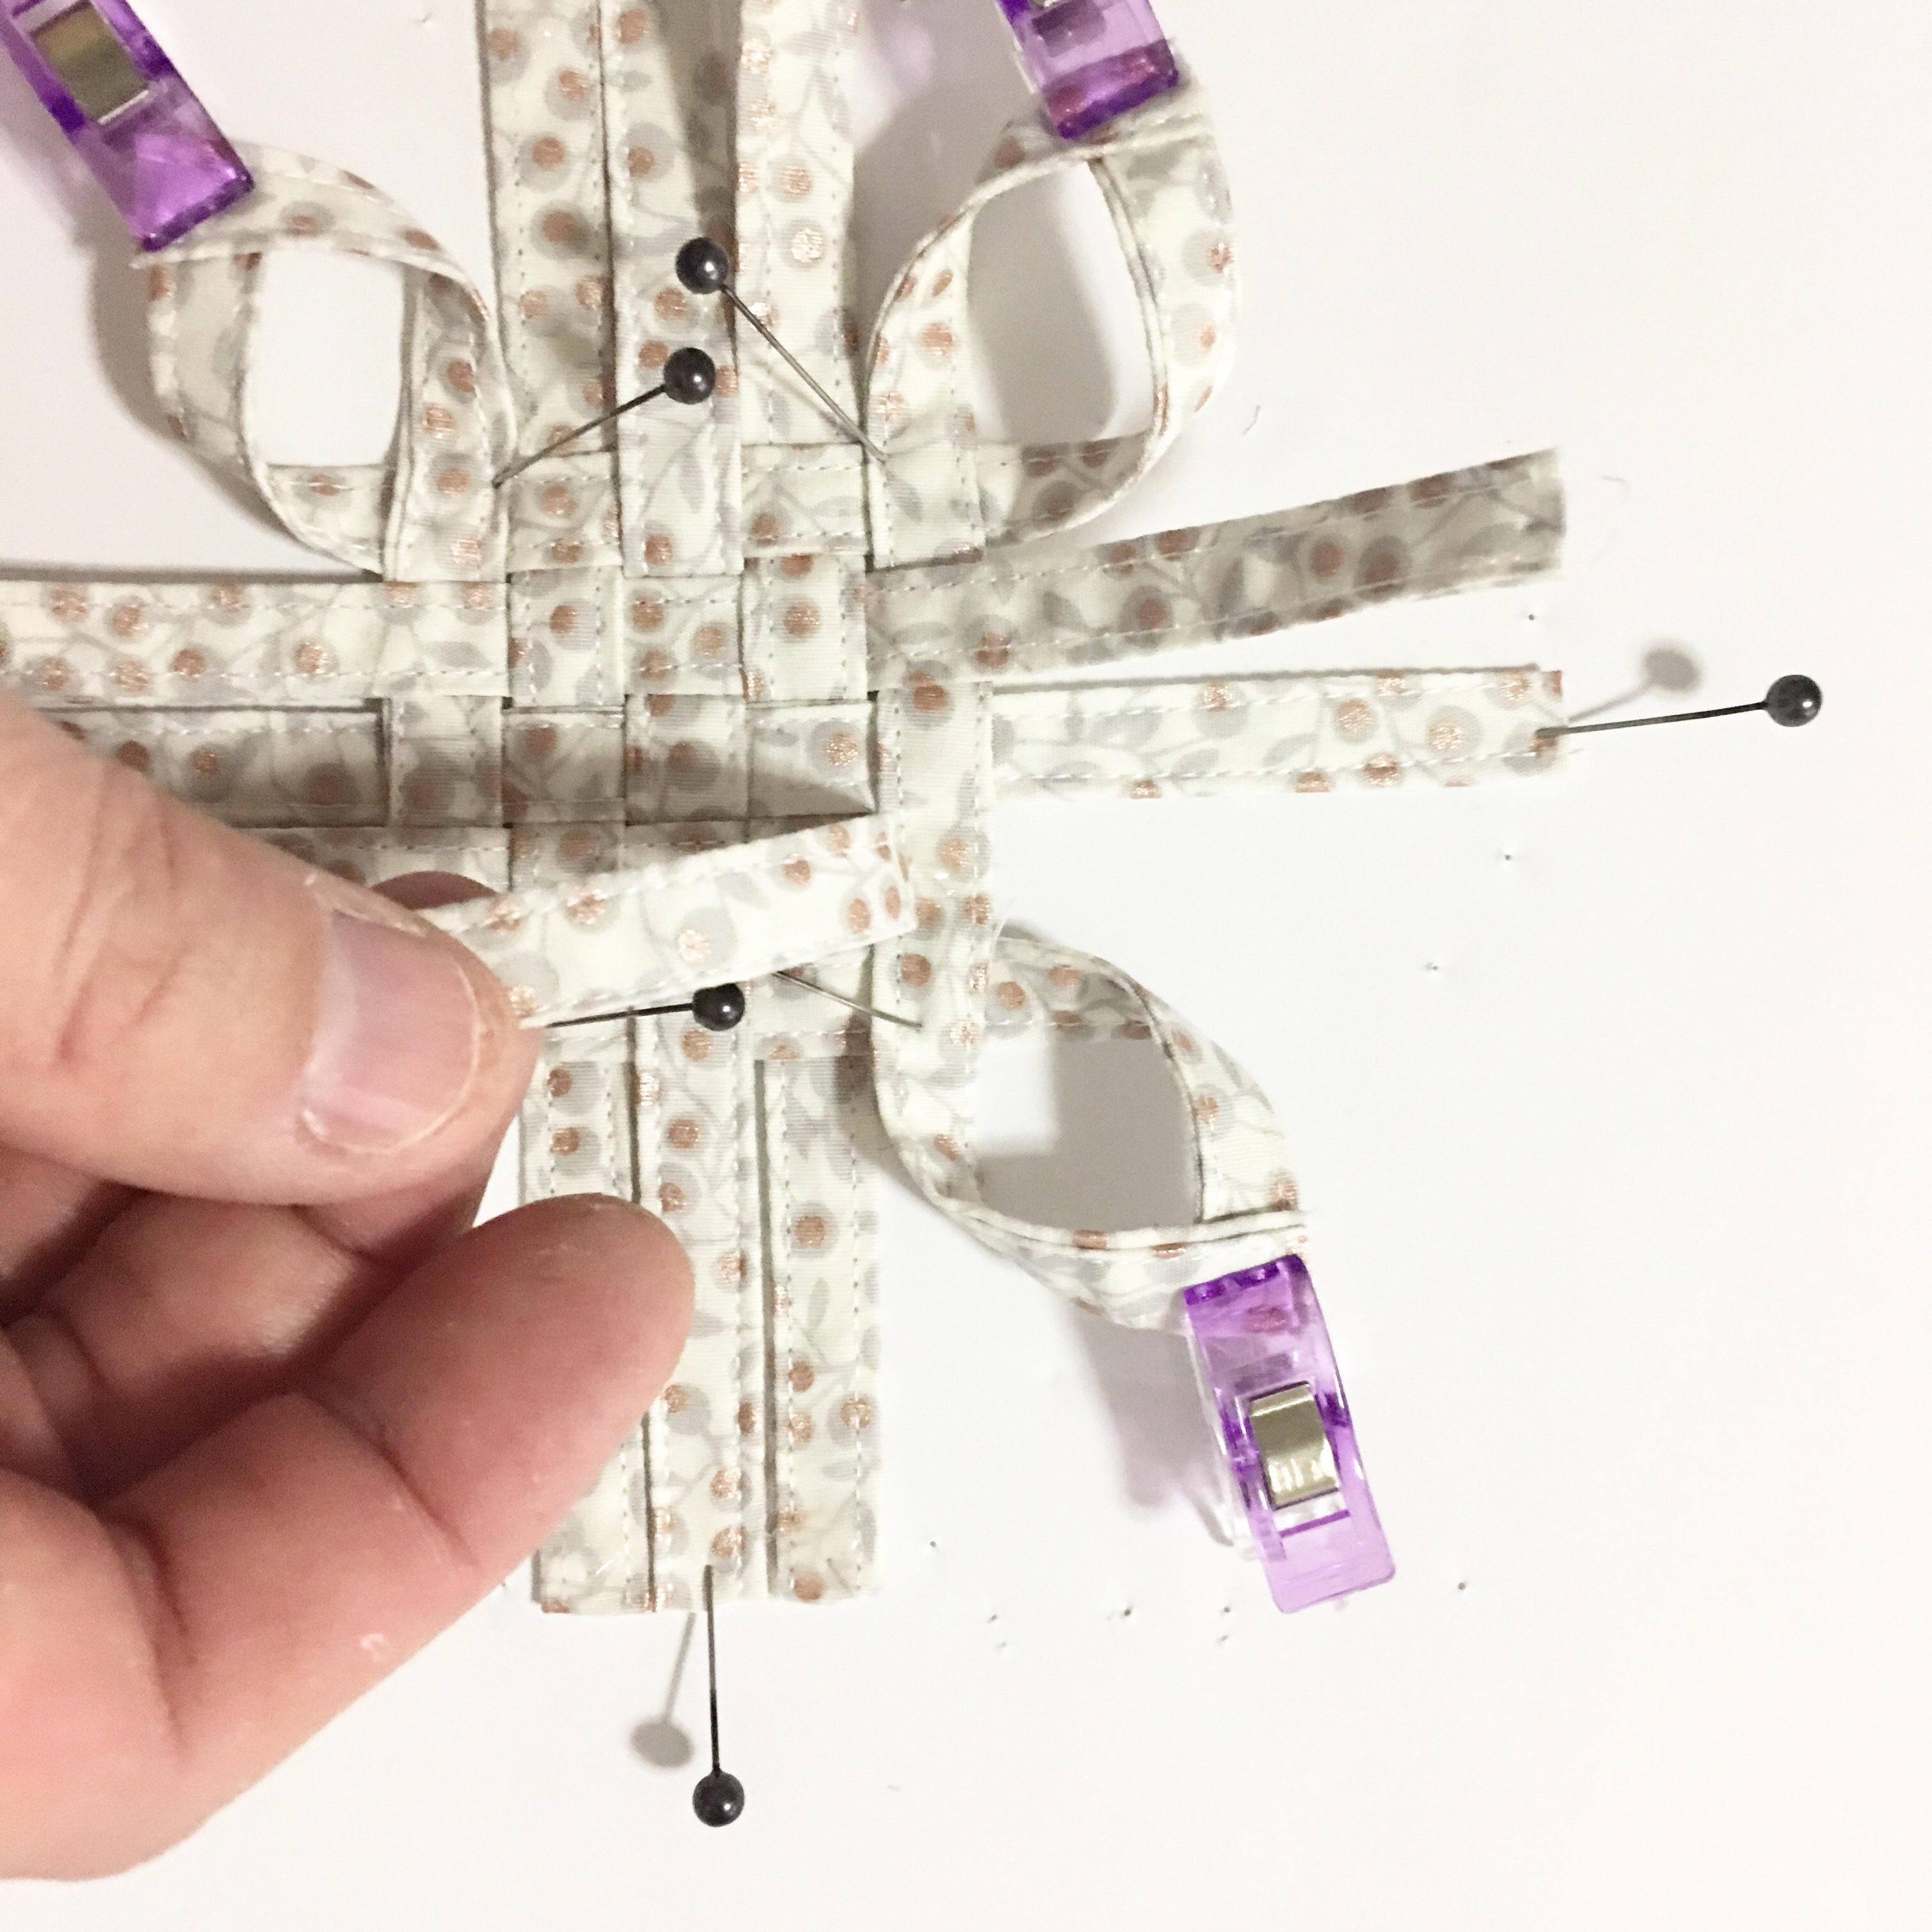
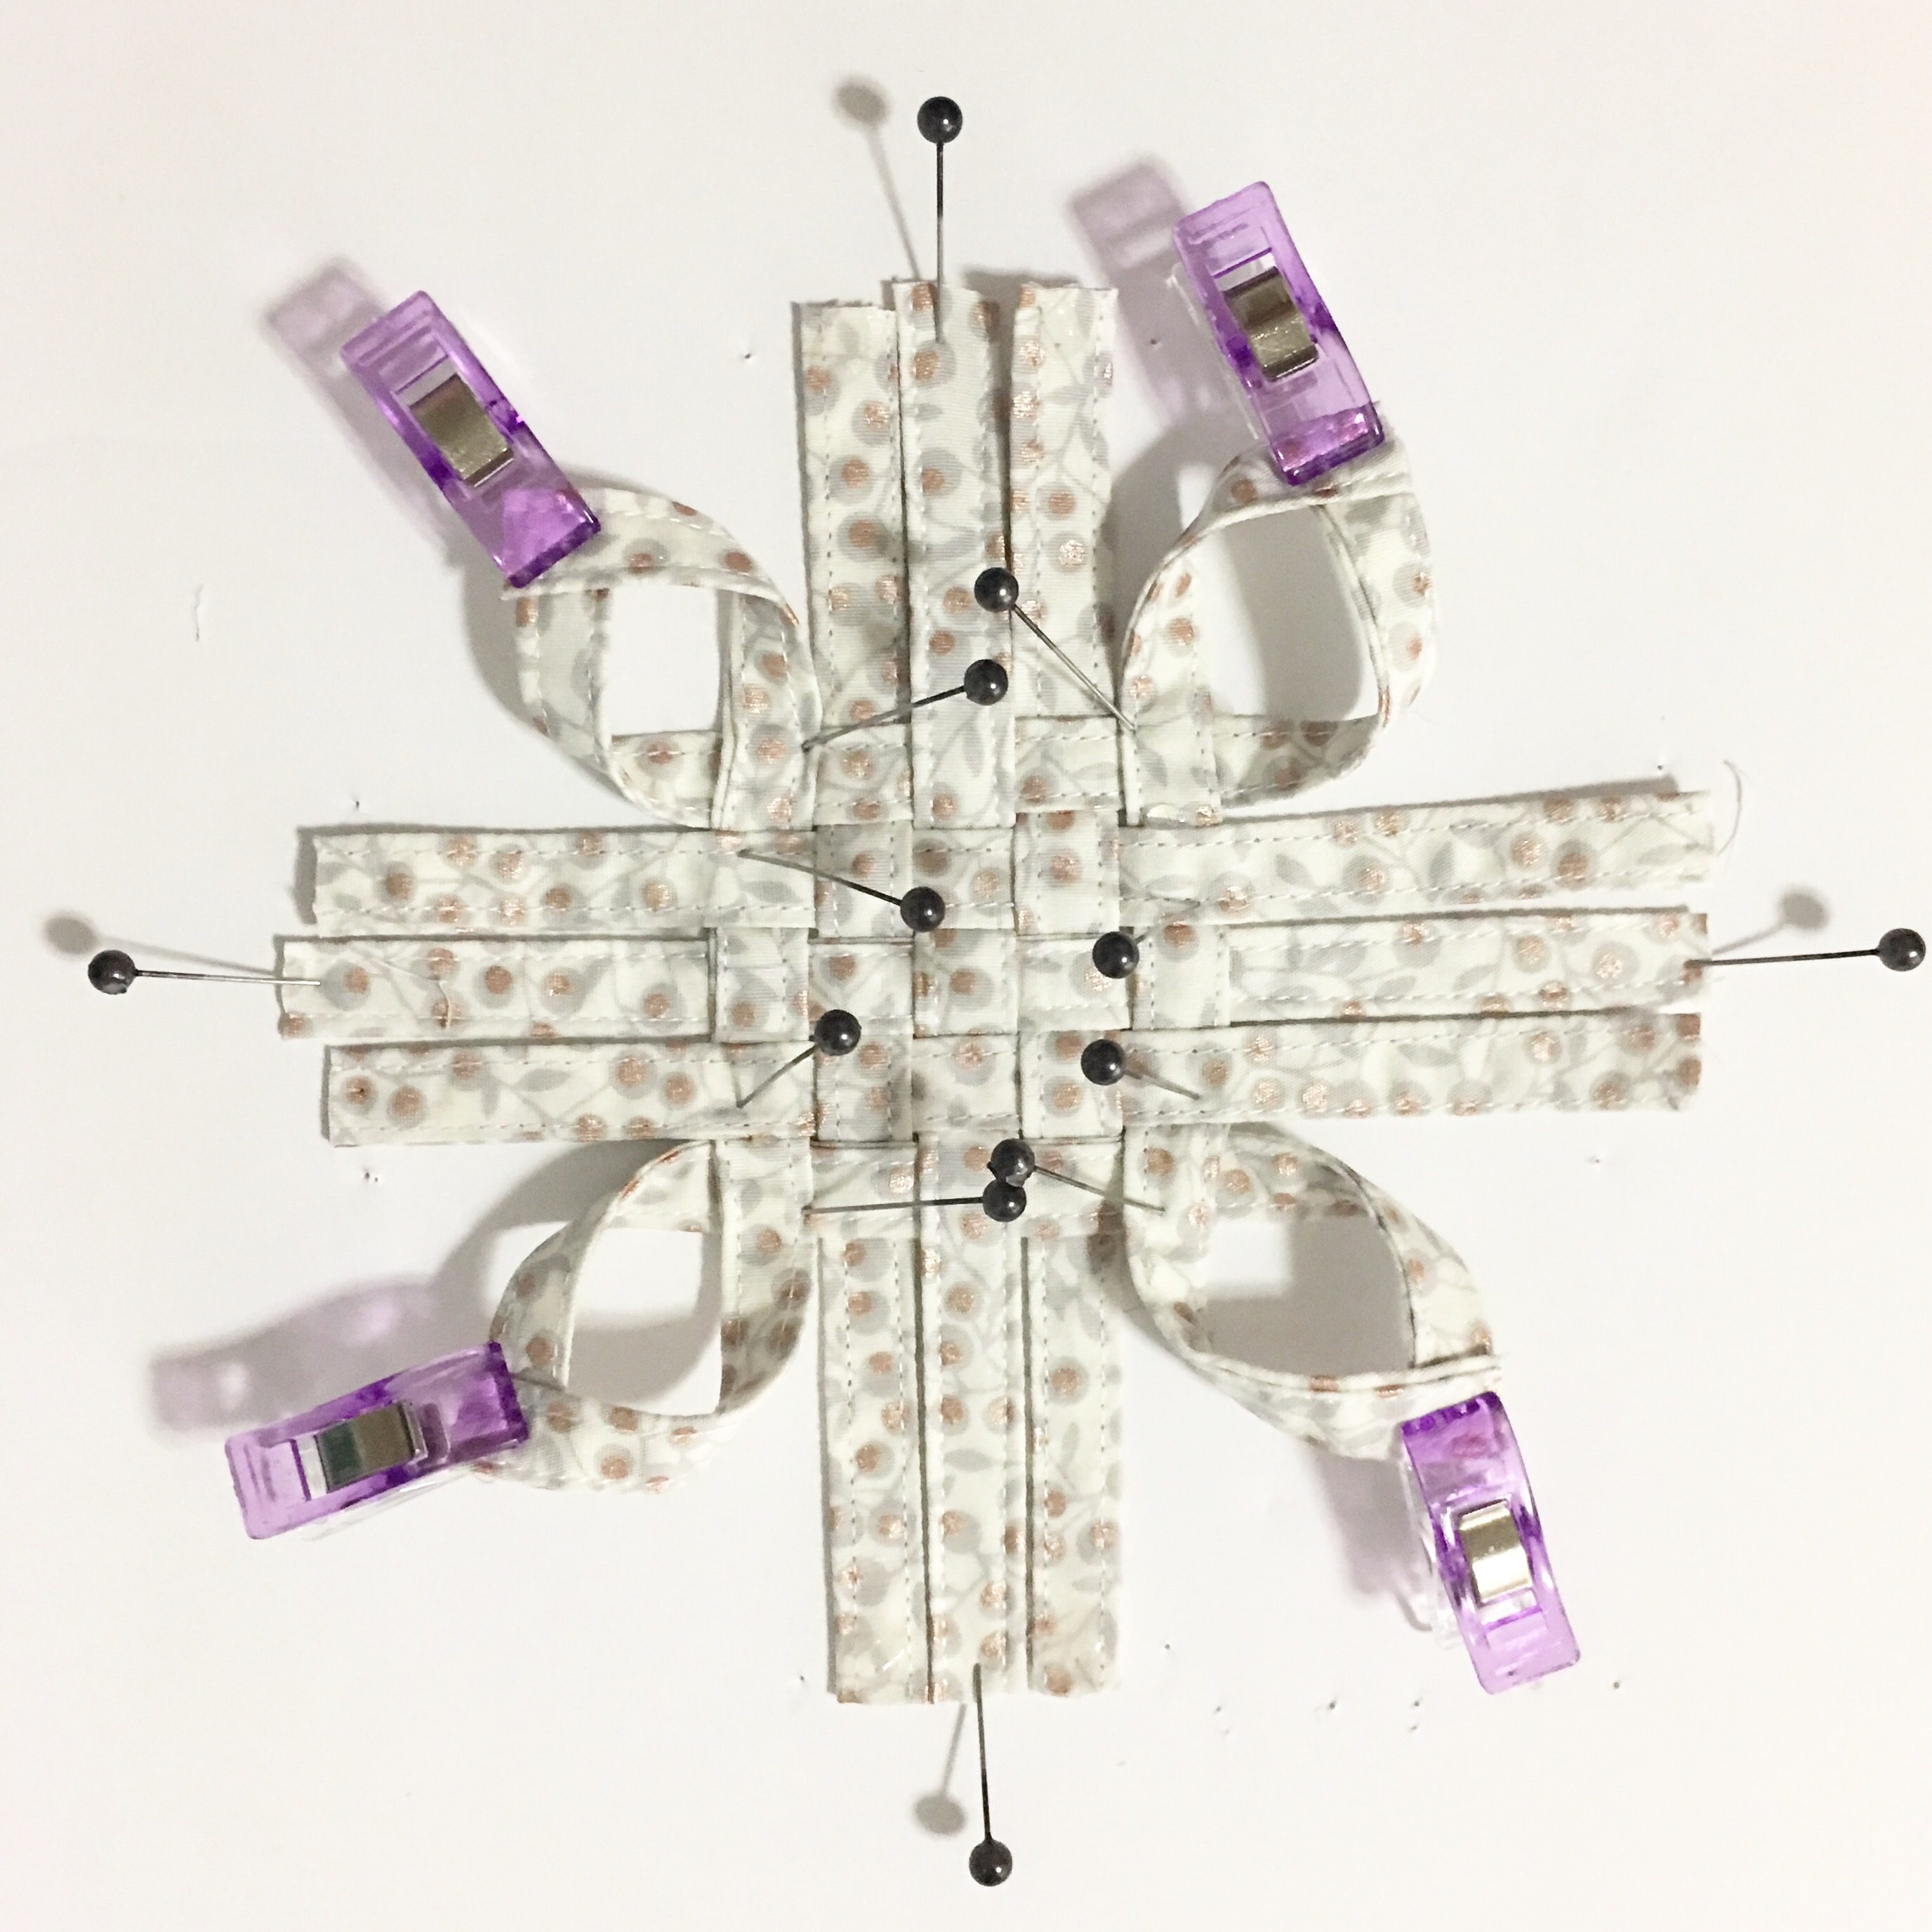 Now do the same thing with the next set of strips on each corner as you did before.
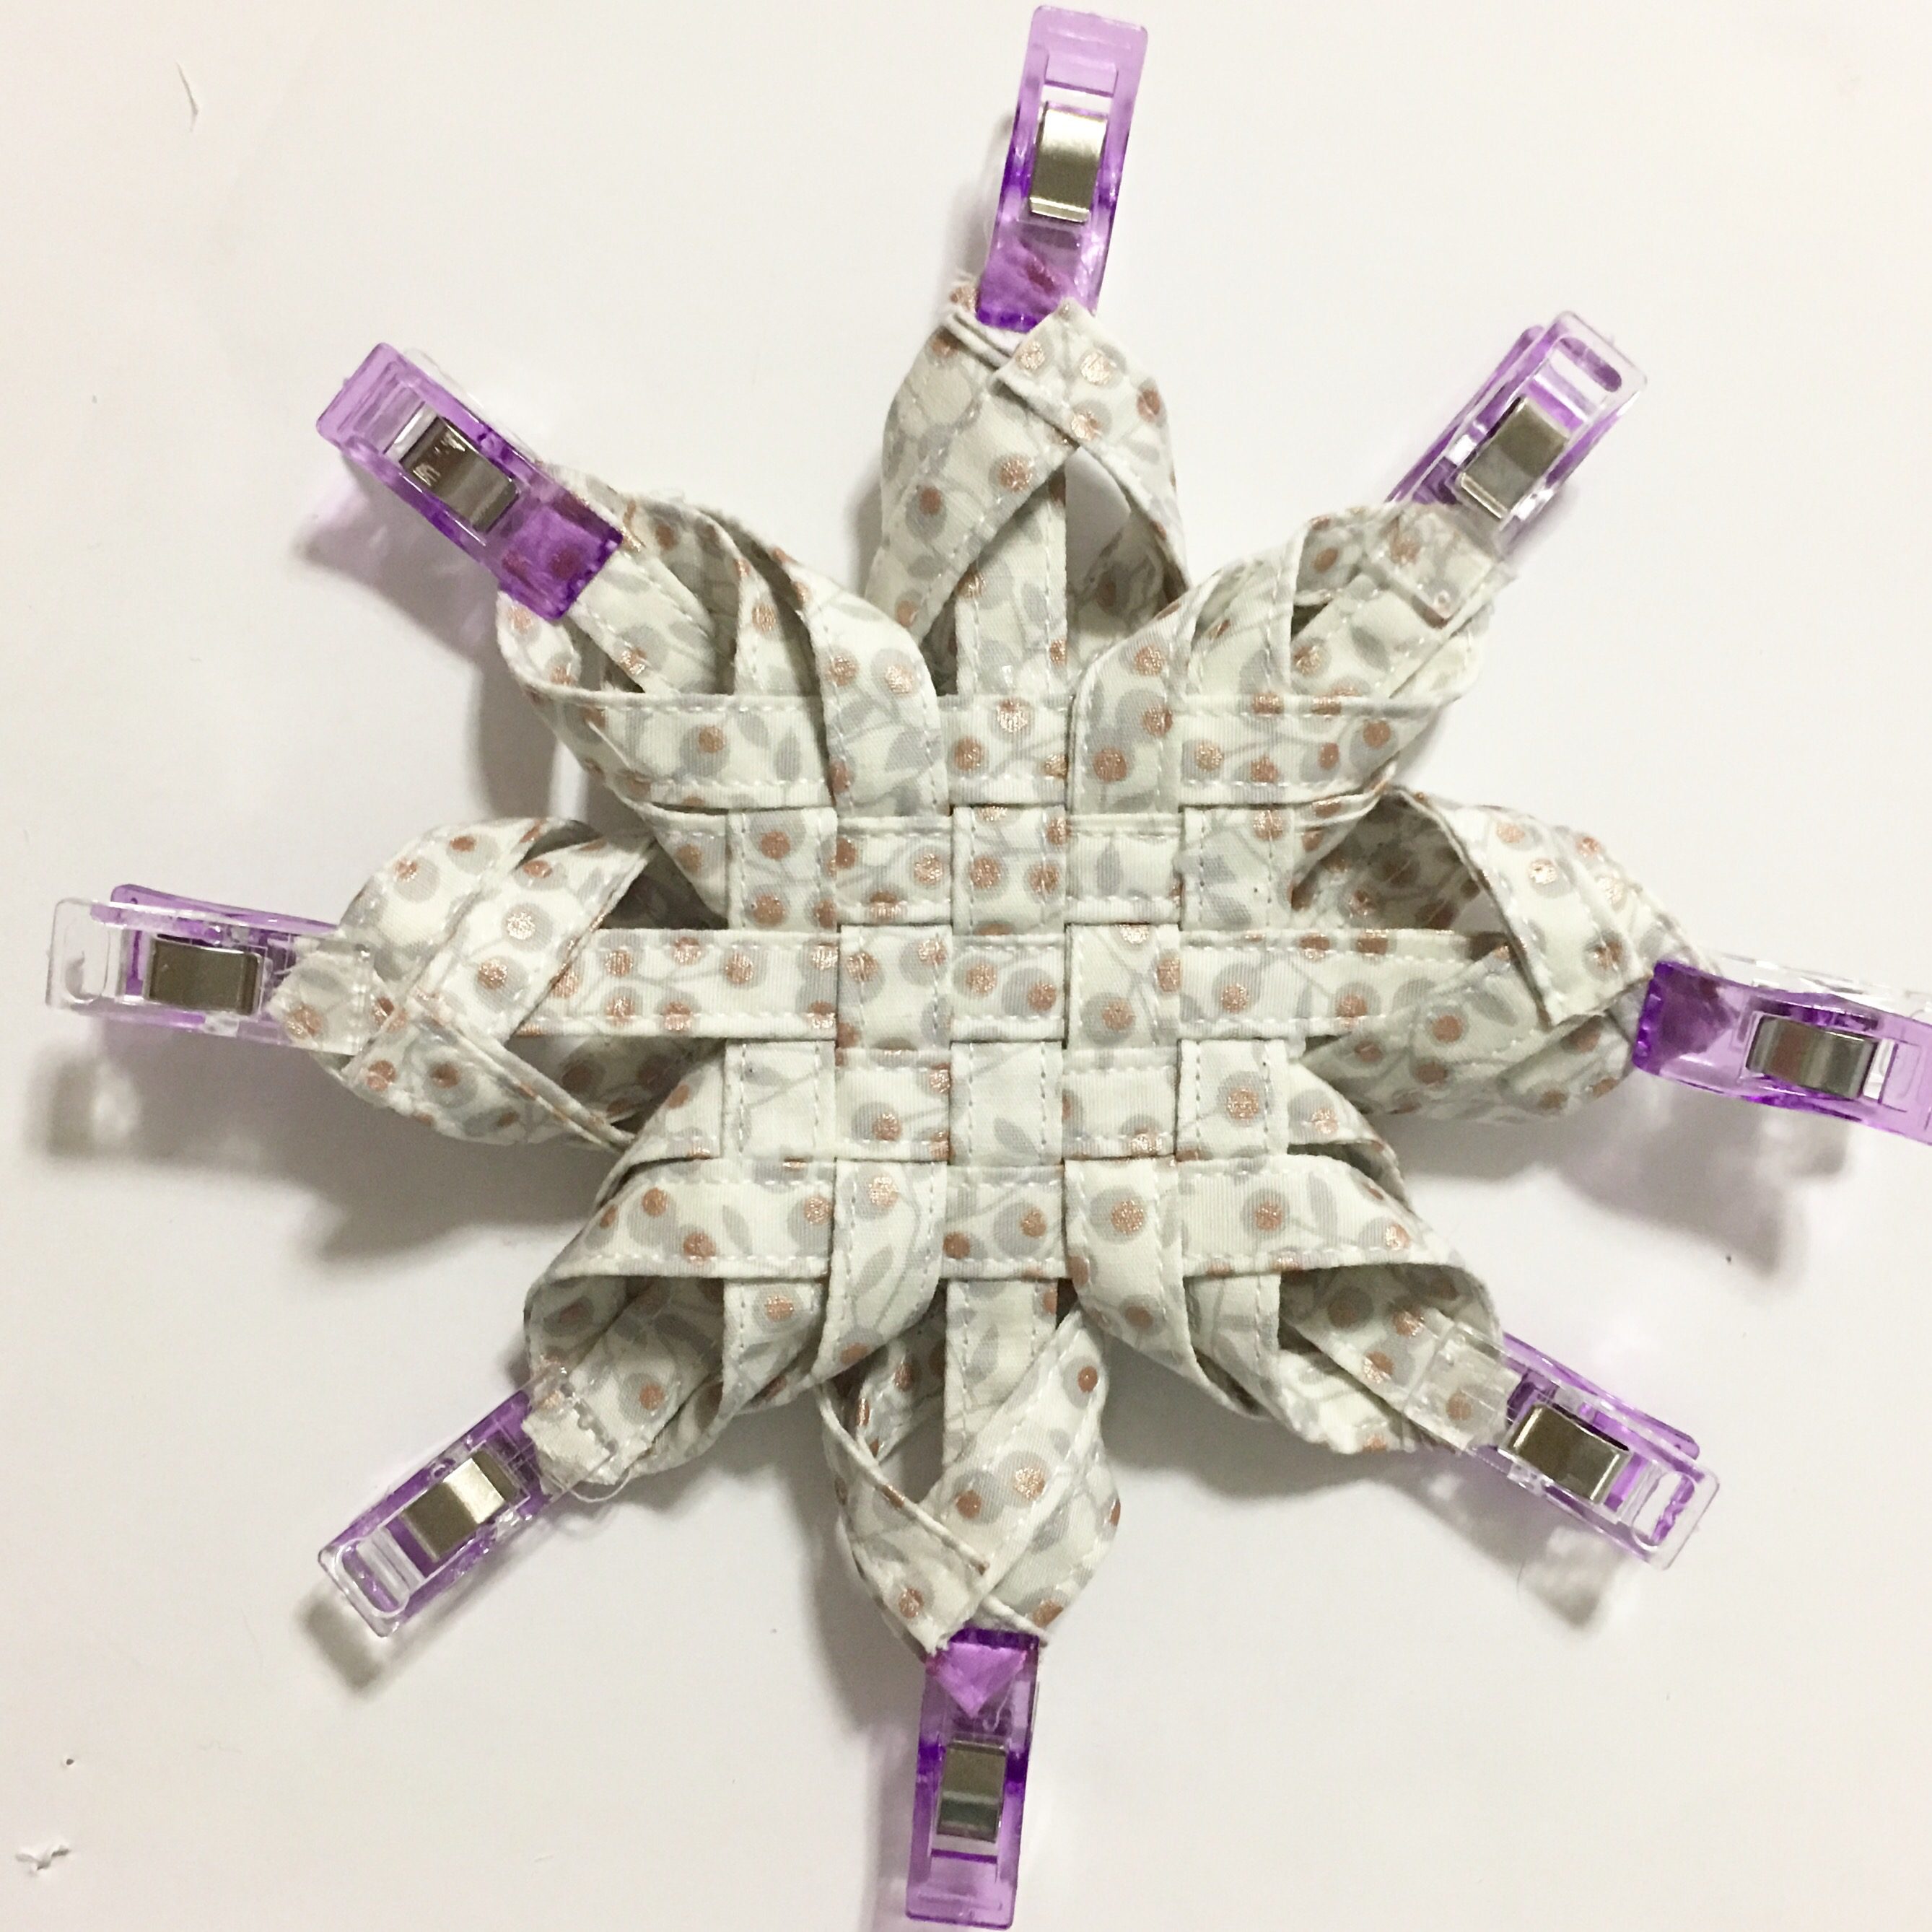
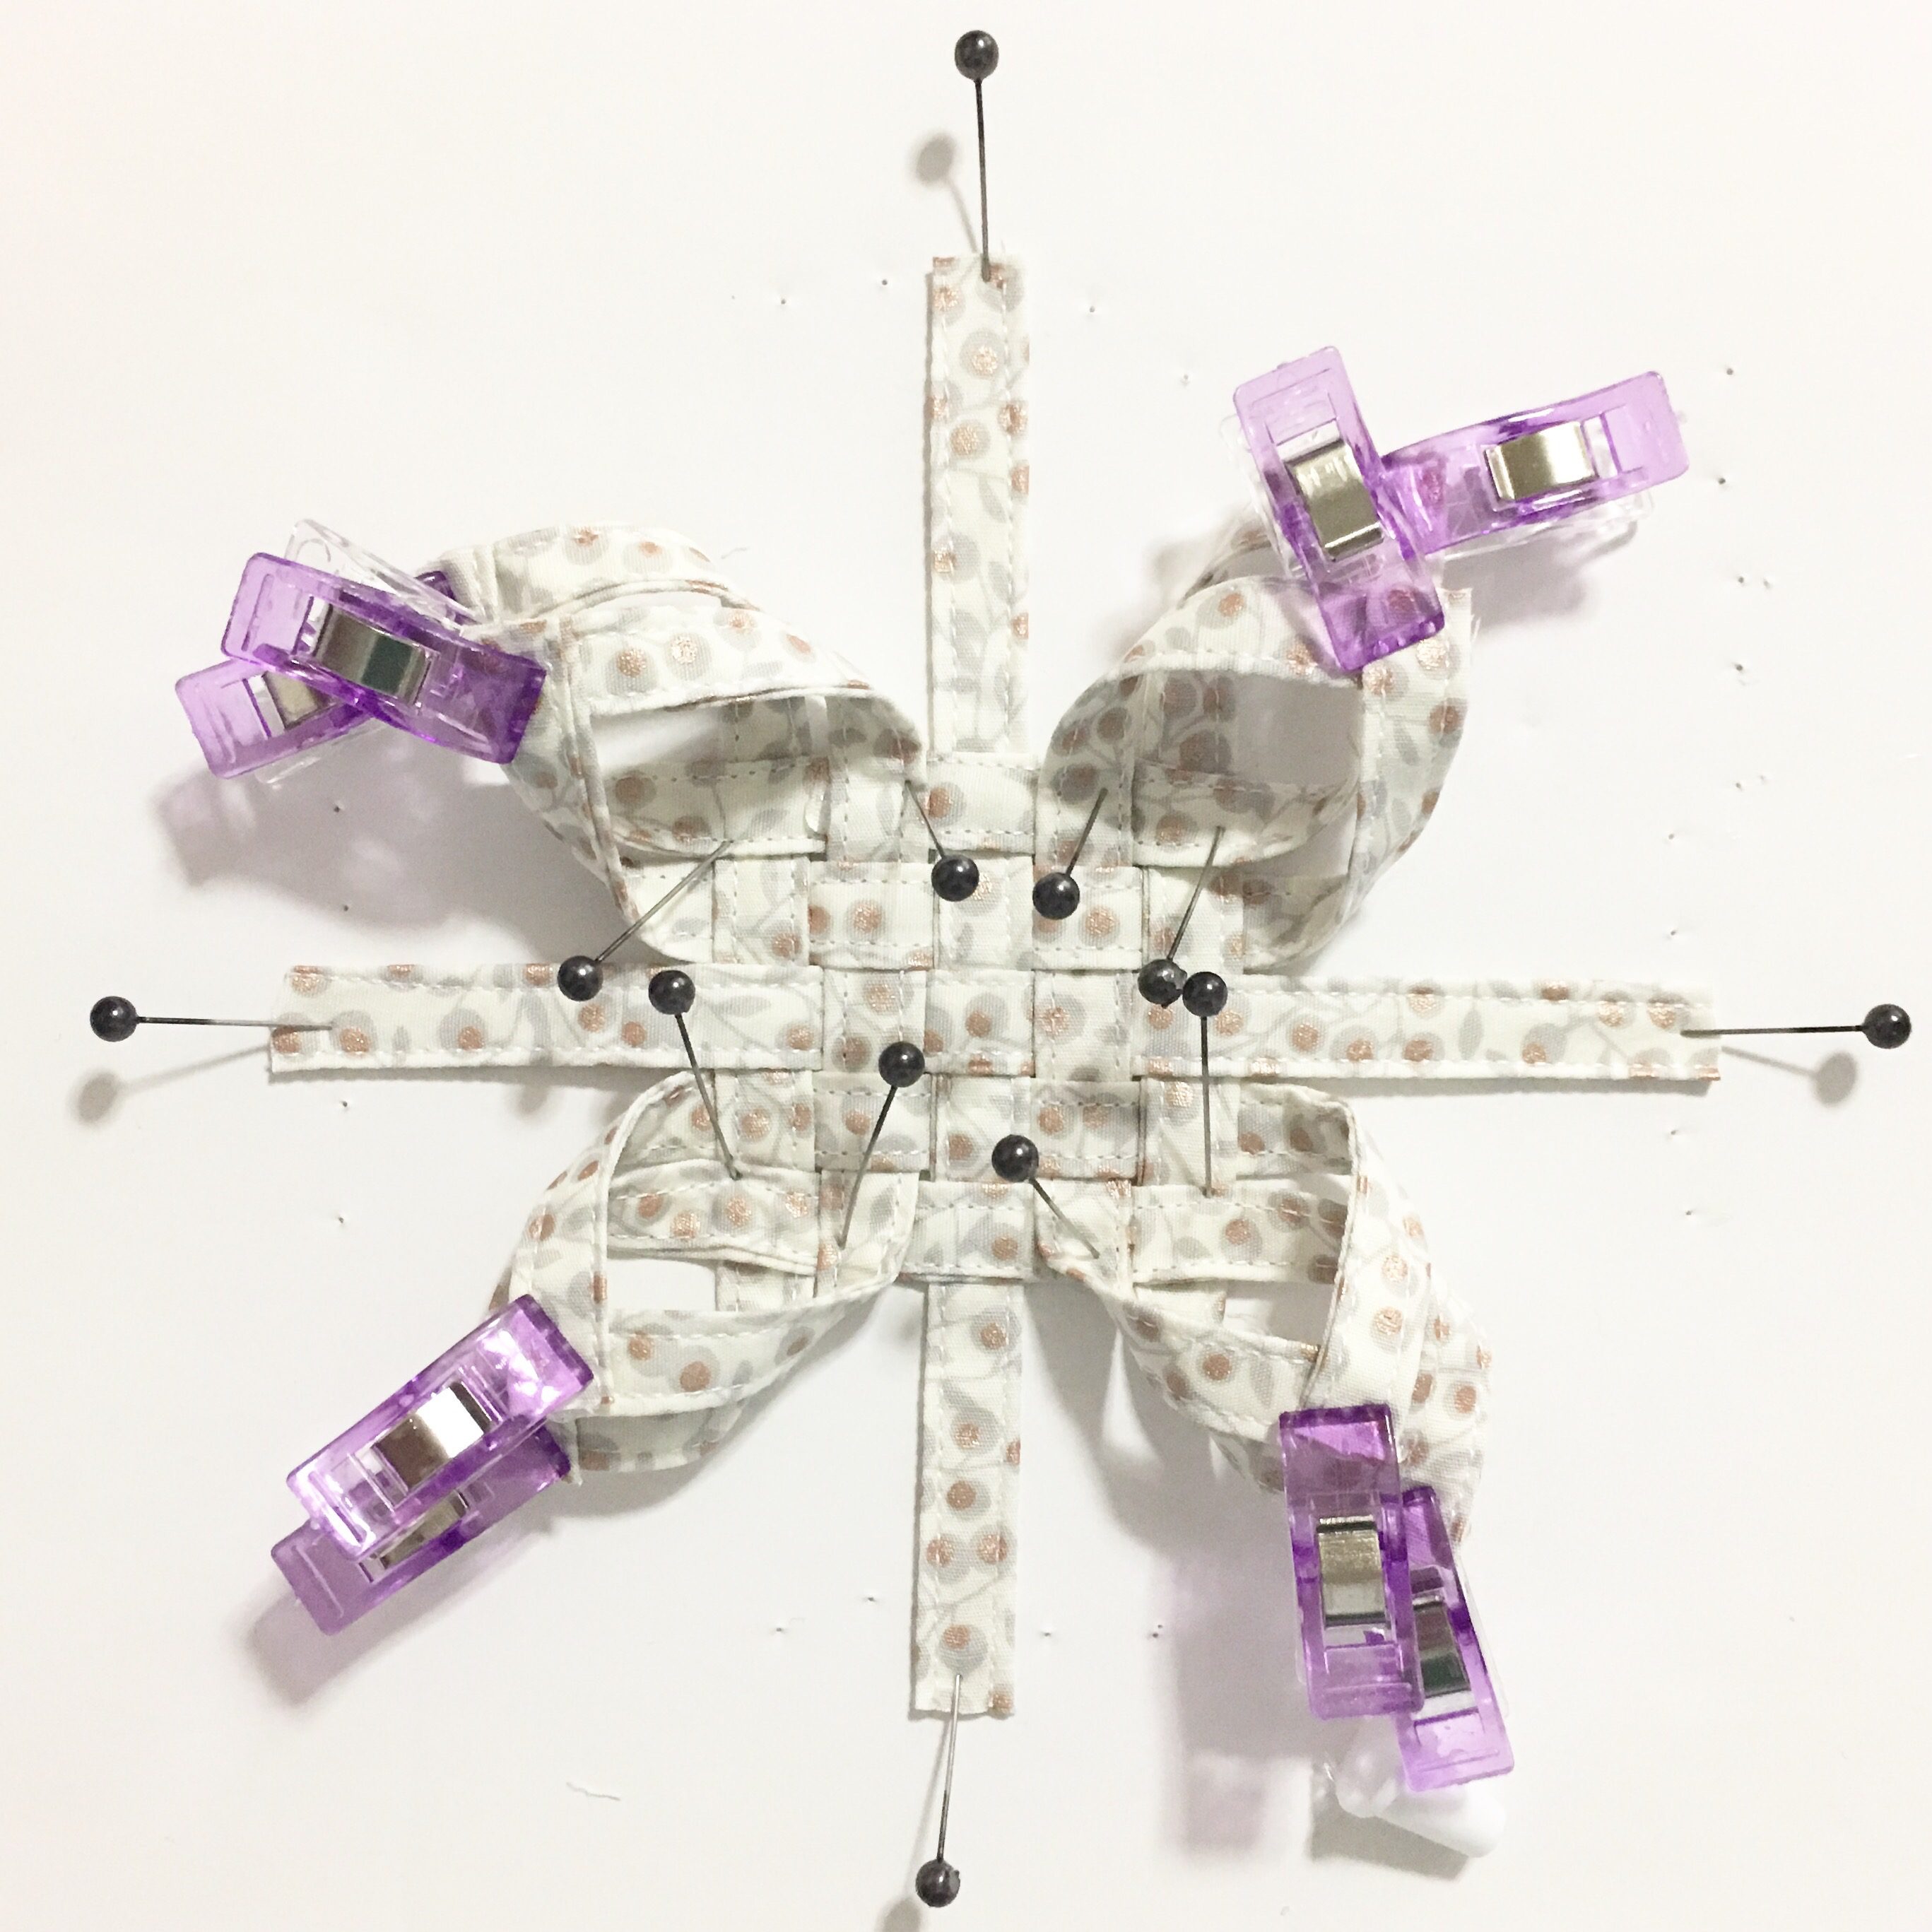 Per the instructions on the bottle, let this dry for at least two hours before removing the pins and clips.
If at this point you have only made one of these, you need to make another one before you can proceed.
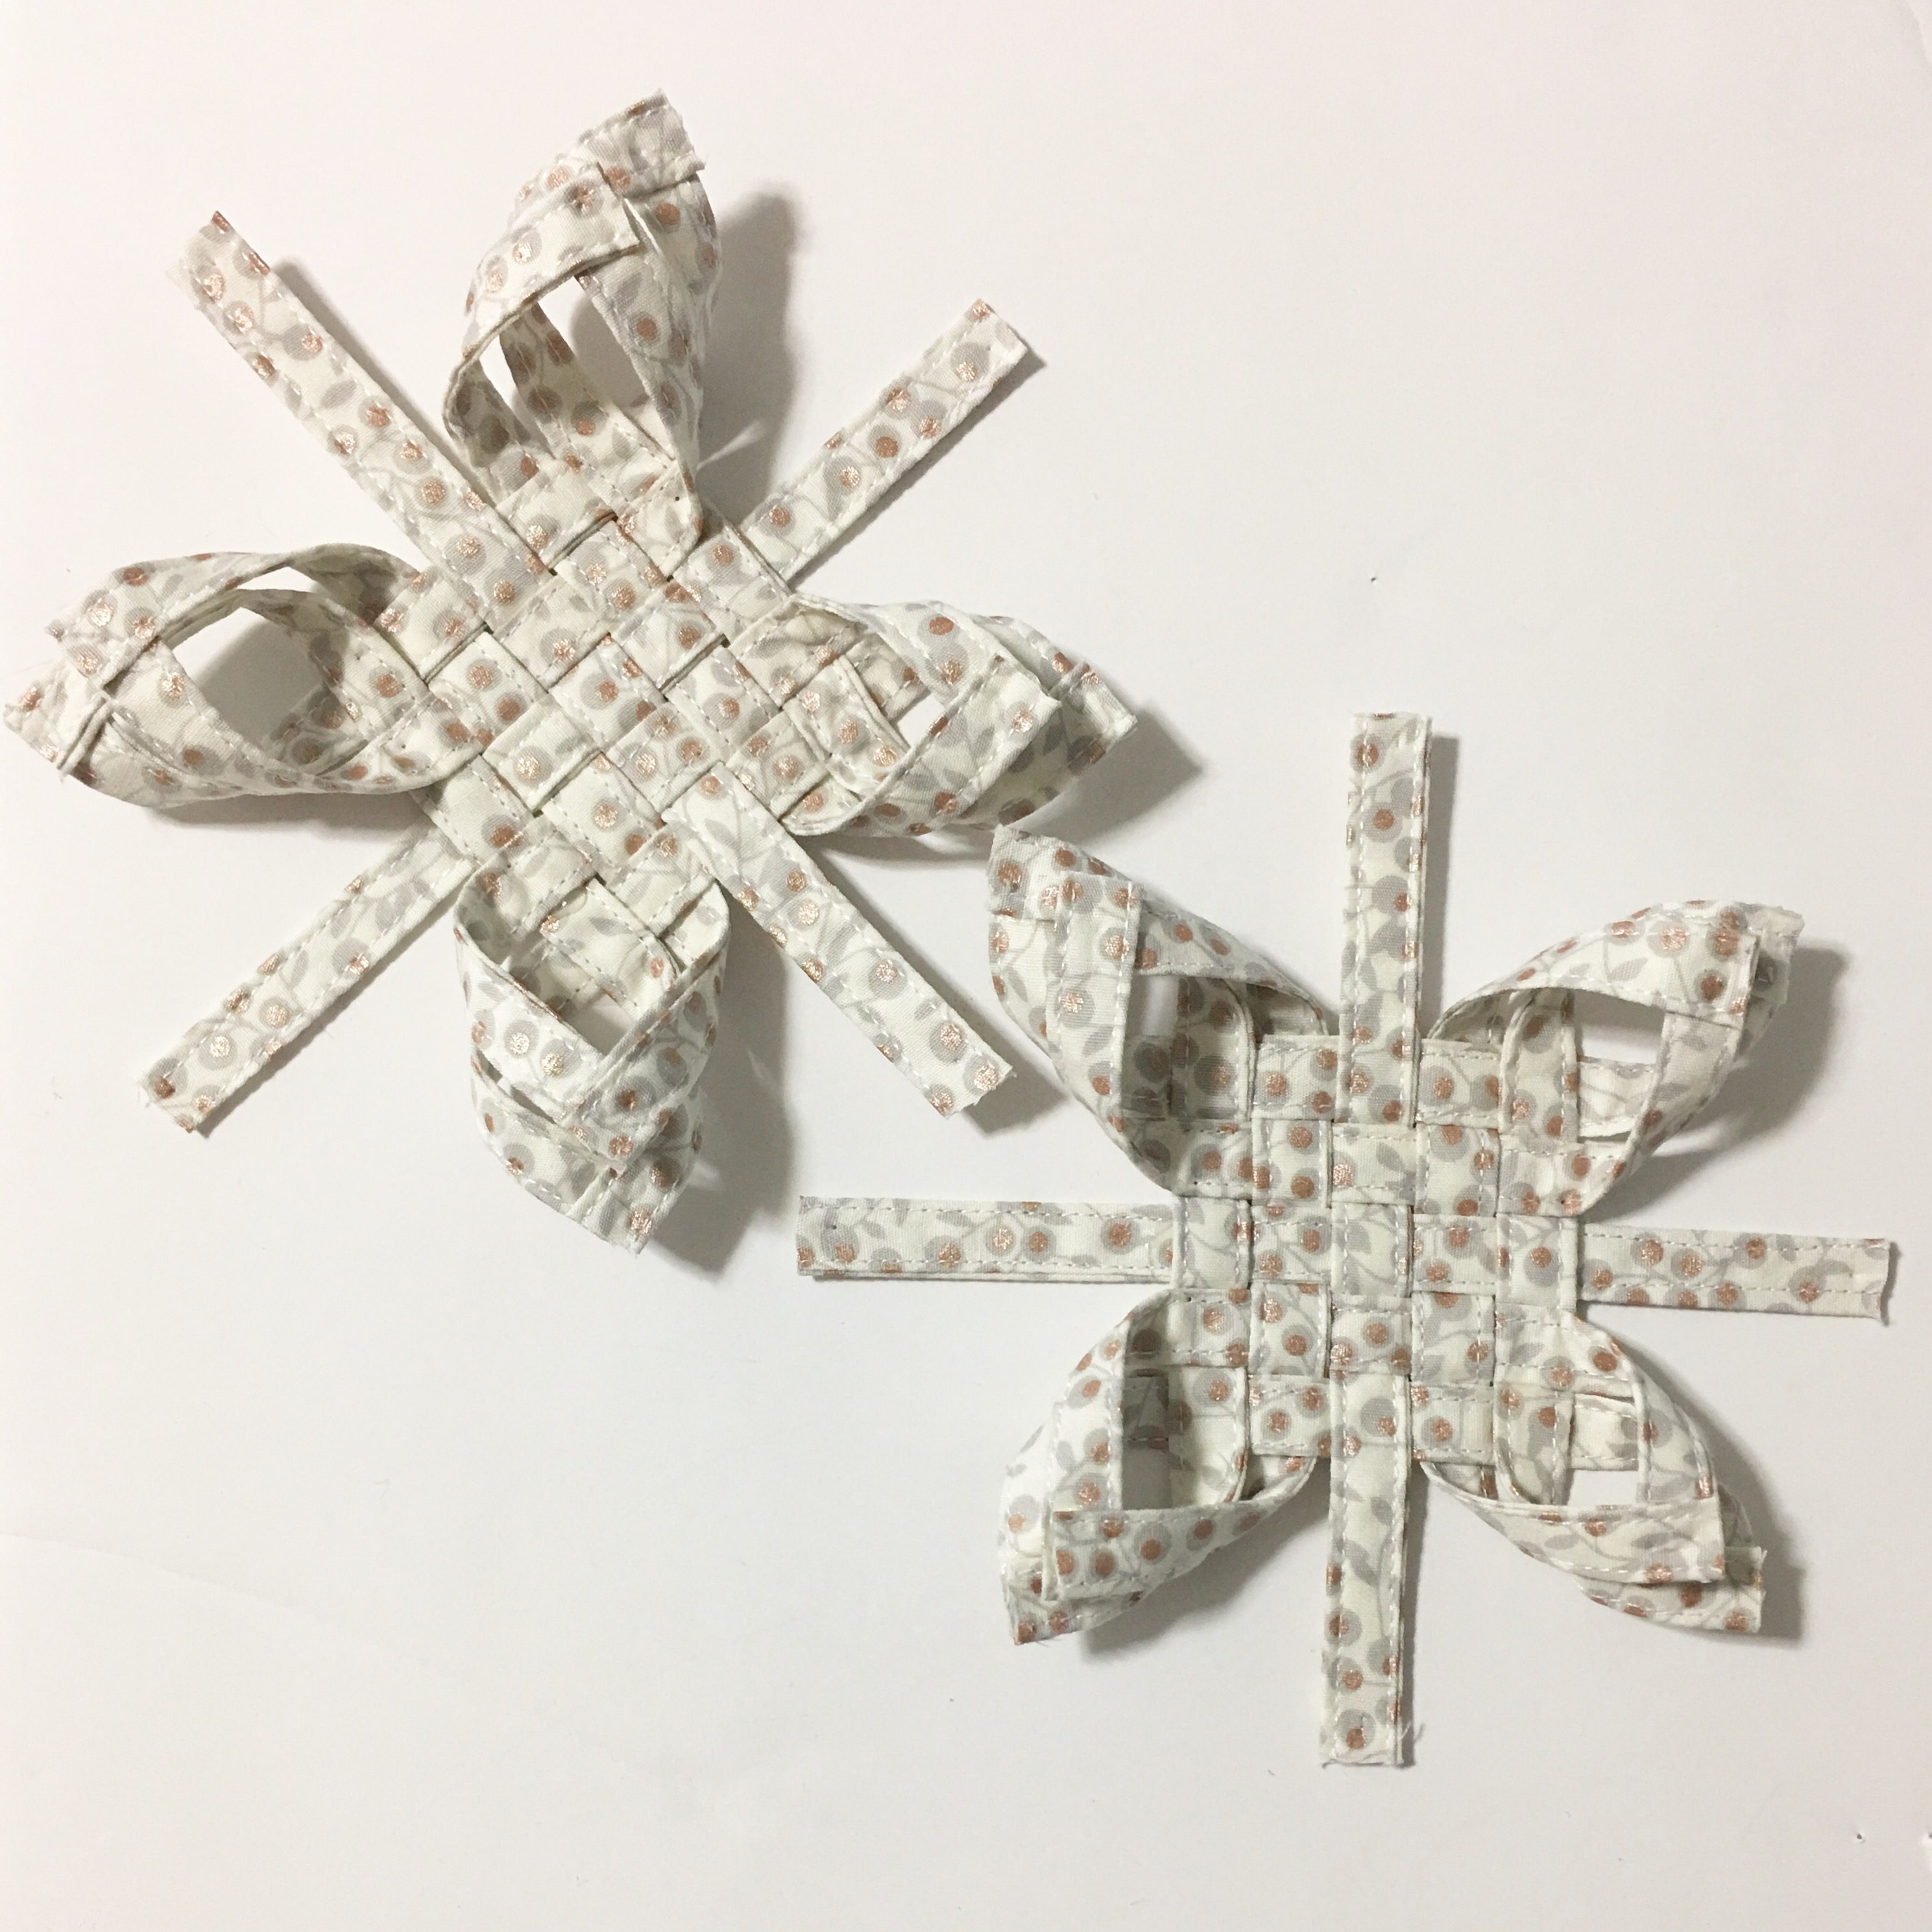
MARRYING THE TWO
Now the two separate star pieces are going to become one. I decided that a video was better than a bunch of pictures so boom make them kiss like this.
[wpvideo AycXp9av ]
Now you need to stick each straight strip of one into the cannoli part of the other one.

 At this point, if any of the straight strips exceed outside of its cannoli, then trim it. Once all is good here, glue each straight strip to the outer loop of its cannoli partner and clip it. Do this to all eight pairs and let dry for at least 2 hours.
 ENJOY YOUR STAR
Once dry, the only thing left you have is to tie a little ribbon on it. I tied mine behind the straight strip so that it’s hidden. But seriously do whatever floats your boat here. And if you’re down to make one as a tree topper, here’s a tutorial I did last year for it.
VIDEO TUTORIAL
Make sure to check out my video tutorial on my YouTube Channel.
 PRIZE
PRIZE
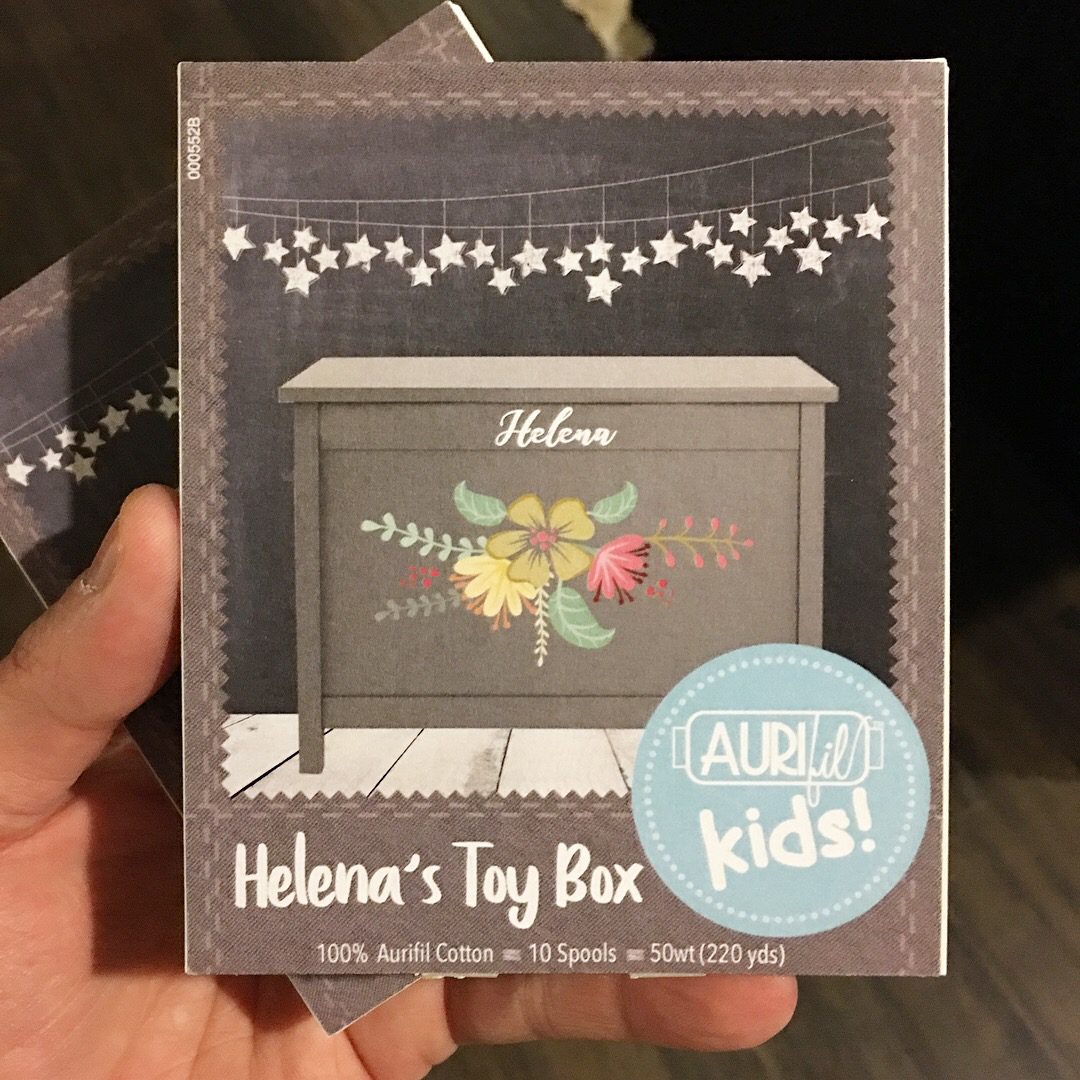
This week’s prize comes to you from my daughter Helena. When I was organizing everything for this week, so told me that she wanted to give away one of her Aurifil Toy Boxes for a giveaway since I love doing giveaways. I swear she’s a mini me. So use the hashtags “fabricadventstar and “ornamentalong to be eligible.
And like now that I’ve made one, I wanna play around and make more. Like imagine a contrast fabric for the 2nd and 4th strips. Or ooh oooh what if they were longer and skinnier. Like beyond bananas.
And if y’all make one, use the hashtag #fabricadventstar when posting on social media so we can all see. And don’t forget to check out Tara’s ornament on her blog!


Jinkies. When we were tweeting about this I didn’t realize there was a tutorial. This is so cool. Thanks for posting it!
I LOVE this! Can’t wait to try!
LOL “the cannoli part” you made my night 😀
Oh how beautifully this turned out. And could you let your daughter know that I live in Helena, MT and the downtown area has great architectural churches along with historical buildings, and a great view of mountains and walking trails.
Oh I have made these with paper before! I love that you converted it to use fabric instead! Last a lot longer that way. Thanks! If I get the time, I want to try your way as well!
Do you any advice on getting the cannoli parts equal? I seem to have a really short one each time. I do look at the corners before I start gluing to make sure the corners are 90 degree angles.
That happens to me sometimes and it’s usually because my strips aren’t centered perfectly.
These are beautiful! I’m saving and going to try when it’s closer to Christmas. Thanks for the awesome tutorial!
would cardboard work in place of foam board?
Totally
These are amazing!!! Thank you for sharing.
Will try these real soon with my grandchildren.
When do I use the wefty tool to make this?
I made a few of these stars! They are easy to make and wonderful. Thank you so much!
Jana
what size is it when it’s done