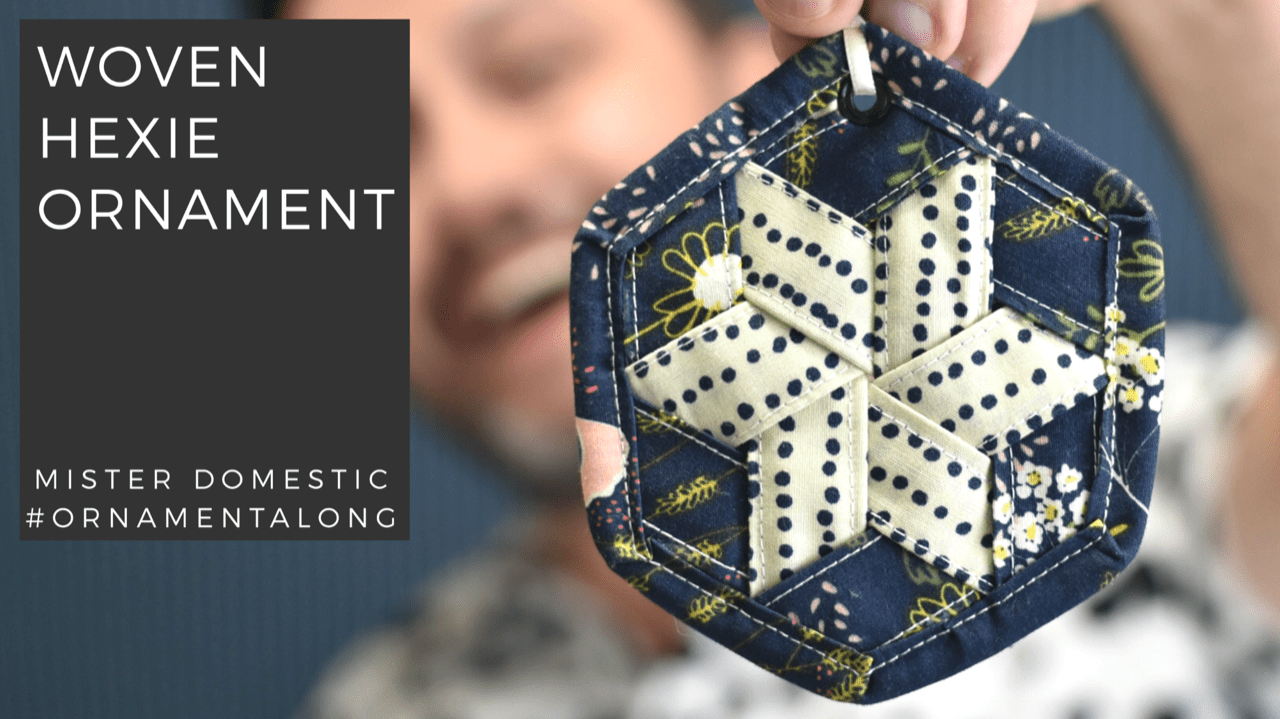
The Ornament Along keeps on trucking with this week’s Woven Hexie Ornament. I originally had the idea to make woven hexie ornament when I had leftover weave from my Oh How Sweet Zipped Case and yaaaay I did it! I did it! Now let me tell you how I got from A to Z.
Okay so like this is a total scrappy/ charm-square-friendly project. And if you’ve never woven fabric and have been all scurred or intimidated, get over it because this is so manageable even though it has a bunch of steps. So here are the tools you need:
- Fabric
- Thread
- WEFTY
- Grommets (optional)
- 1/8″ ribbon
- Pins
- Small foam board
- Marker
- Ruler with 30 degree angle on it or use this downloadable one.
- Tape
PREPARING THE BOARD
So your board needs to look like this.
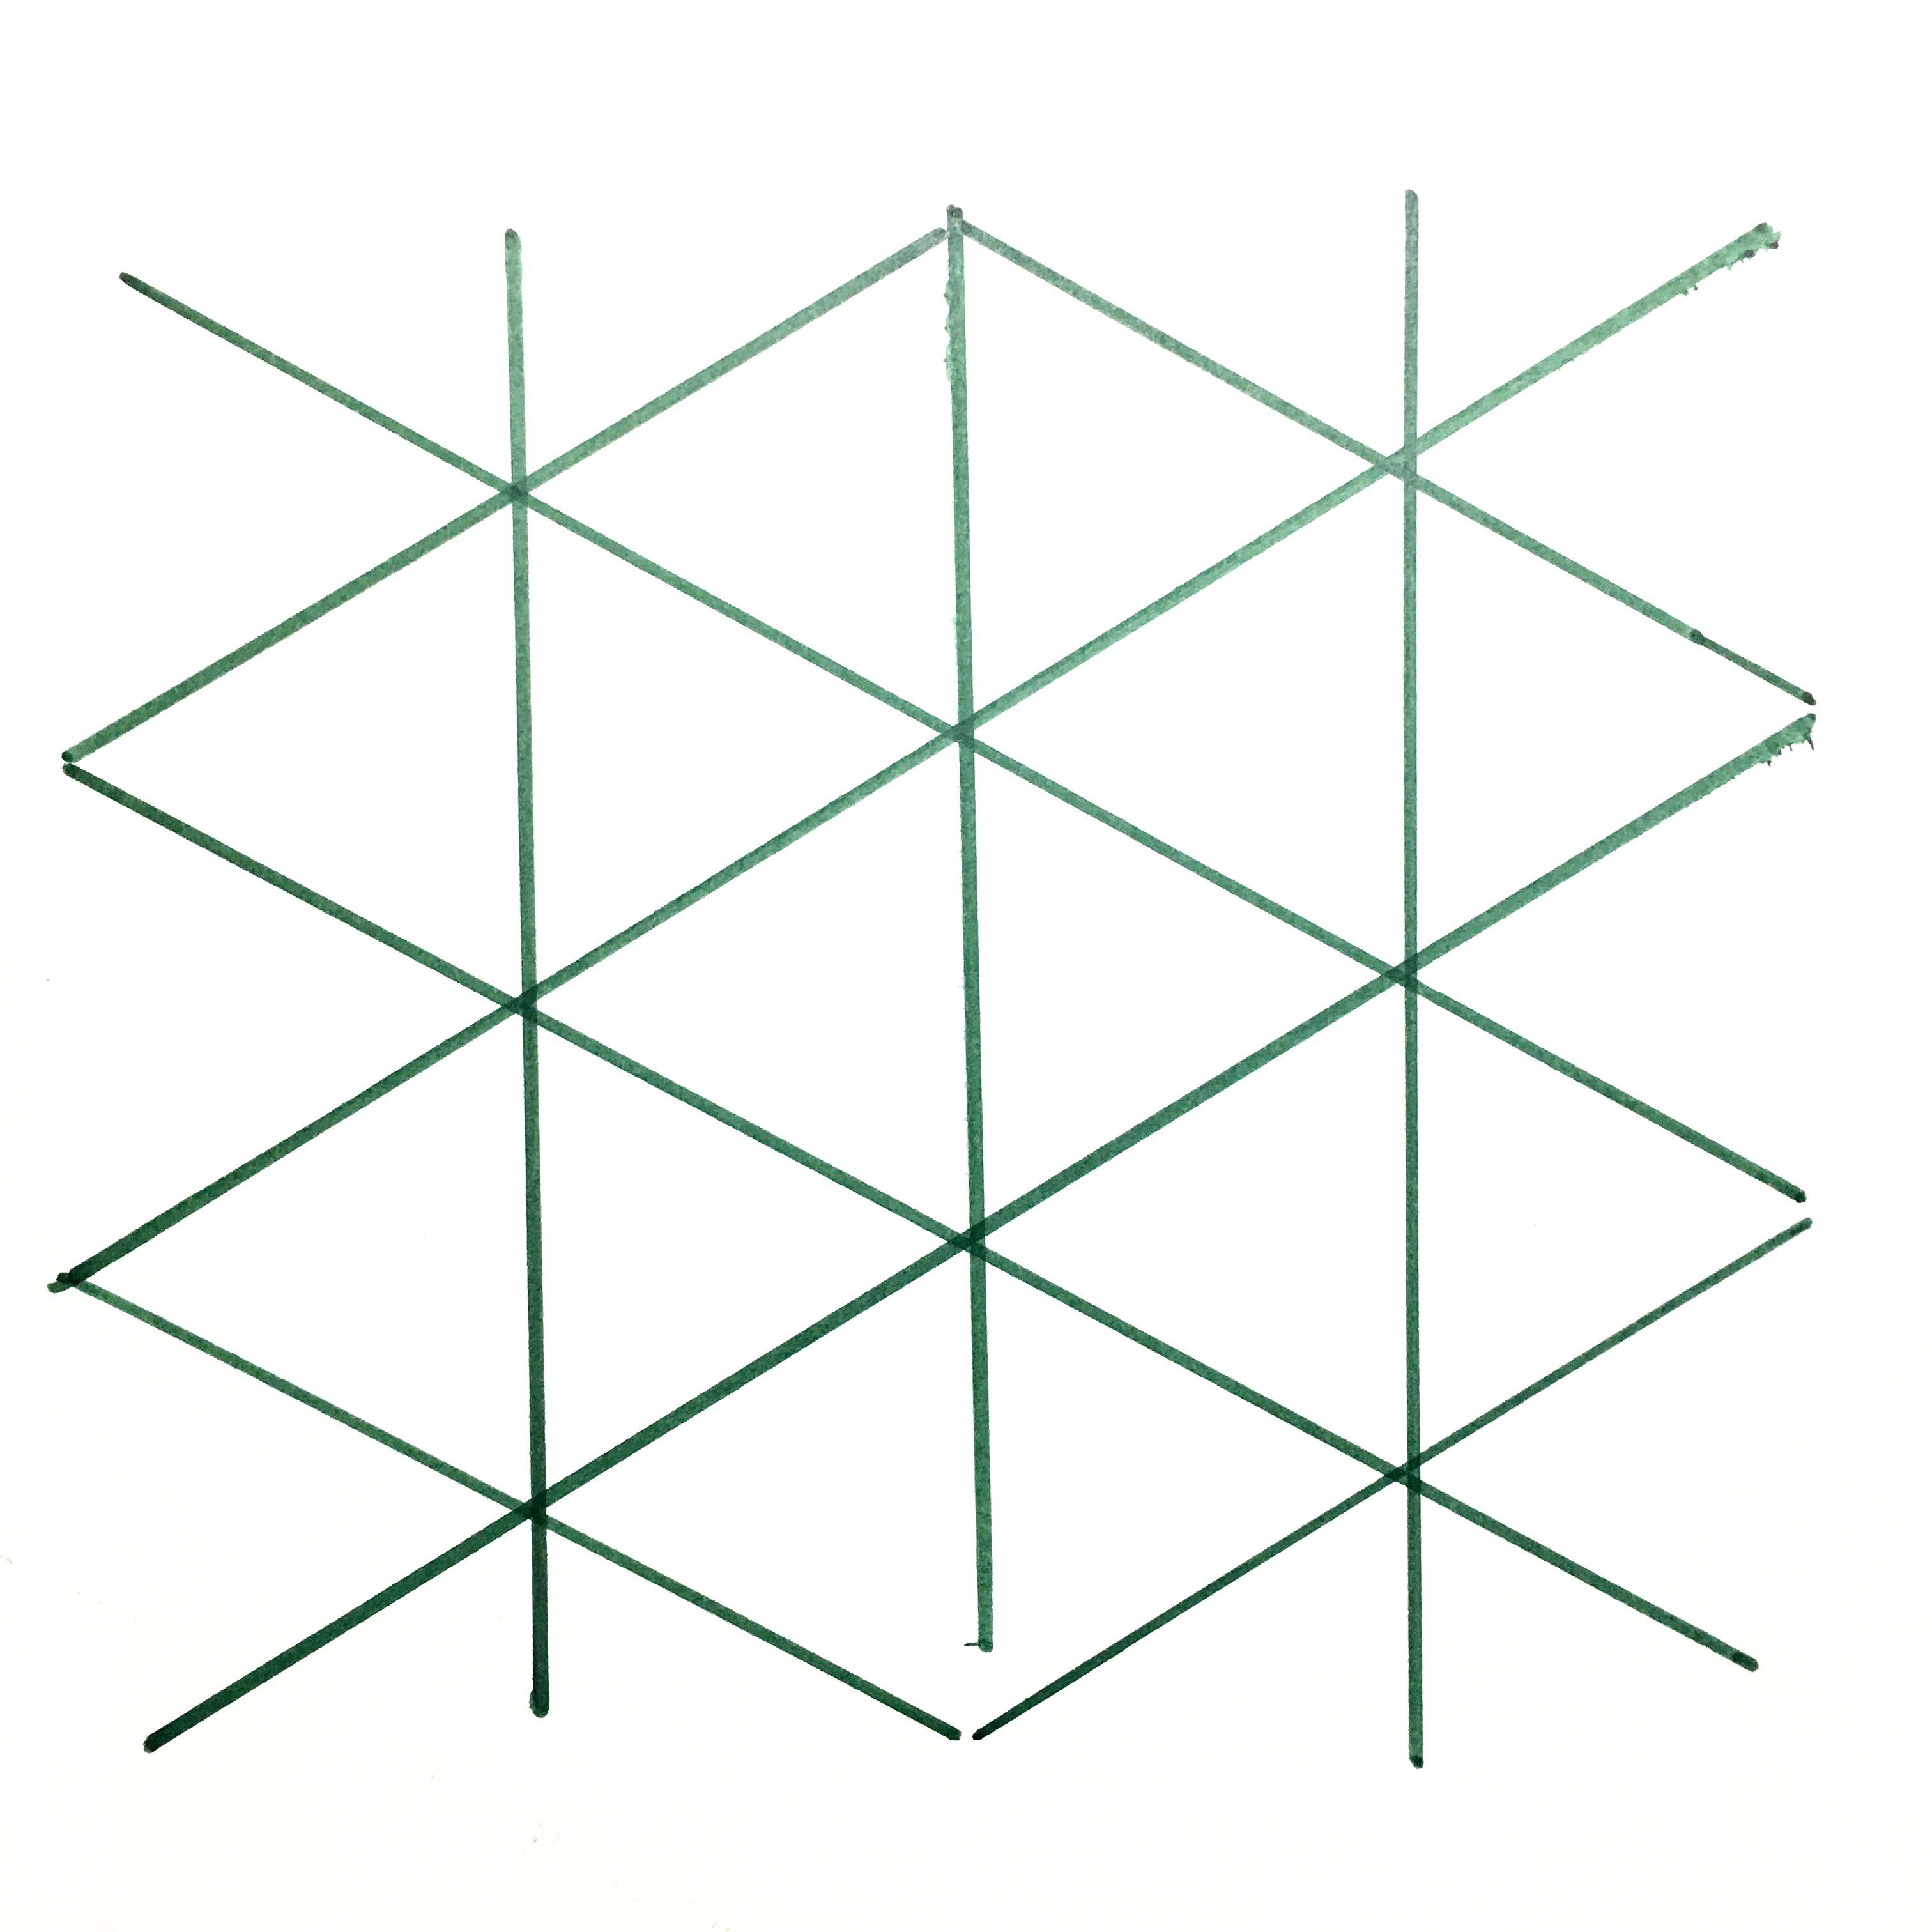
To get there, draw three horizontal lines 1.5″ apart. Then draw lines going 30 degrees both ways on an imaginary horizontal line also 1.5″ apart. Boom there you go.
PREPARING YOUR STRIPS
- Cut 3″ strips of whatever fabric you wanna use. I used two colors and needed a 30″ strip of each color.
- Then iron the length of the strips with the edges folded into the center.
- Next fold in half lengthwise and iron it and then top stitch on both sides of the pressed strip.
- Cut these finished strips into 5″ pieces. You should end up with 6 of each color.
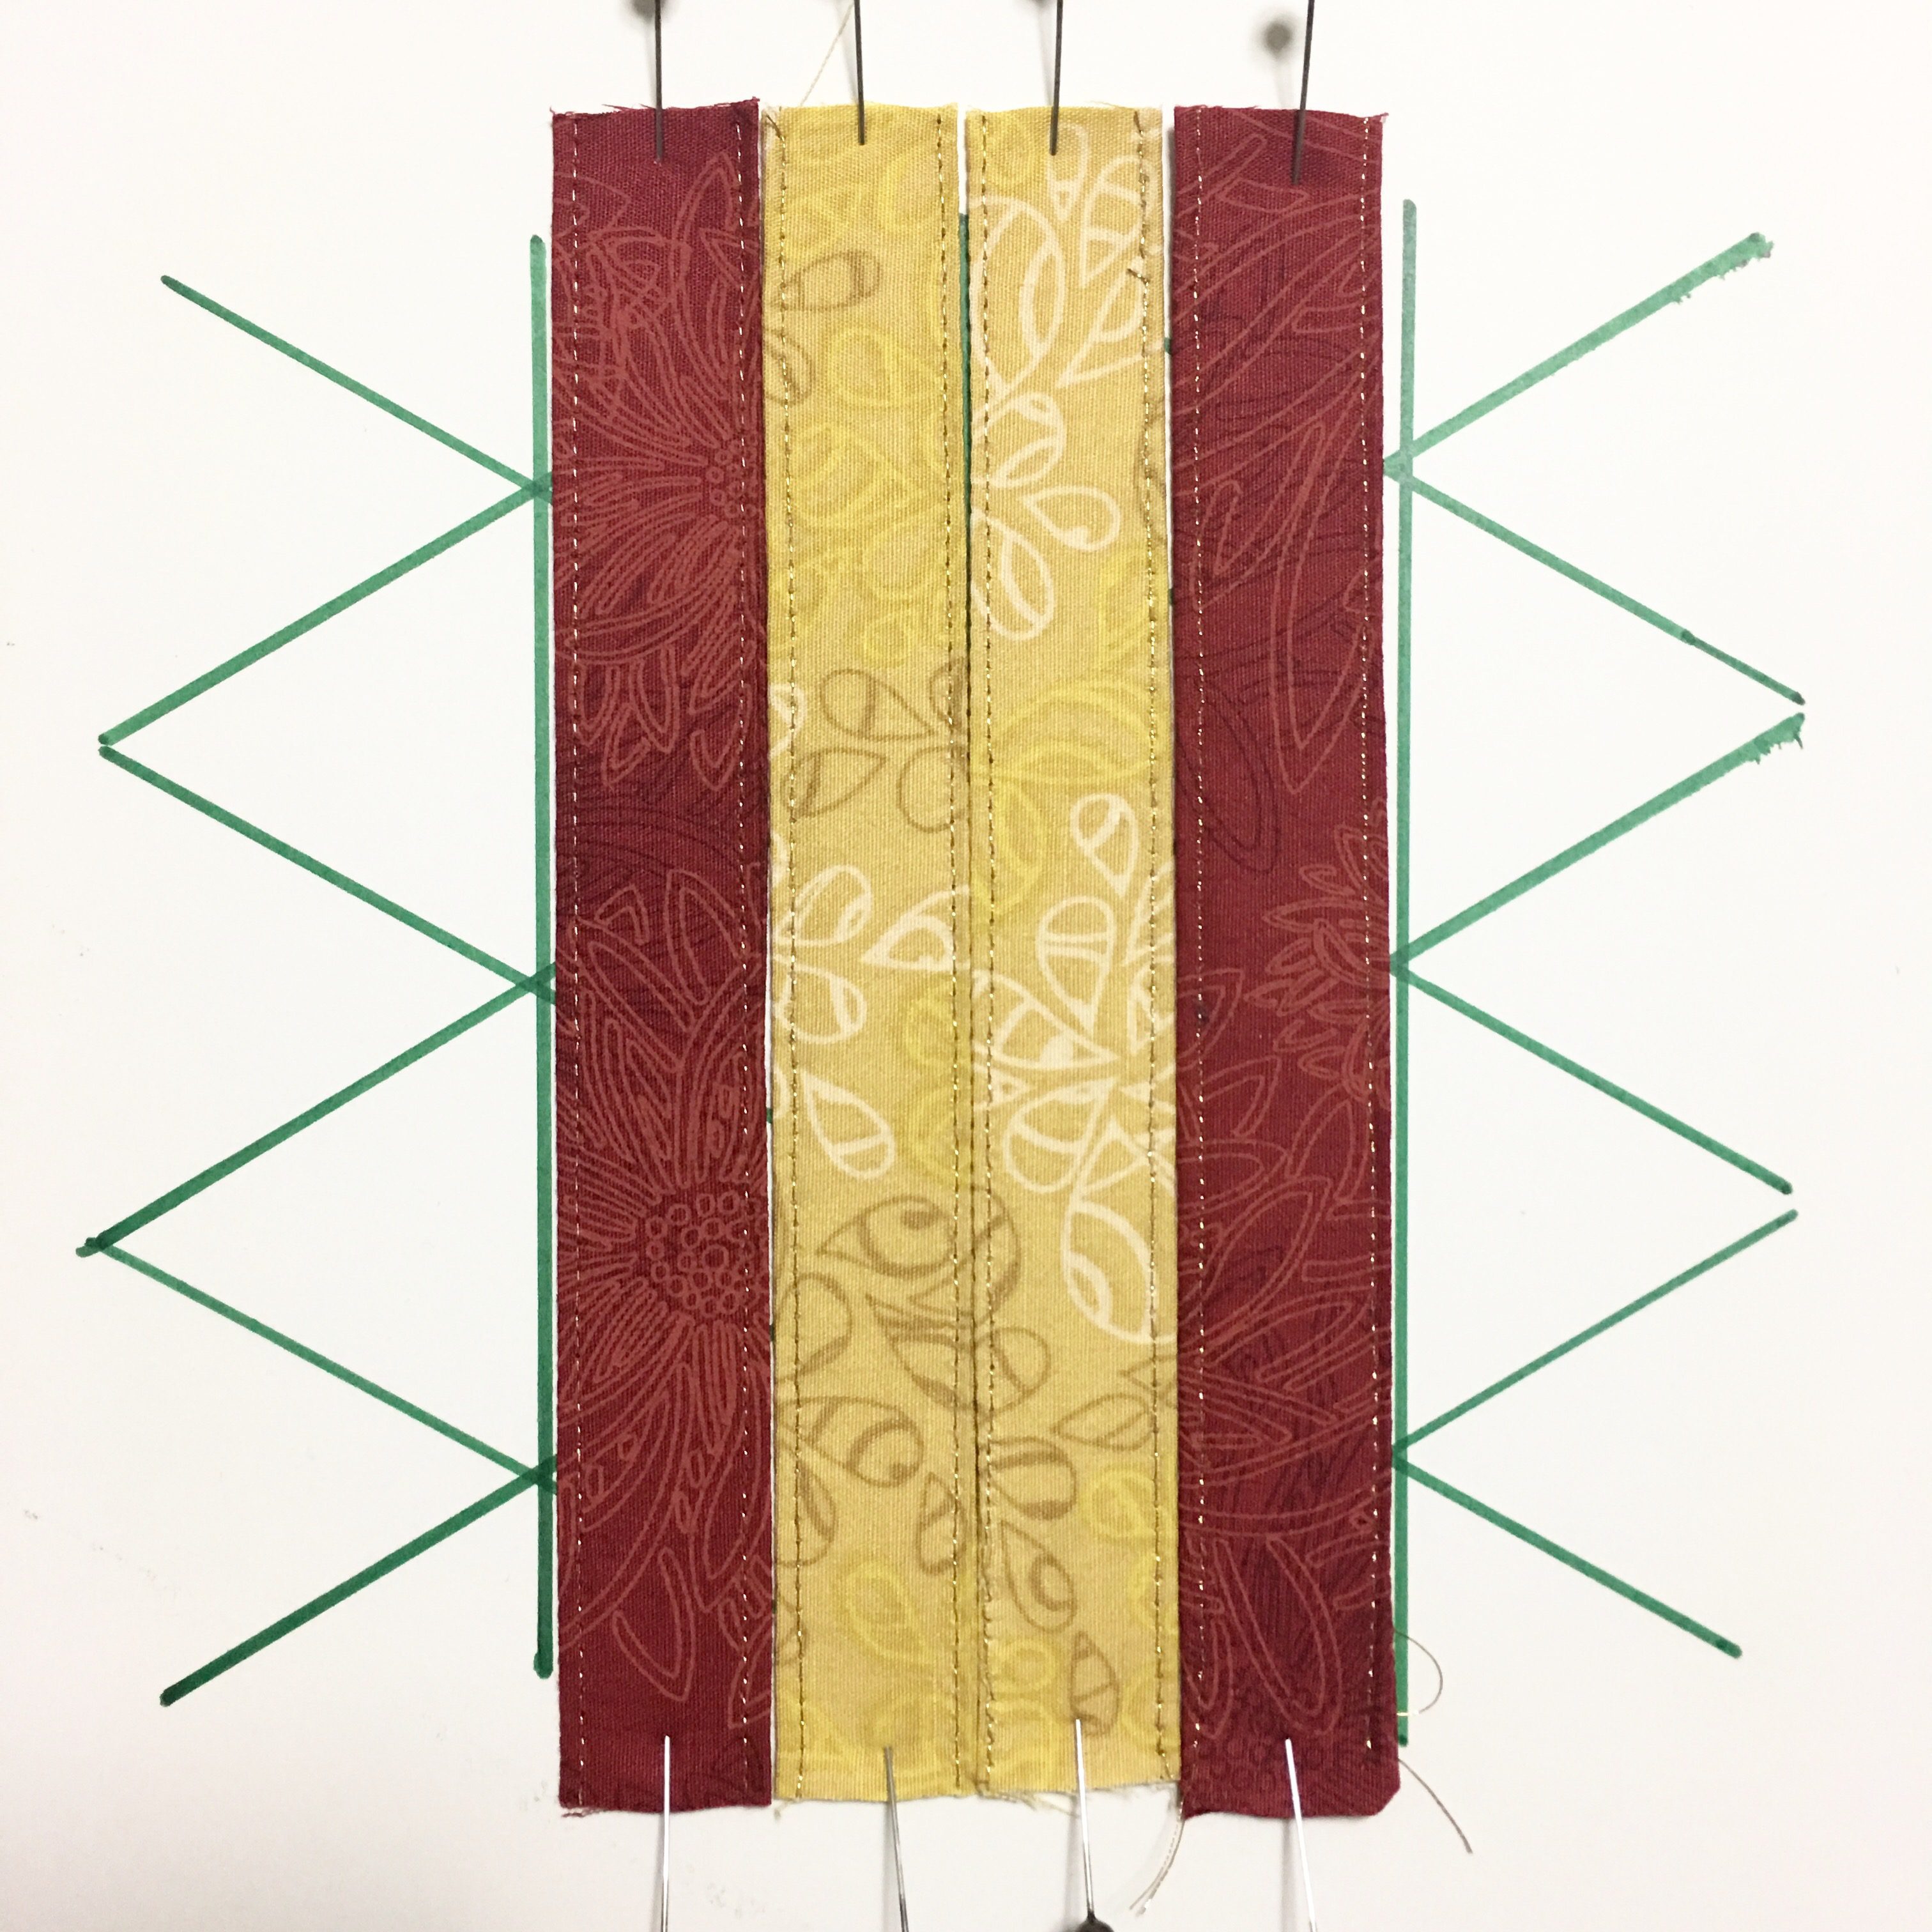
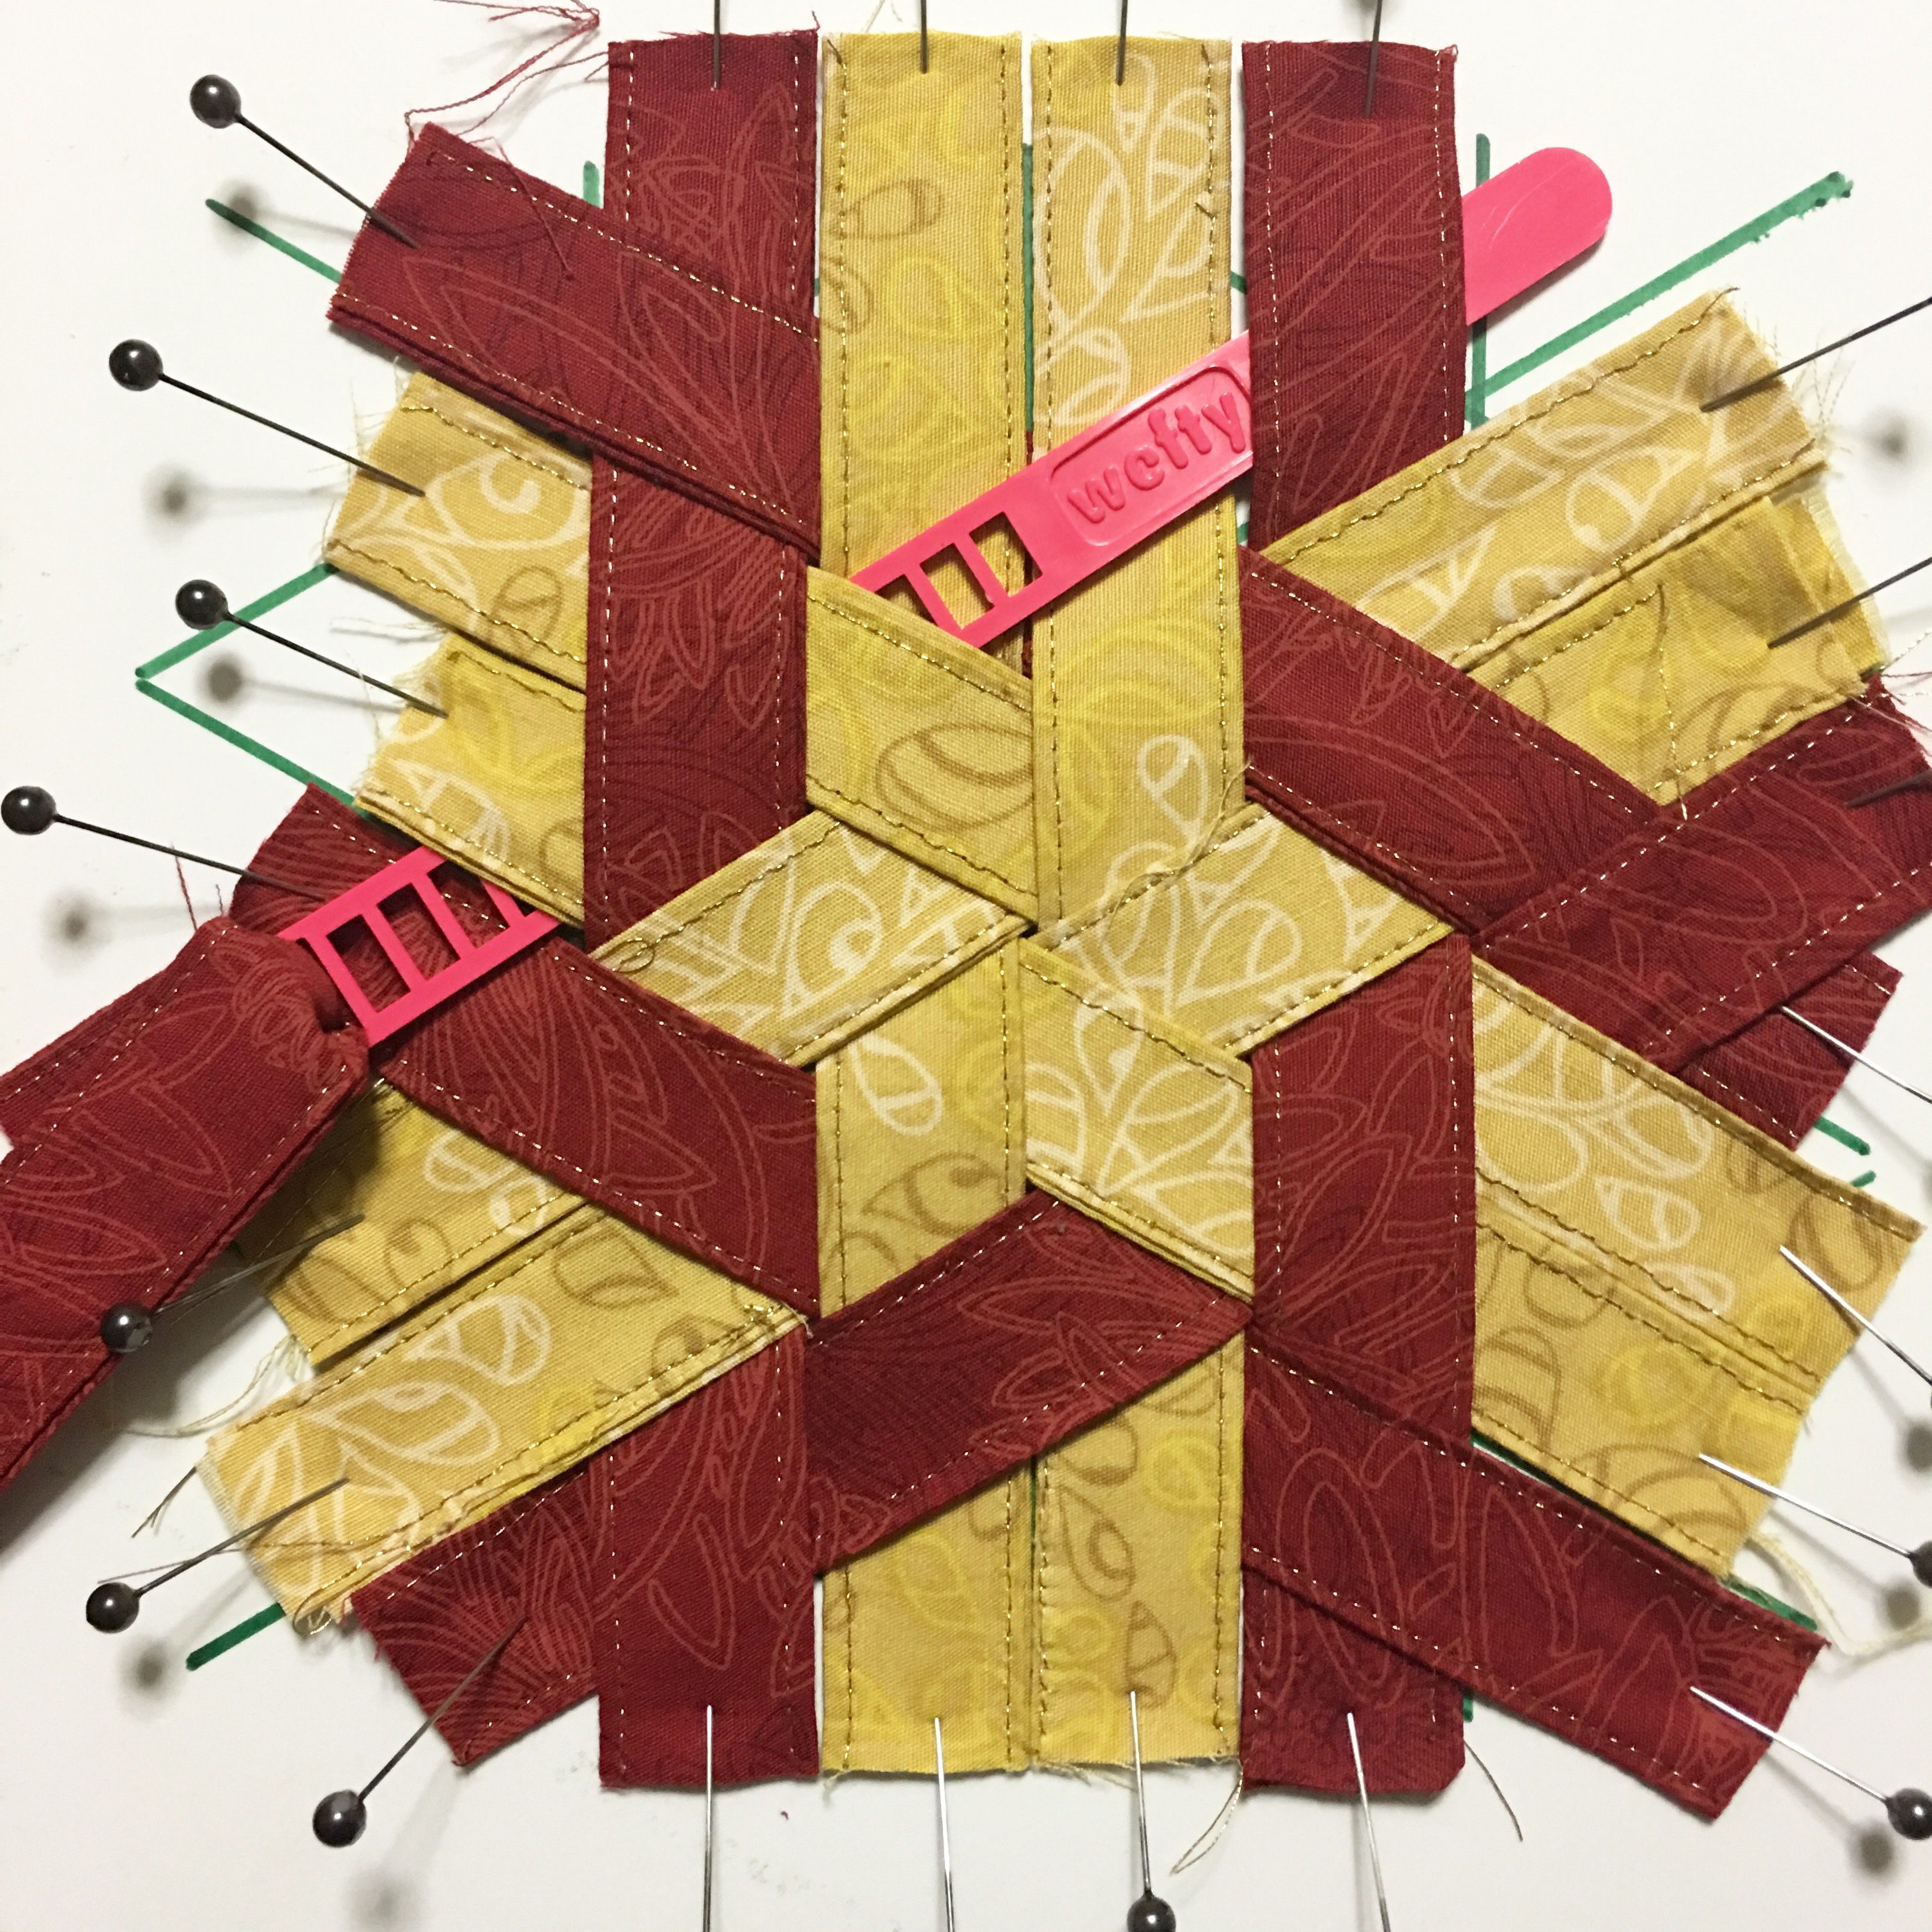
GETTING YOUR WEAVE ON
Layer 1
Pin down the four vertical strips right next to each other.
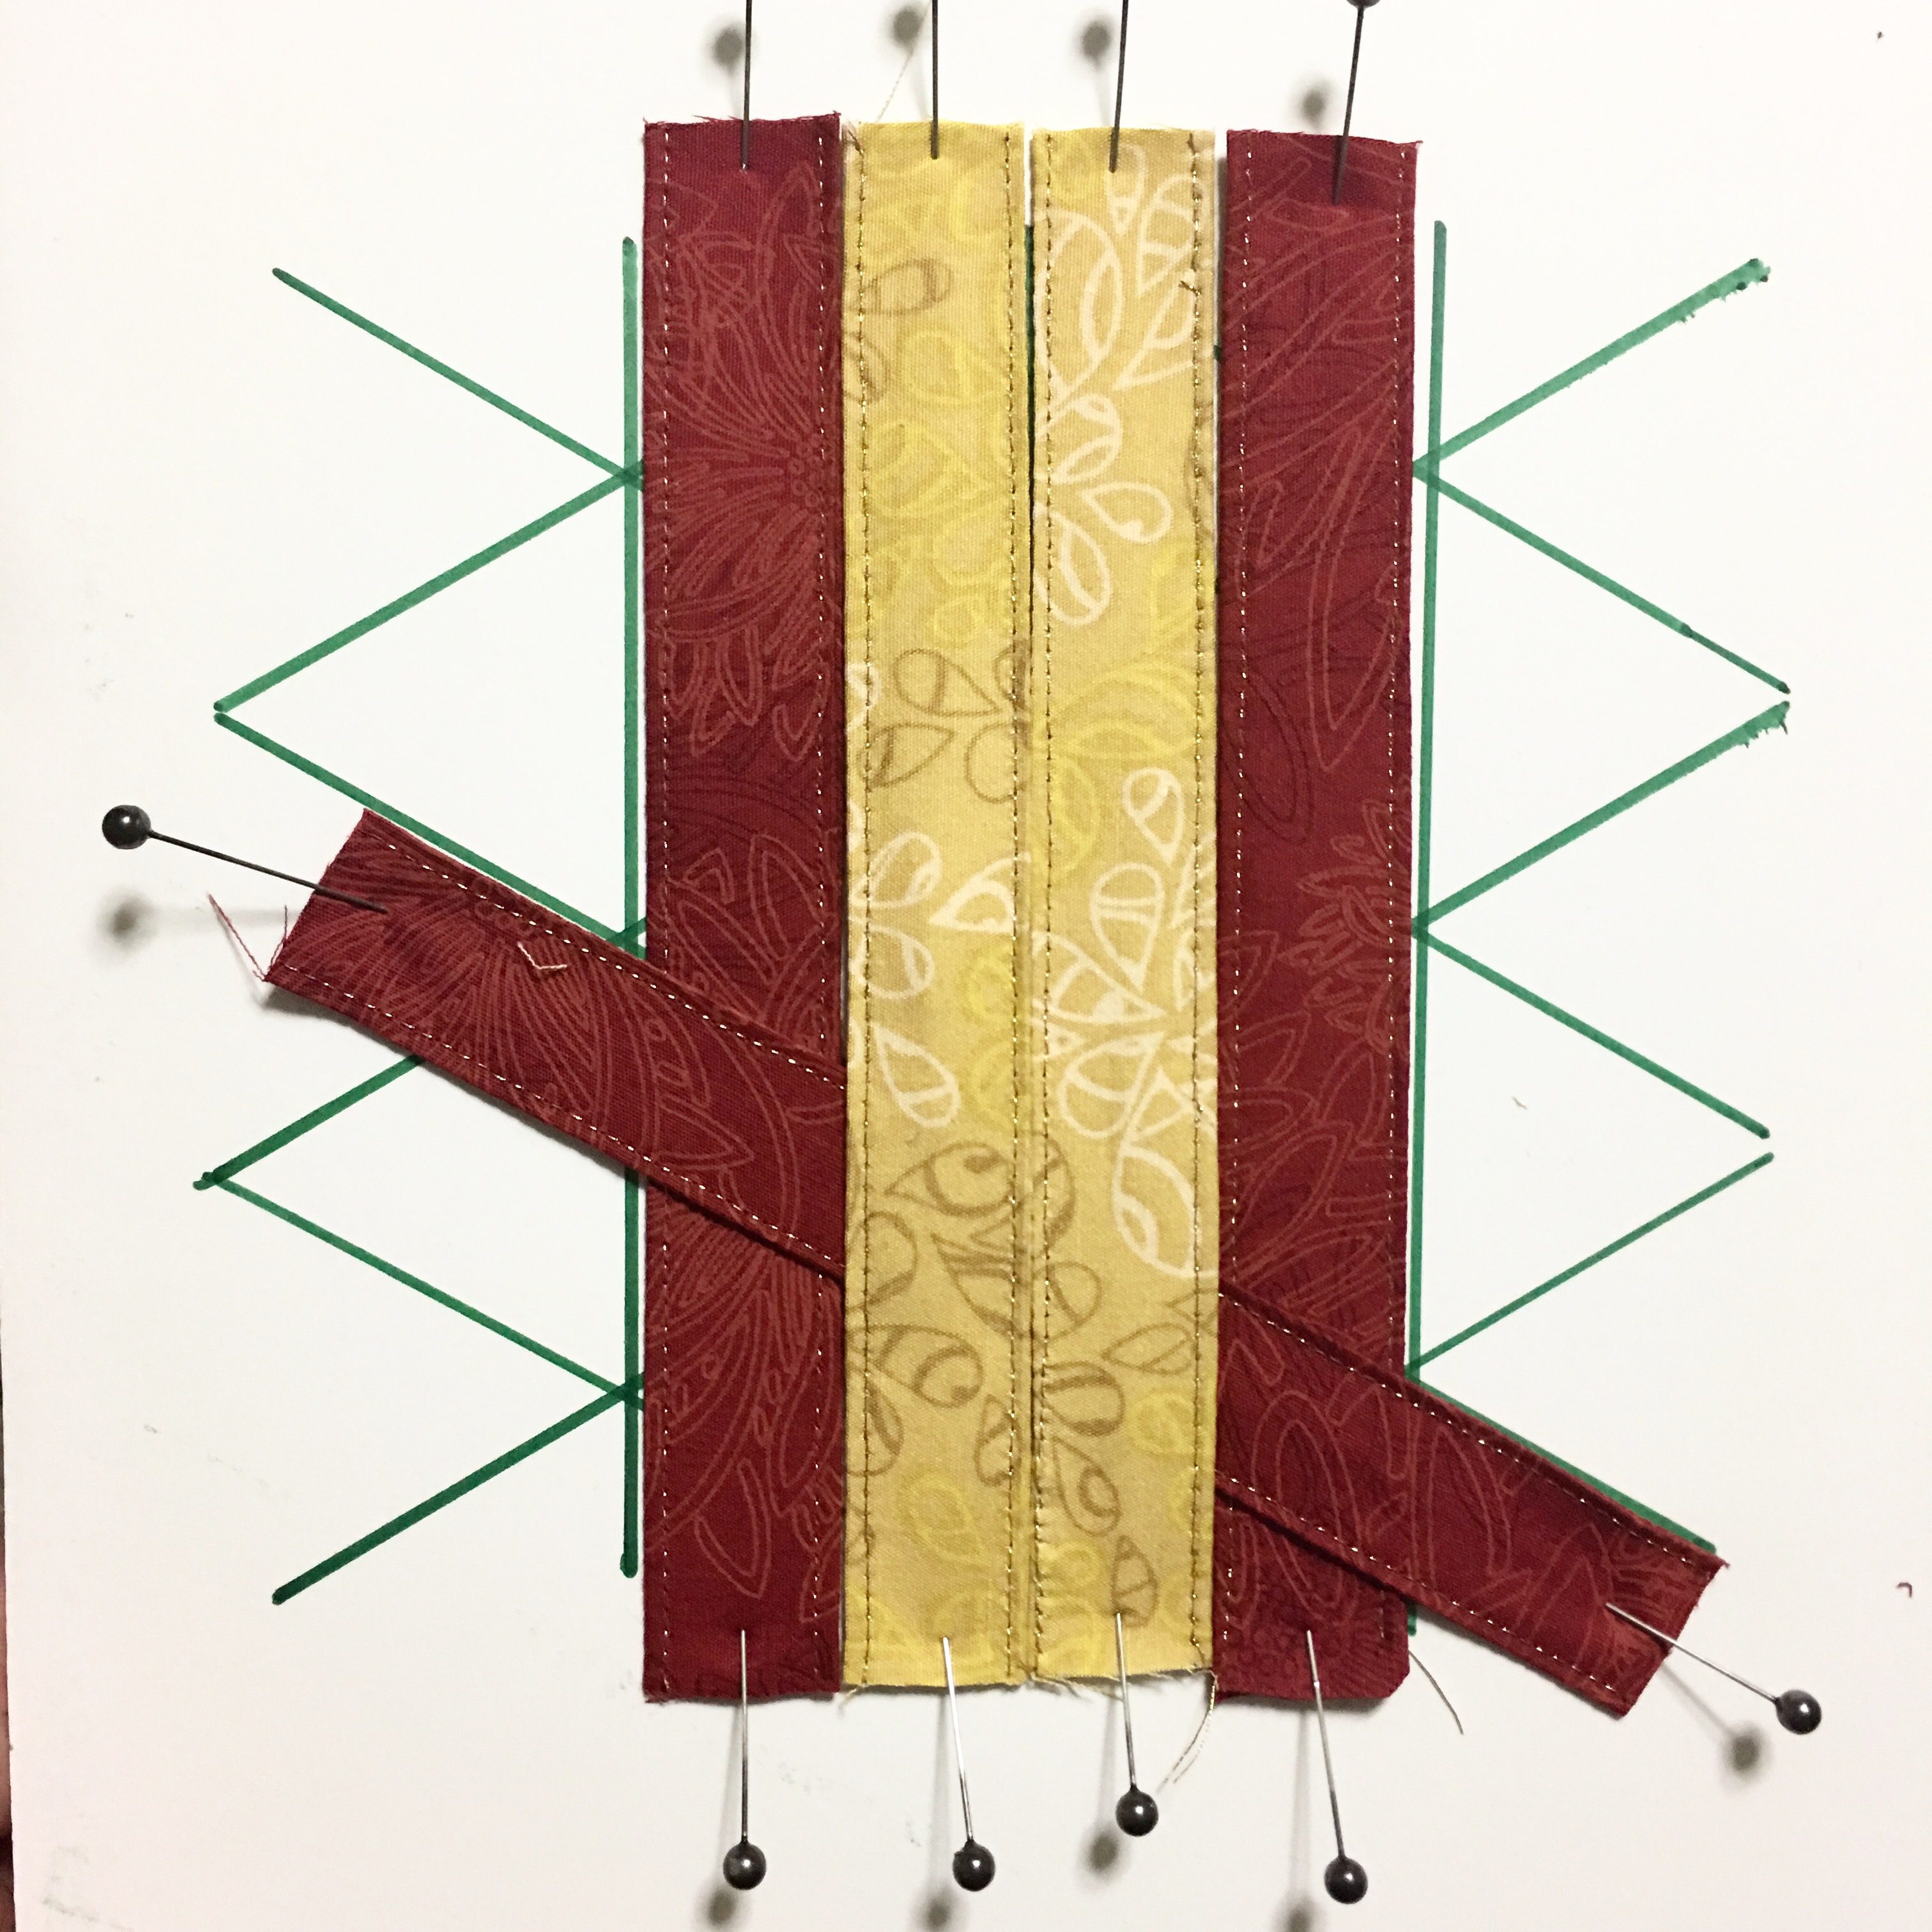
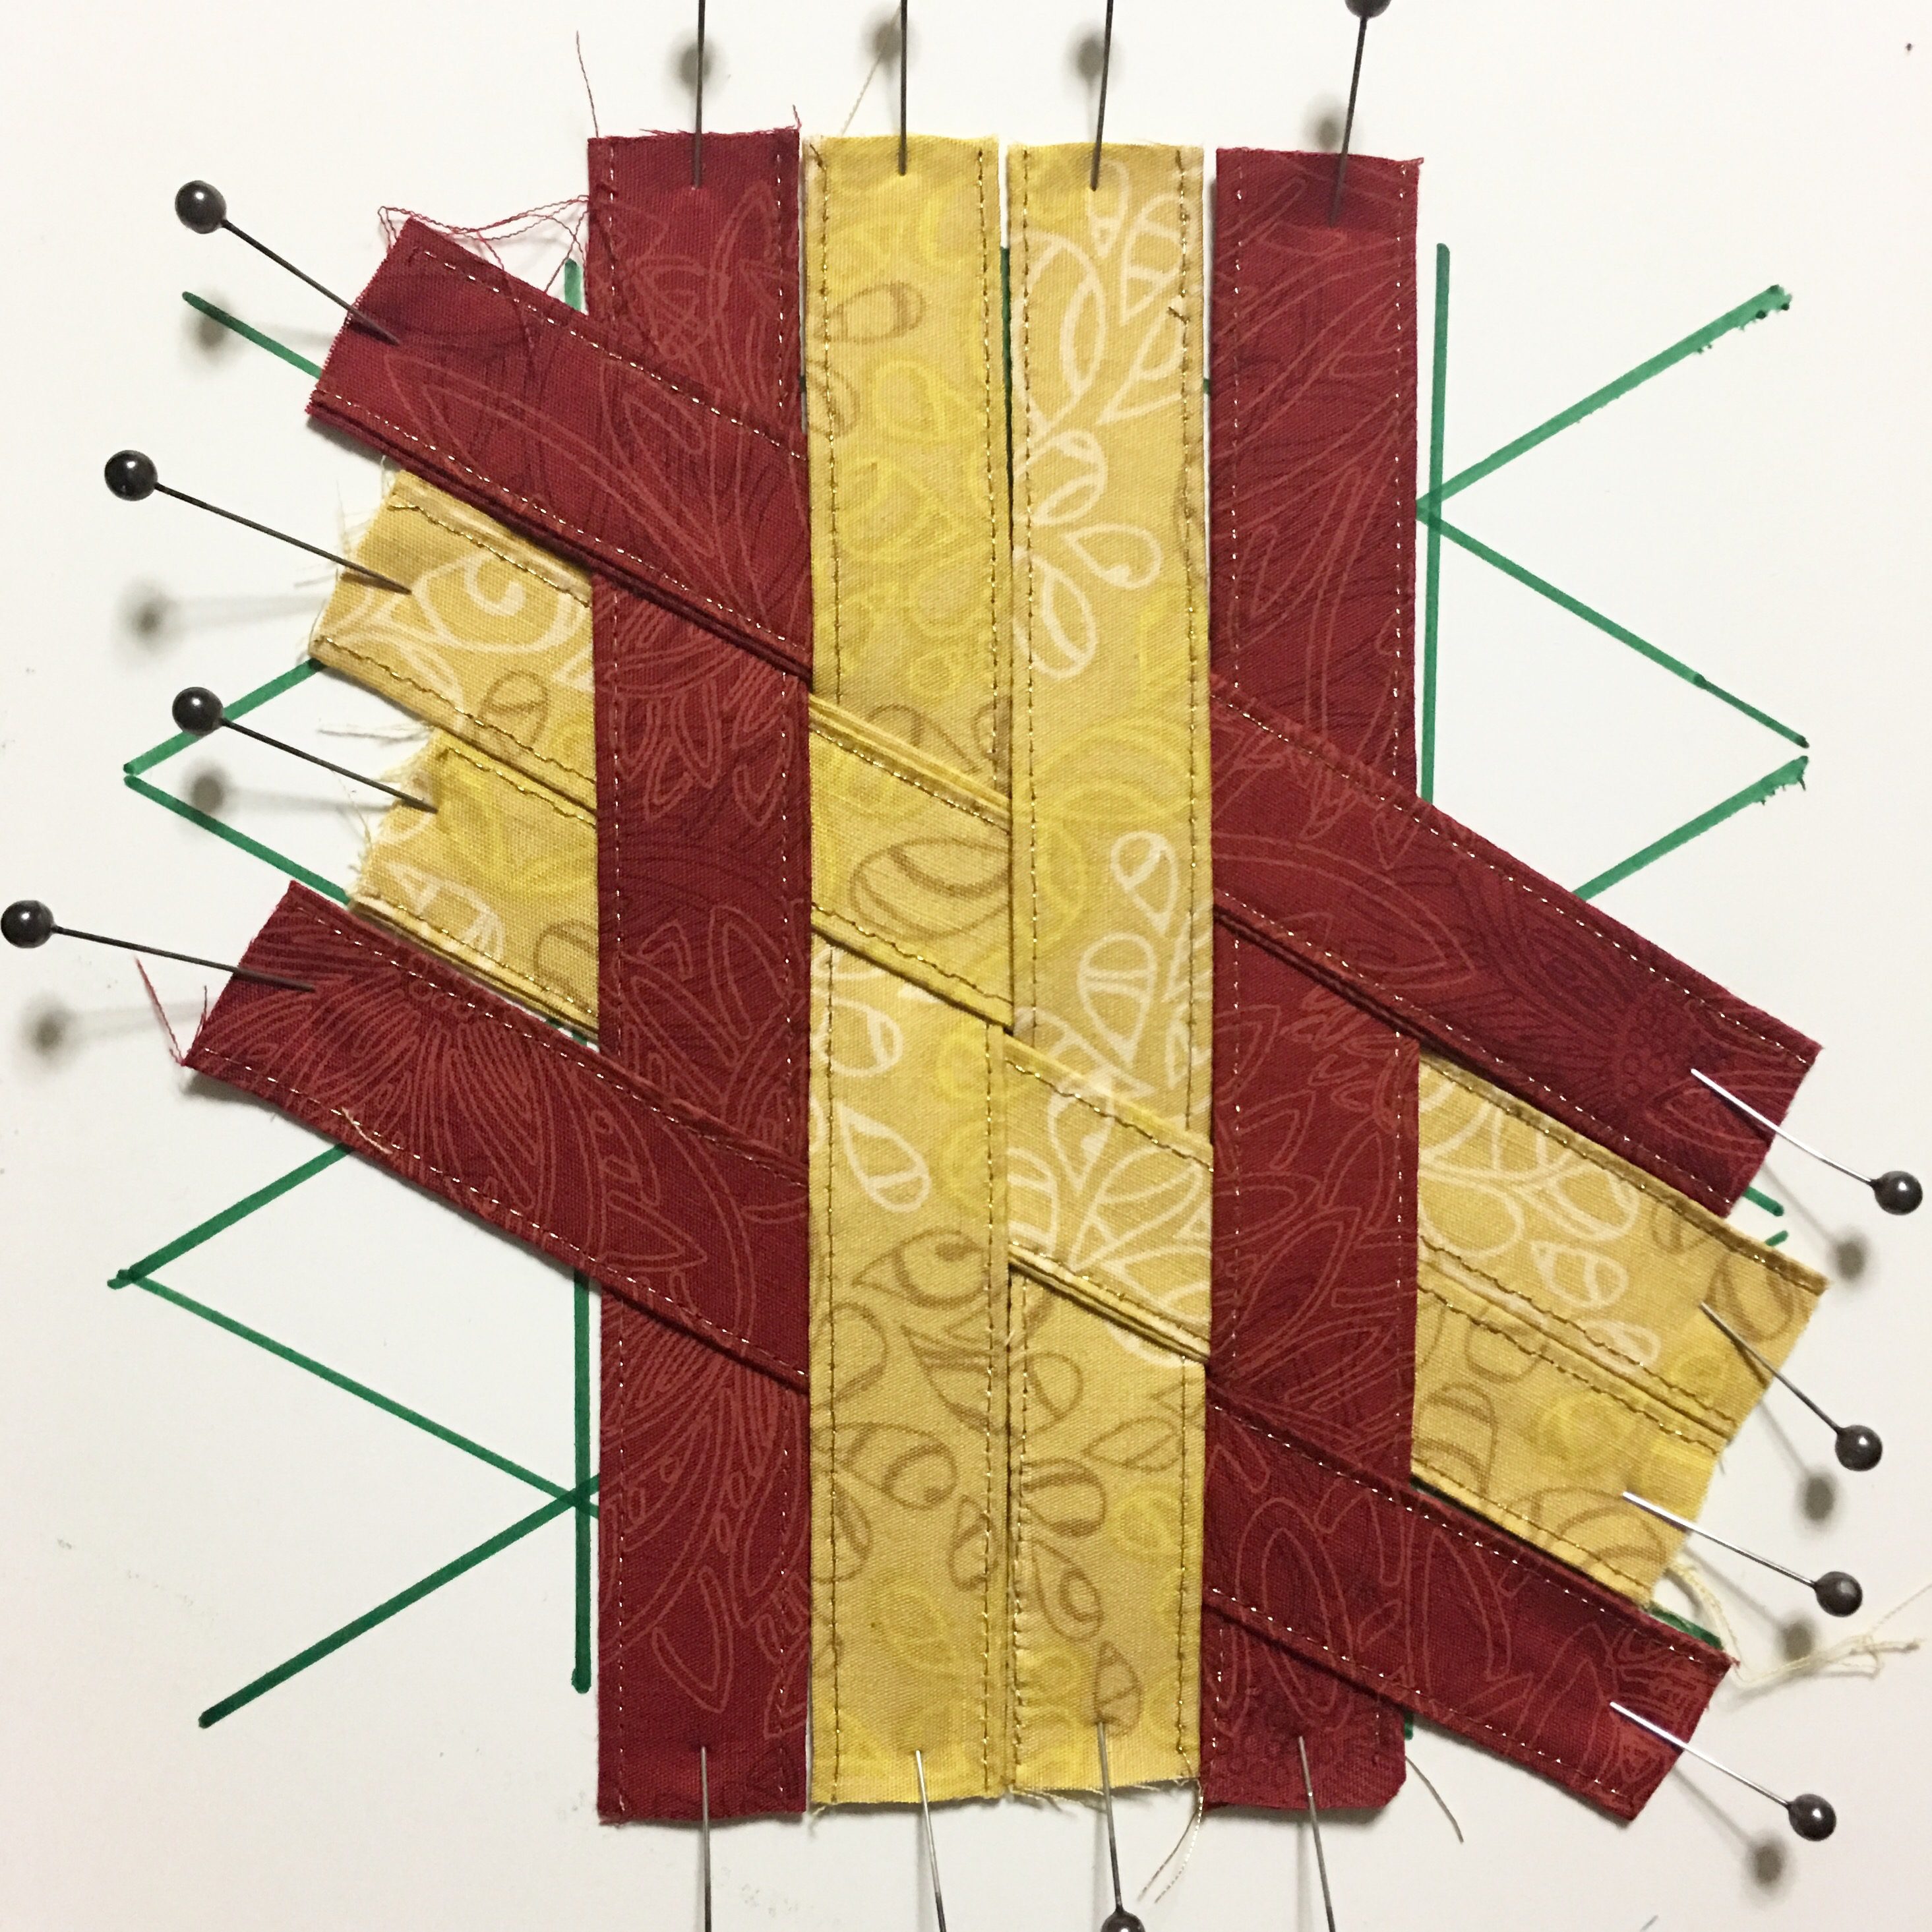
Layer 2
Start weaving from the bottom up using this pattern from the right to left:
- Over one, under two, over one
- Under one, over one, under two
- Under two, over one, under one
- Over one, under two, over one
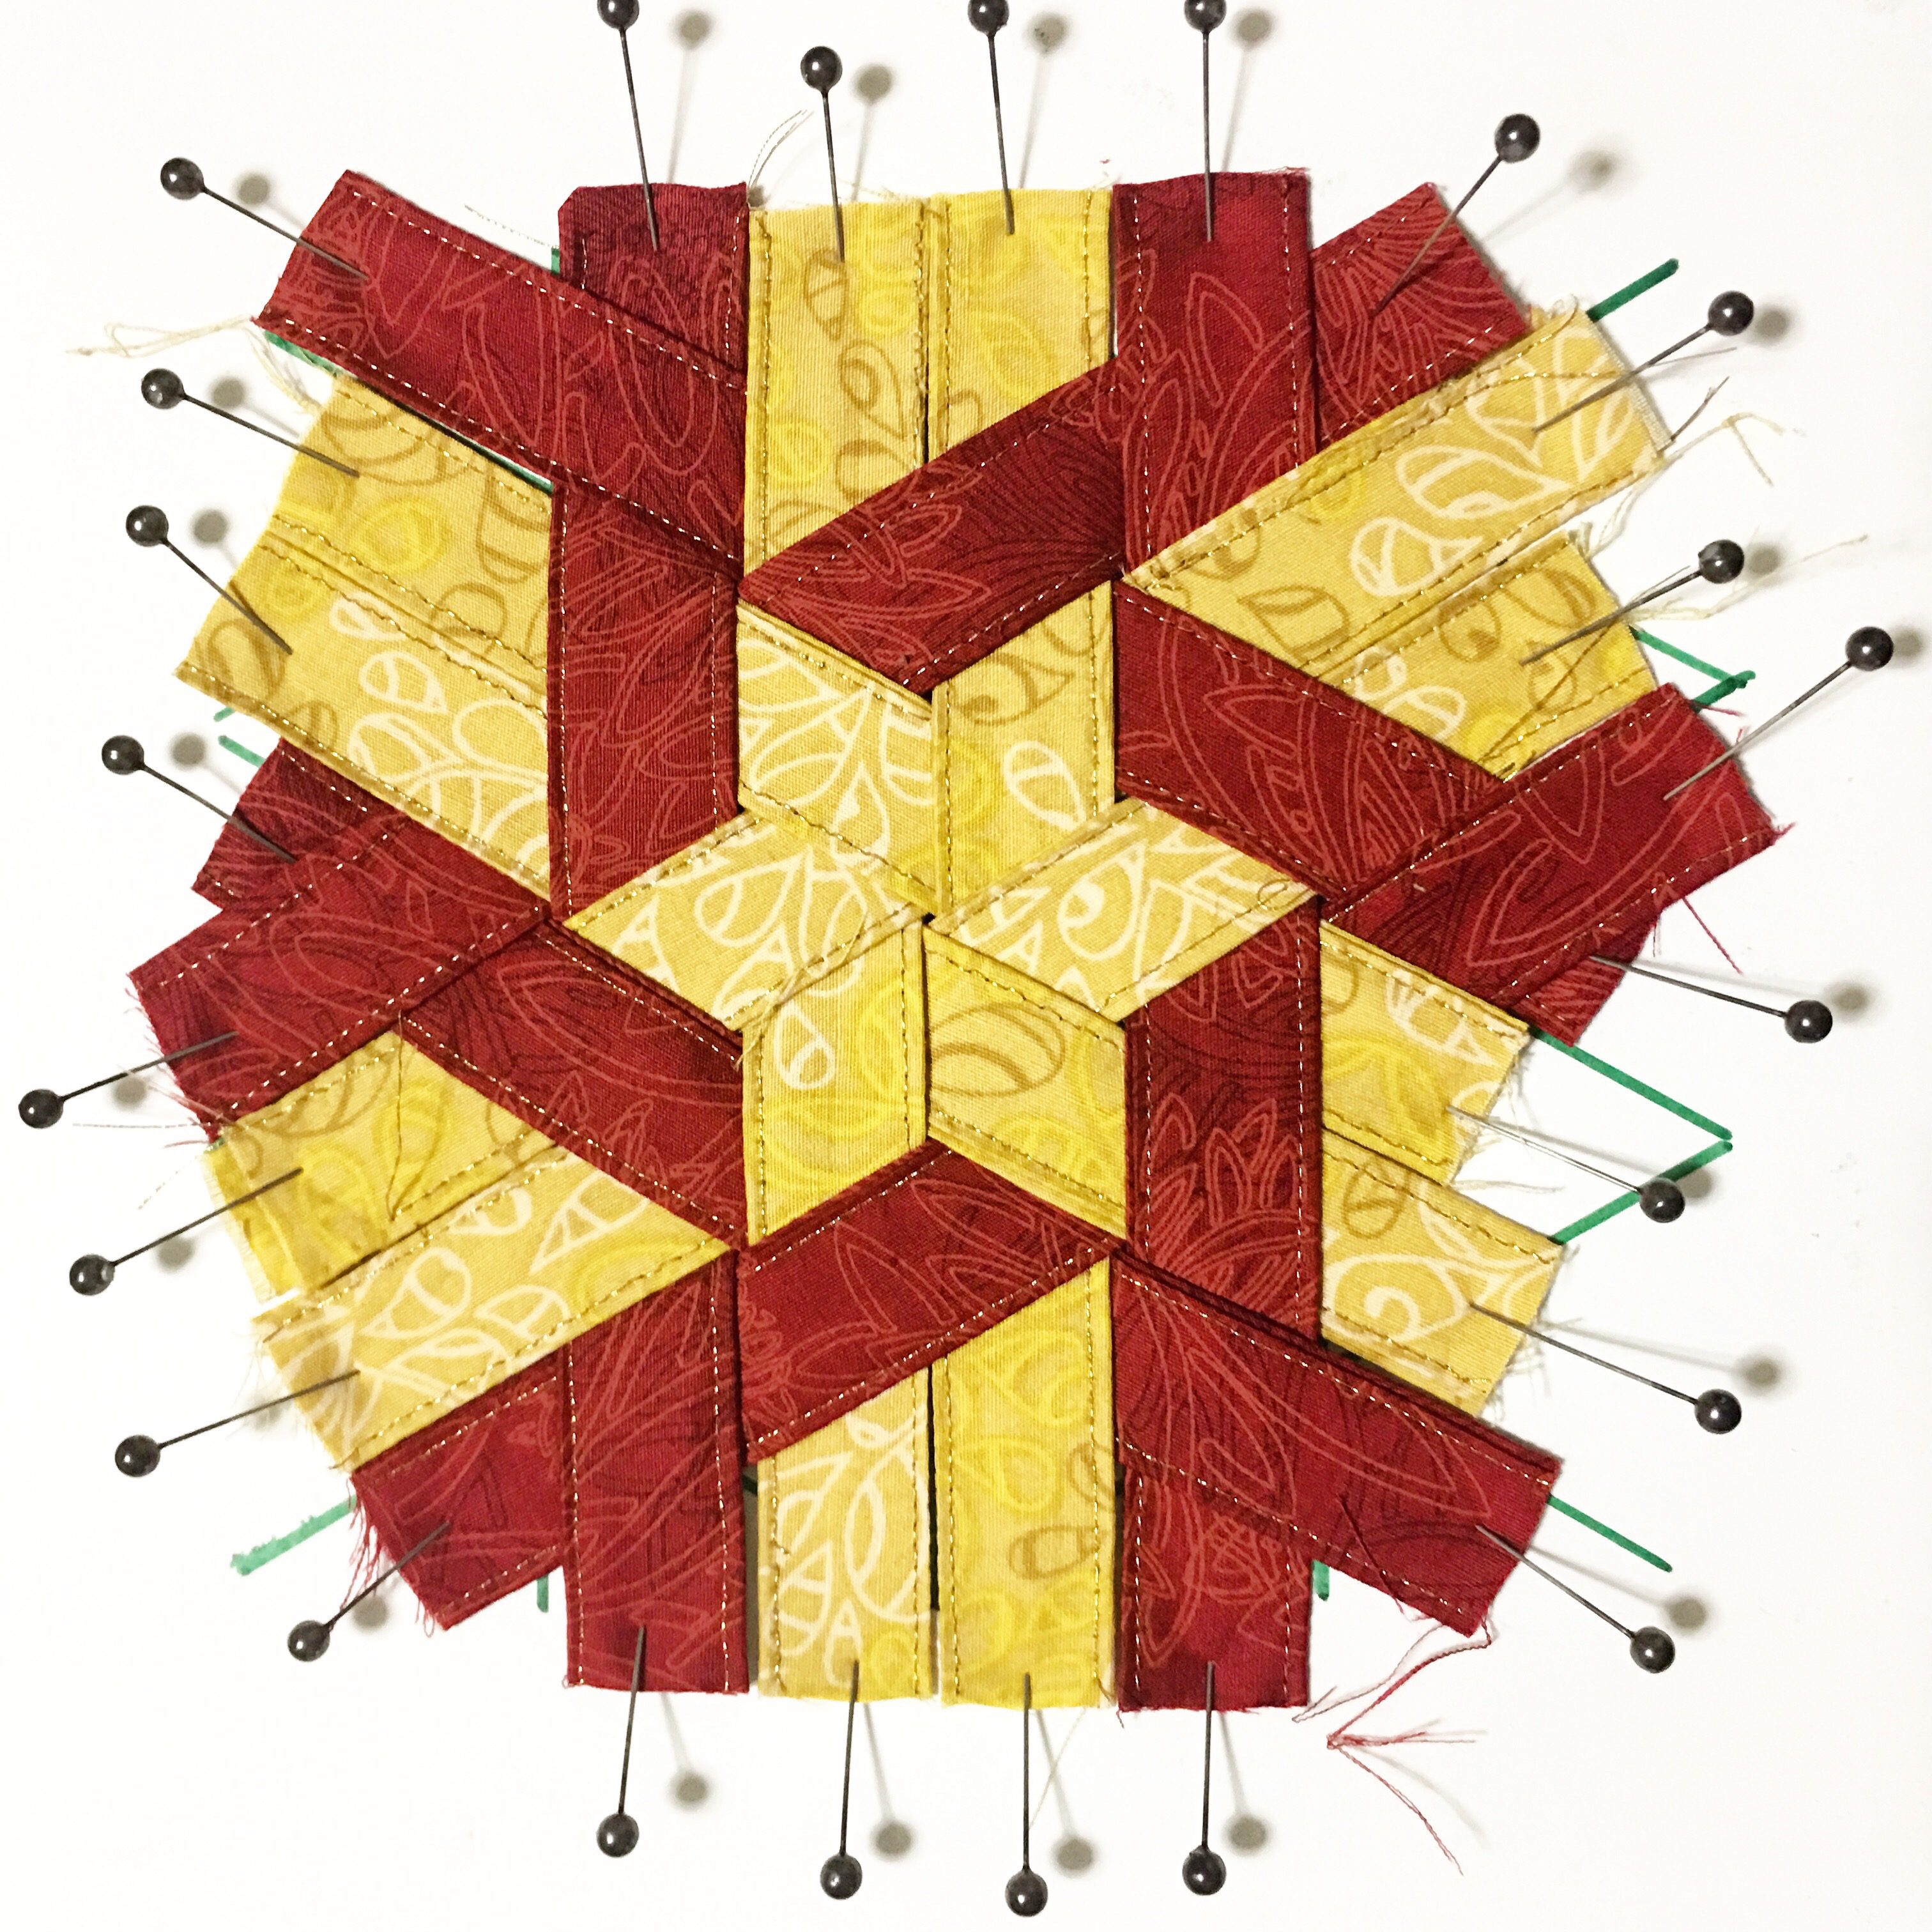
Layer 3
Follow these pictures.
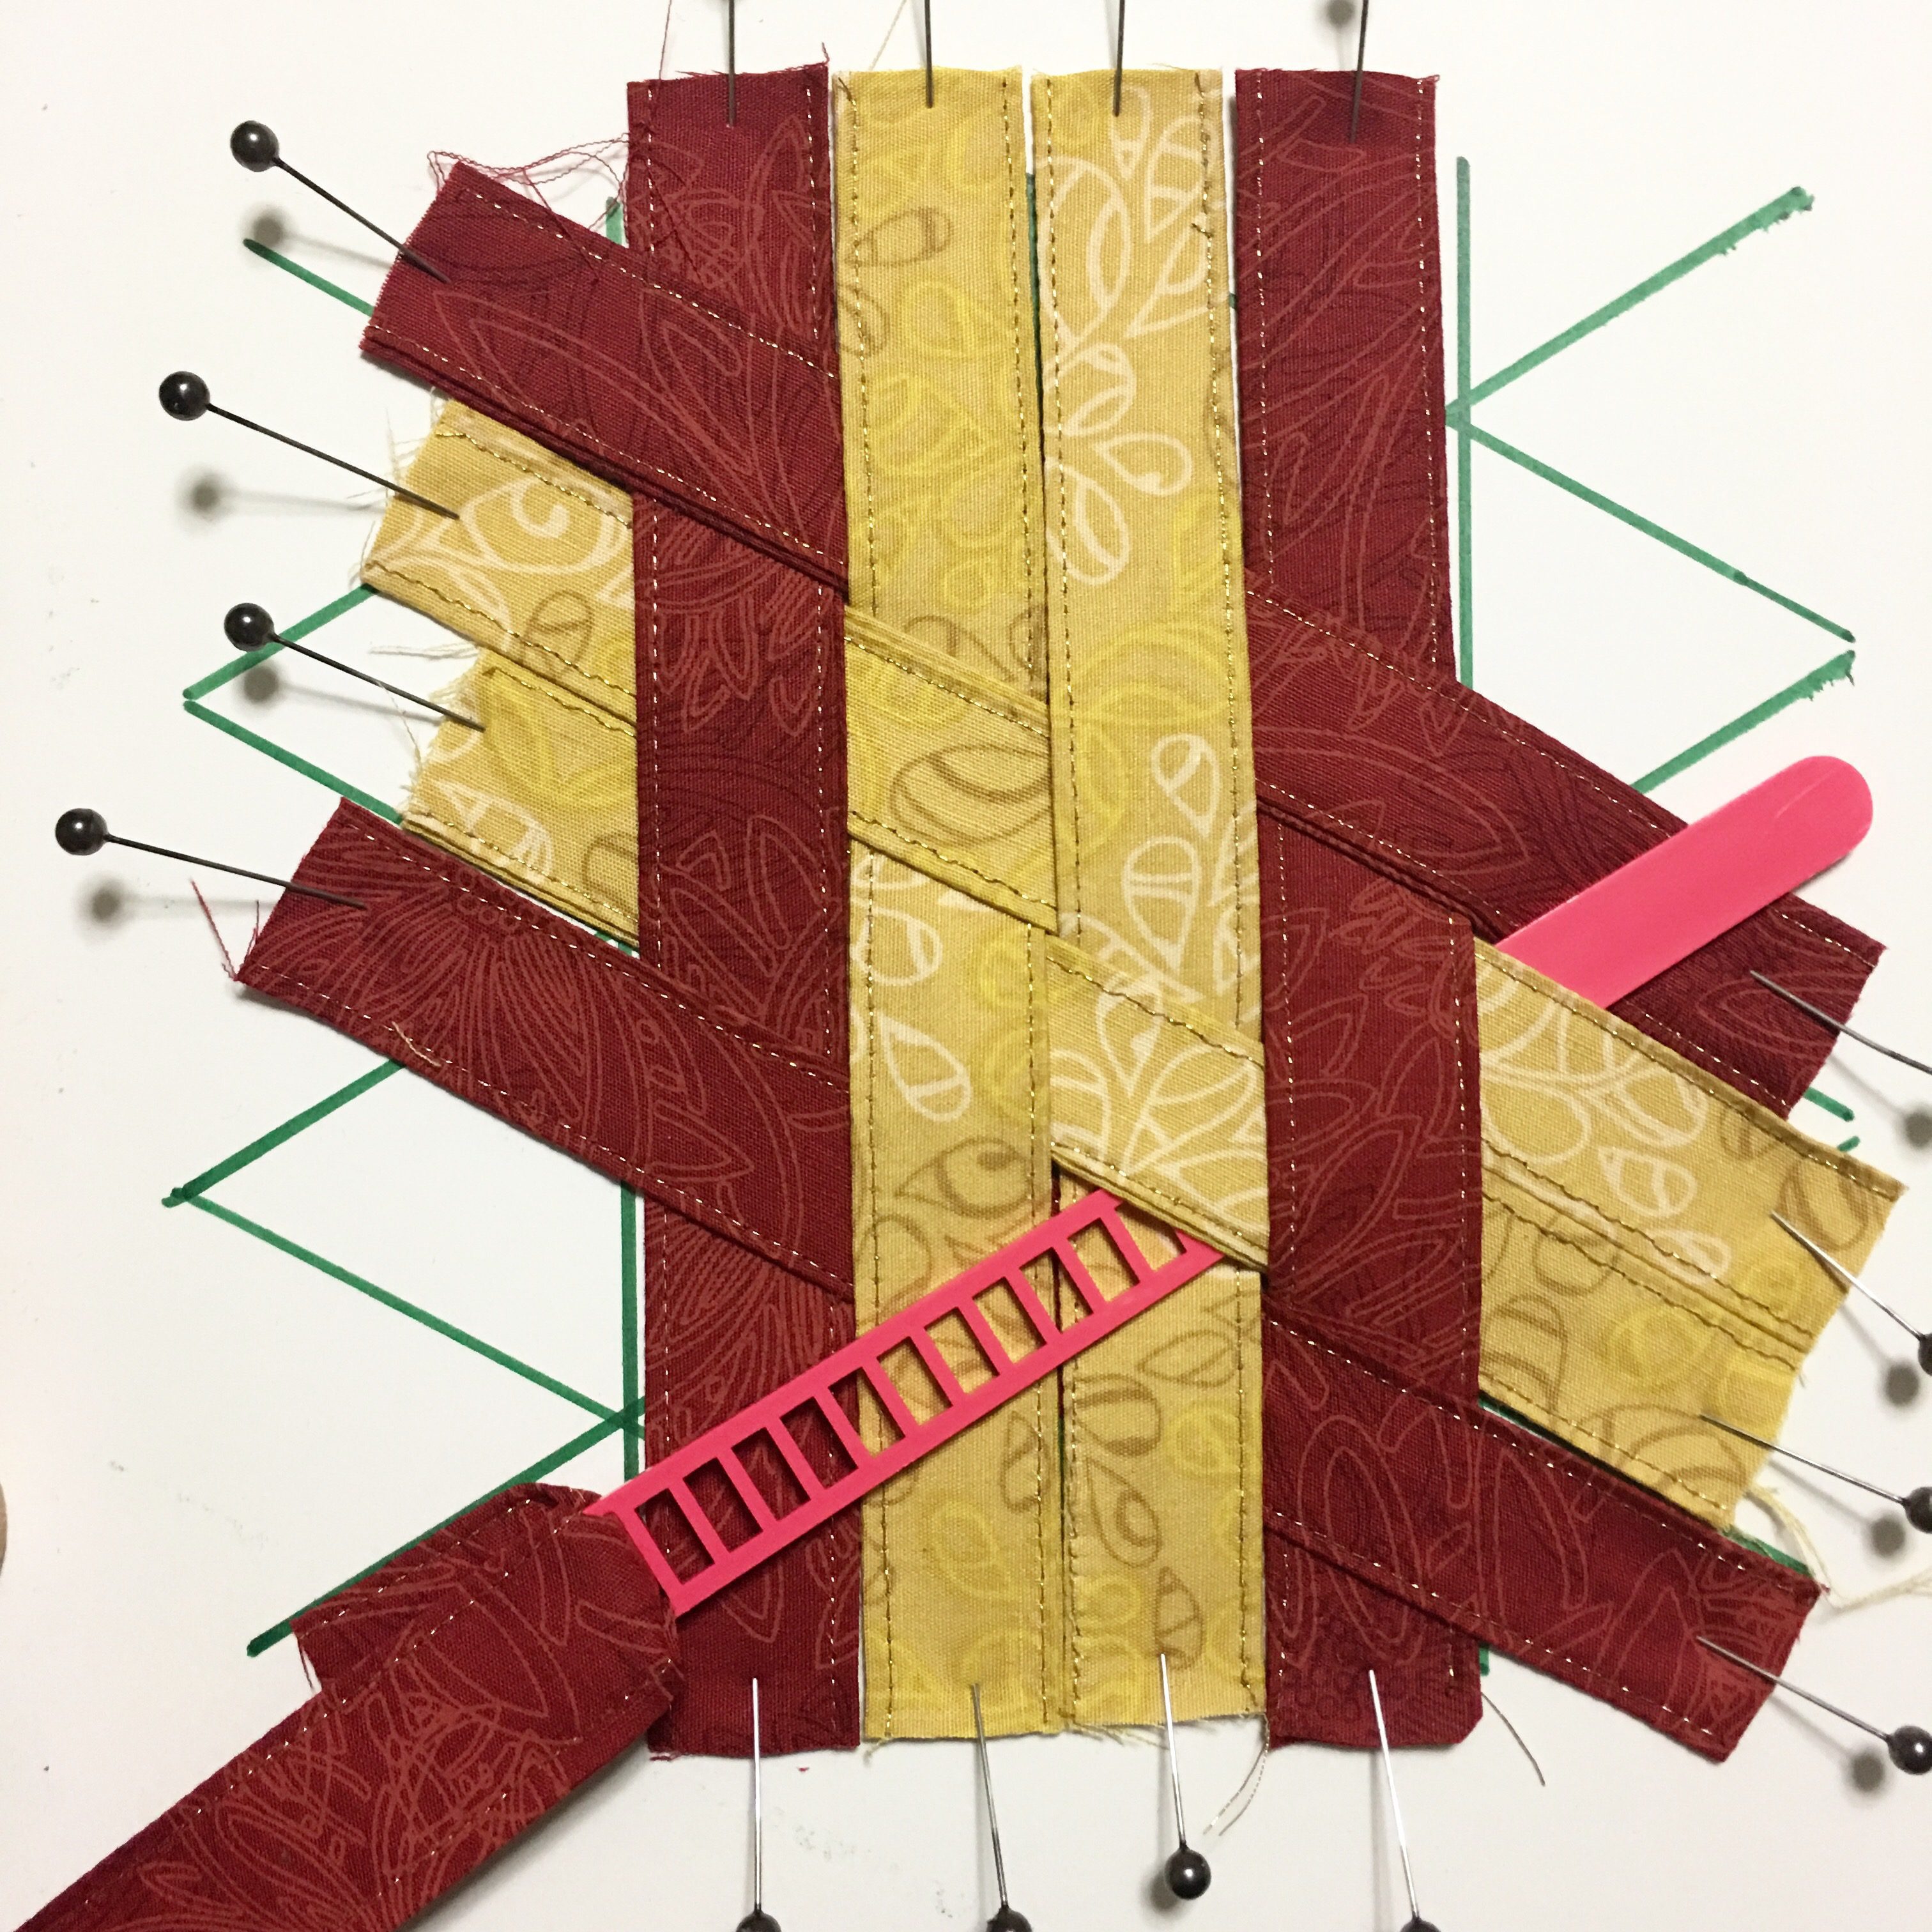
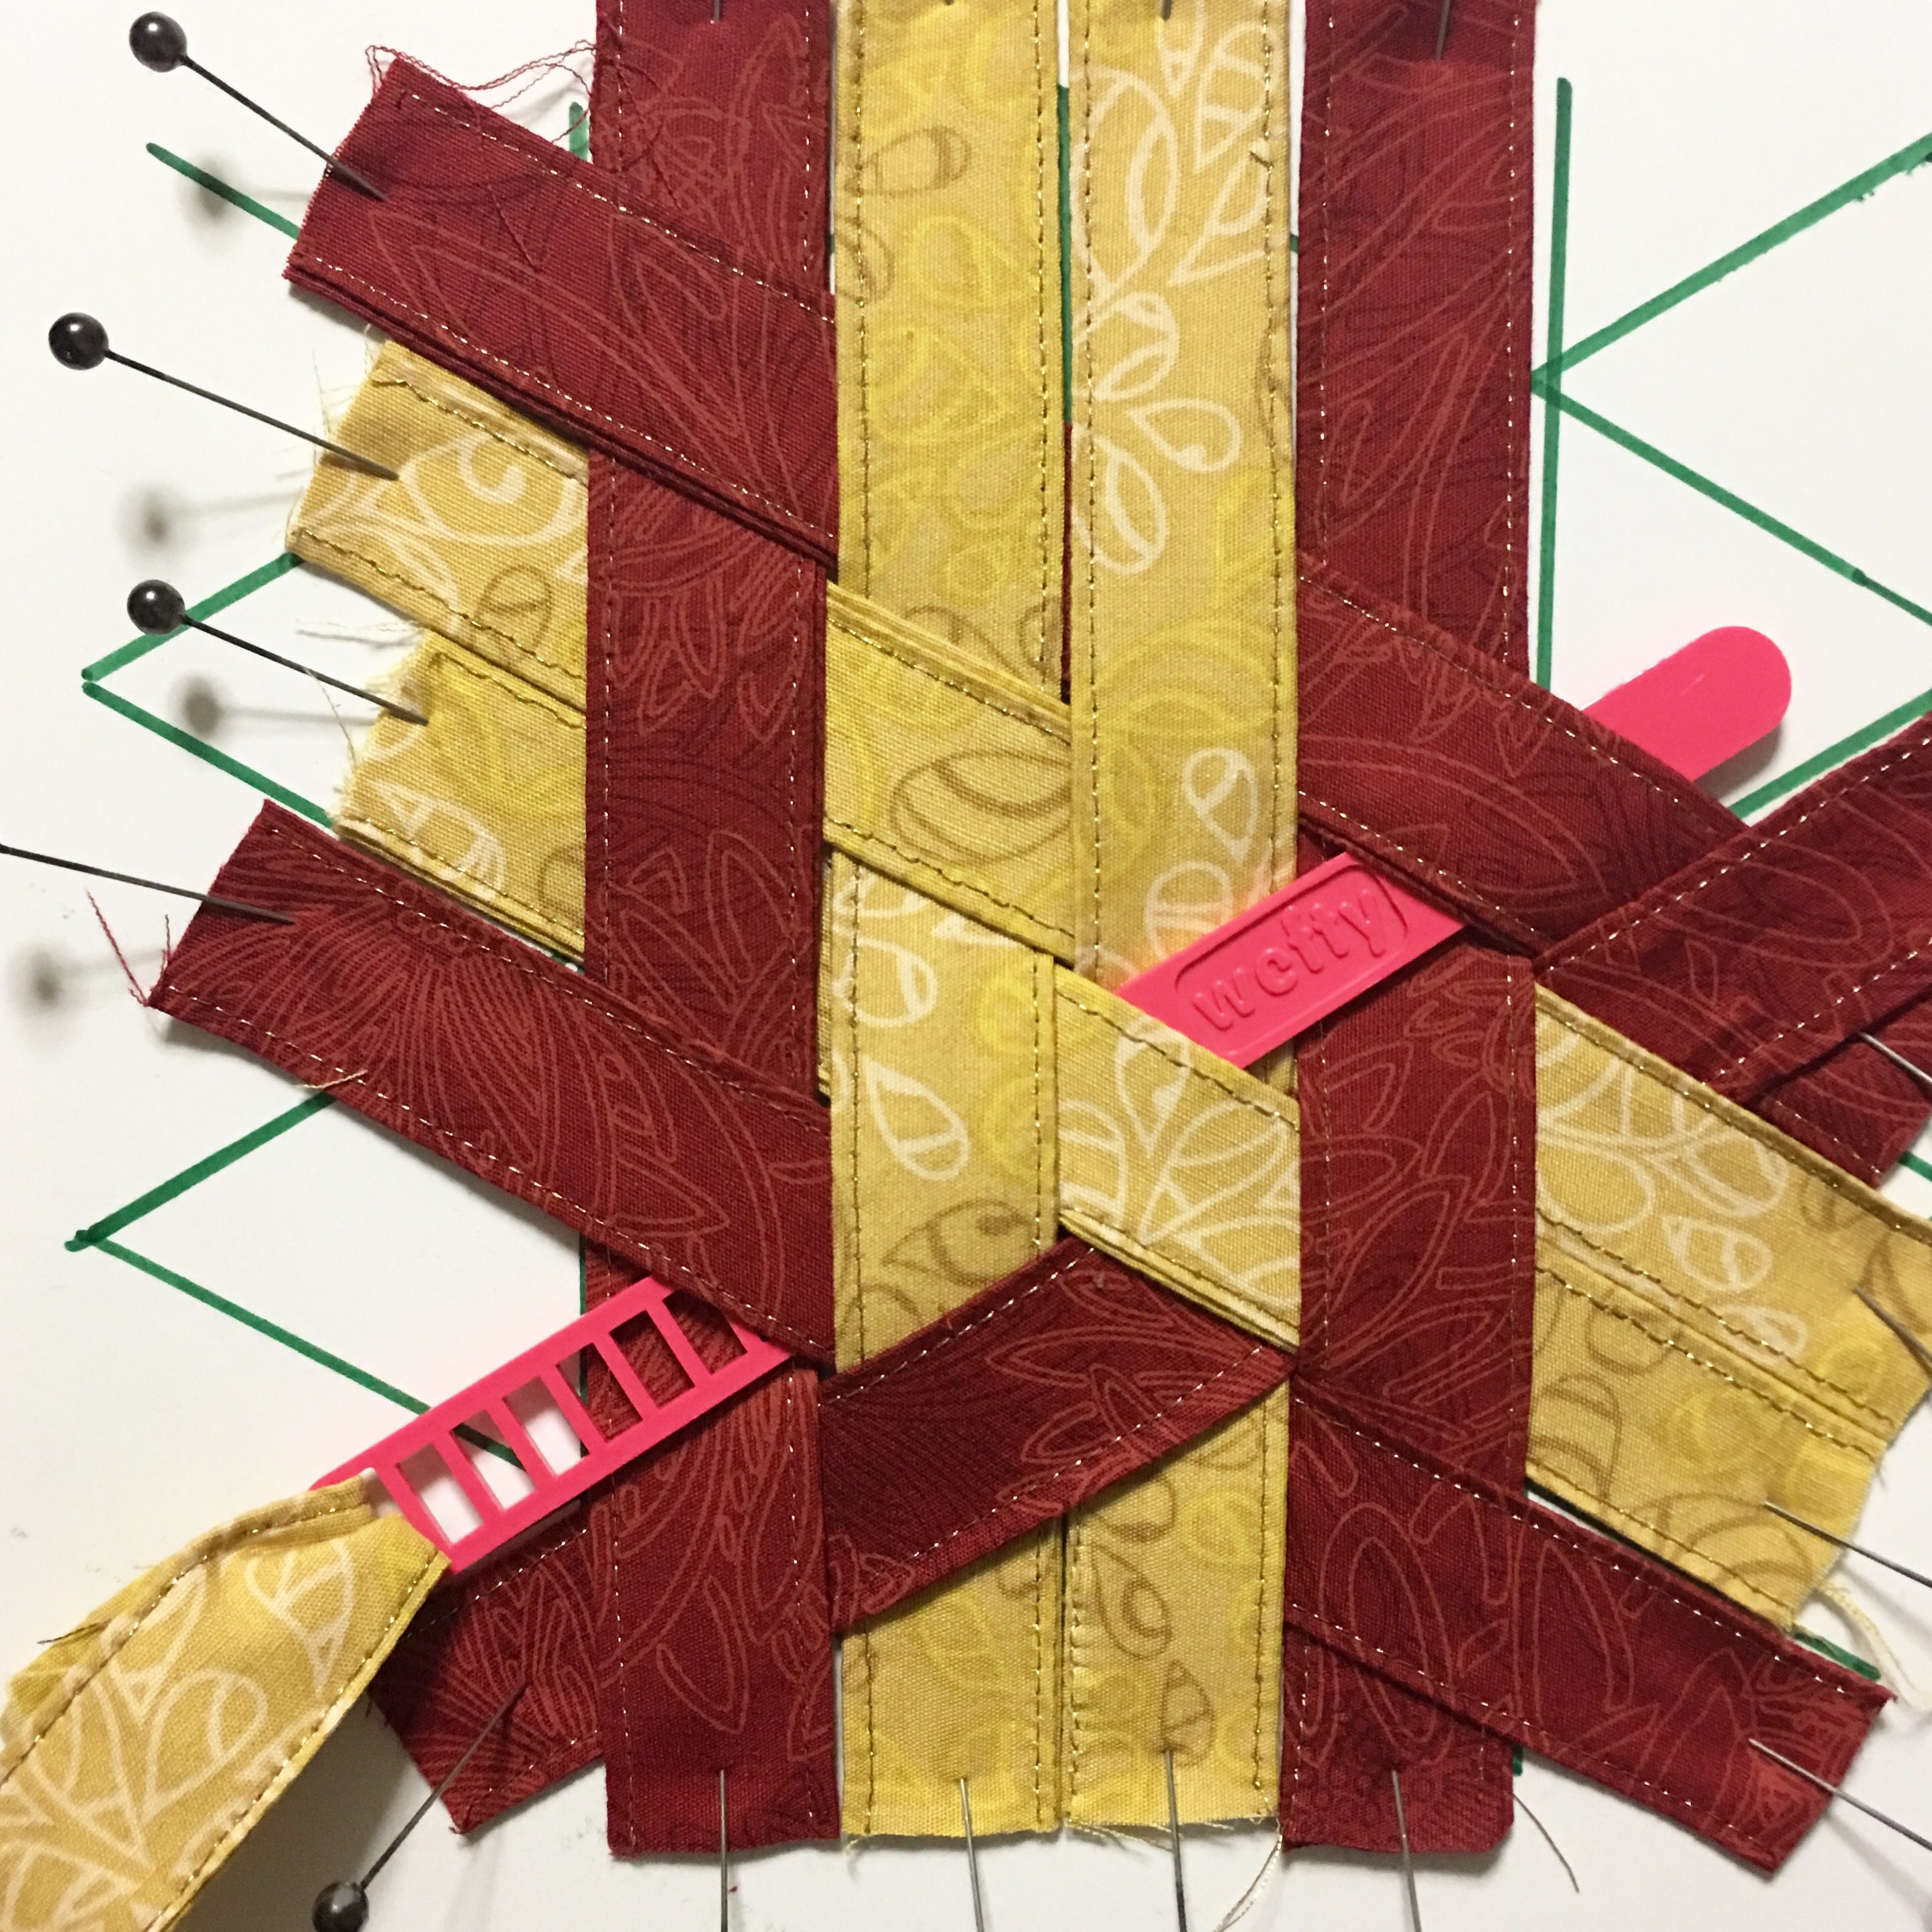
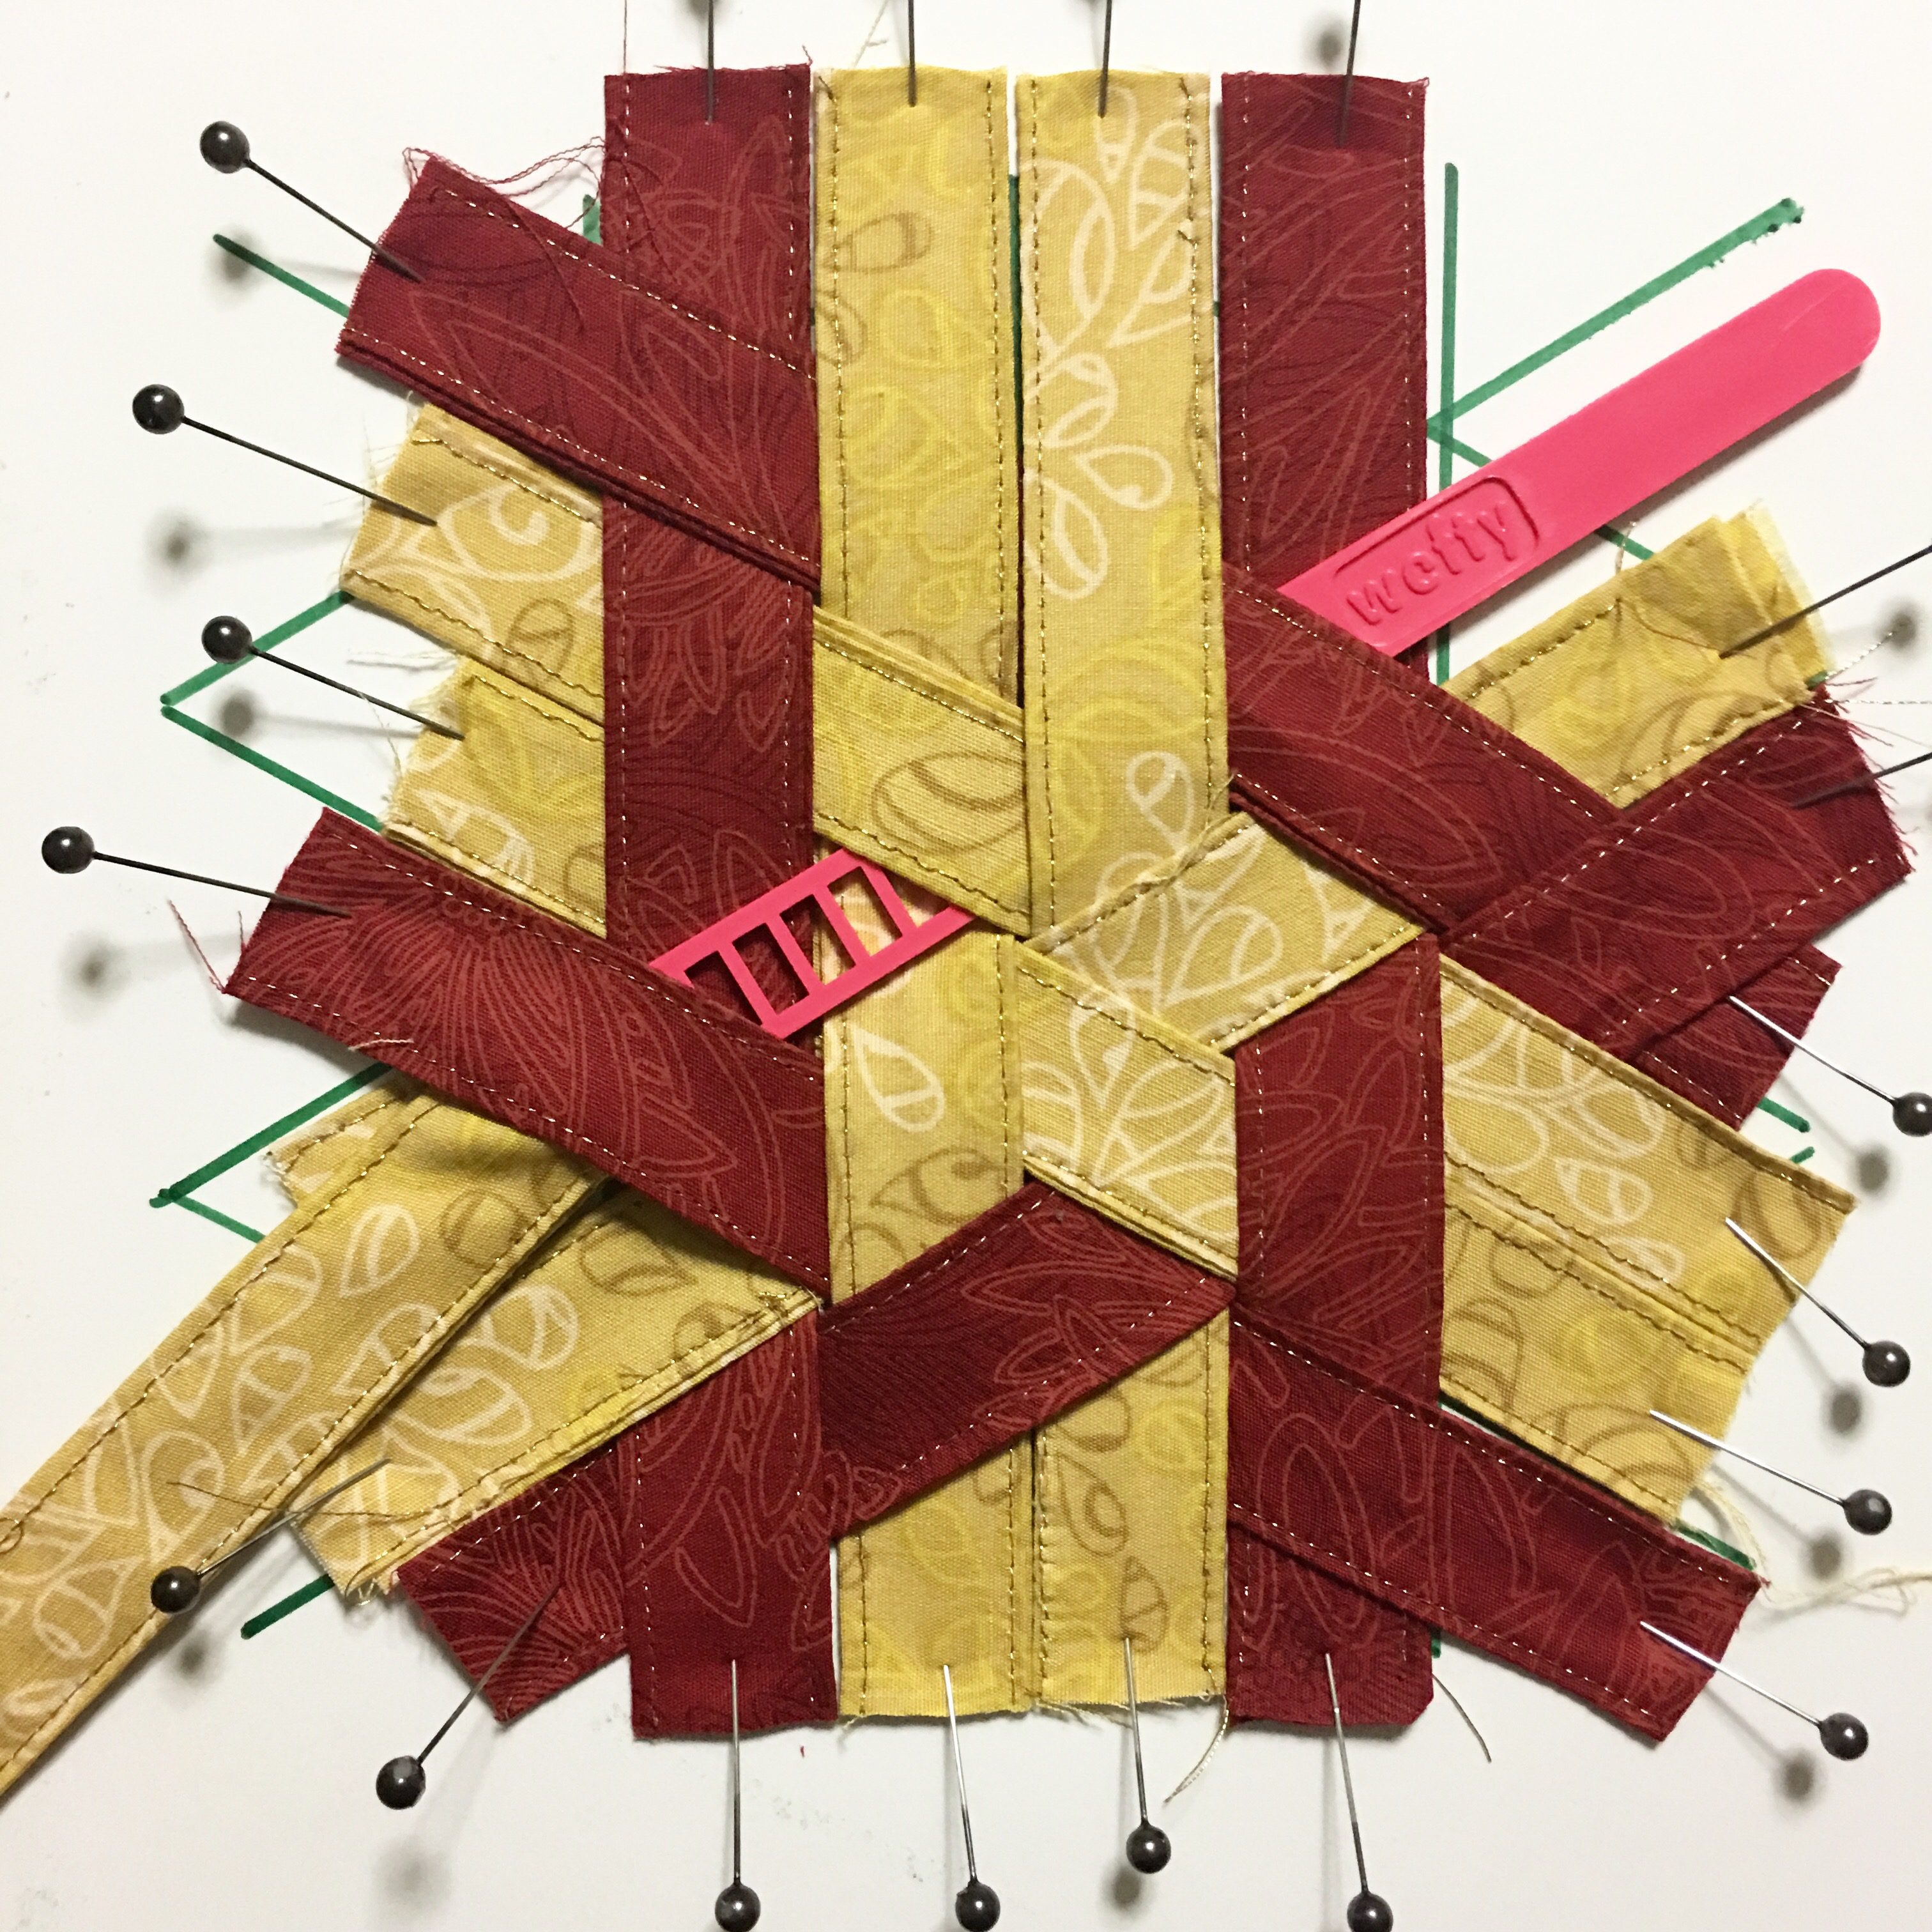
Pat yourself on the back and stare at what you did for a minute or two or five.
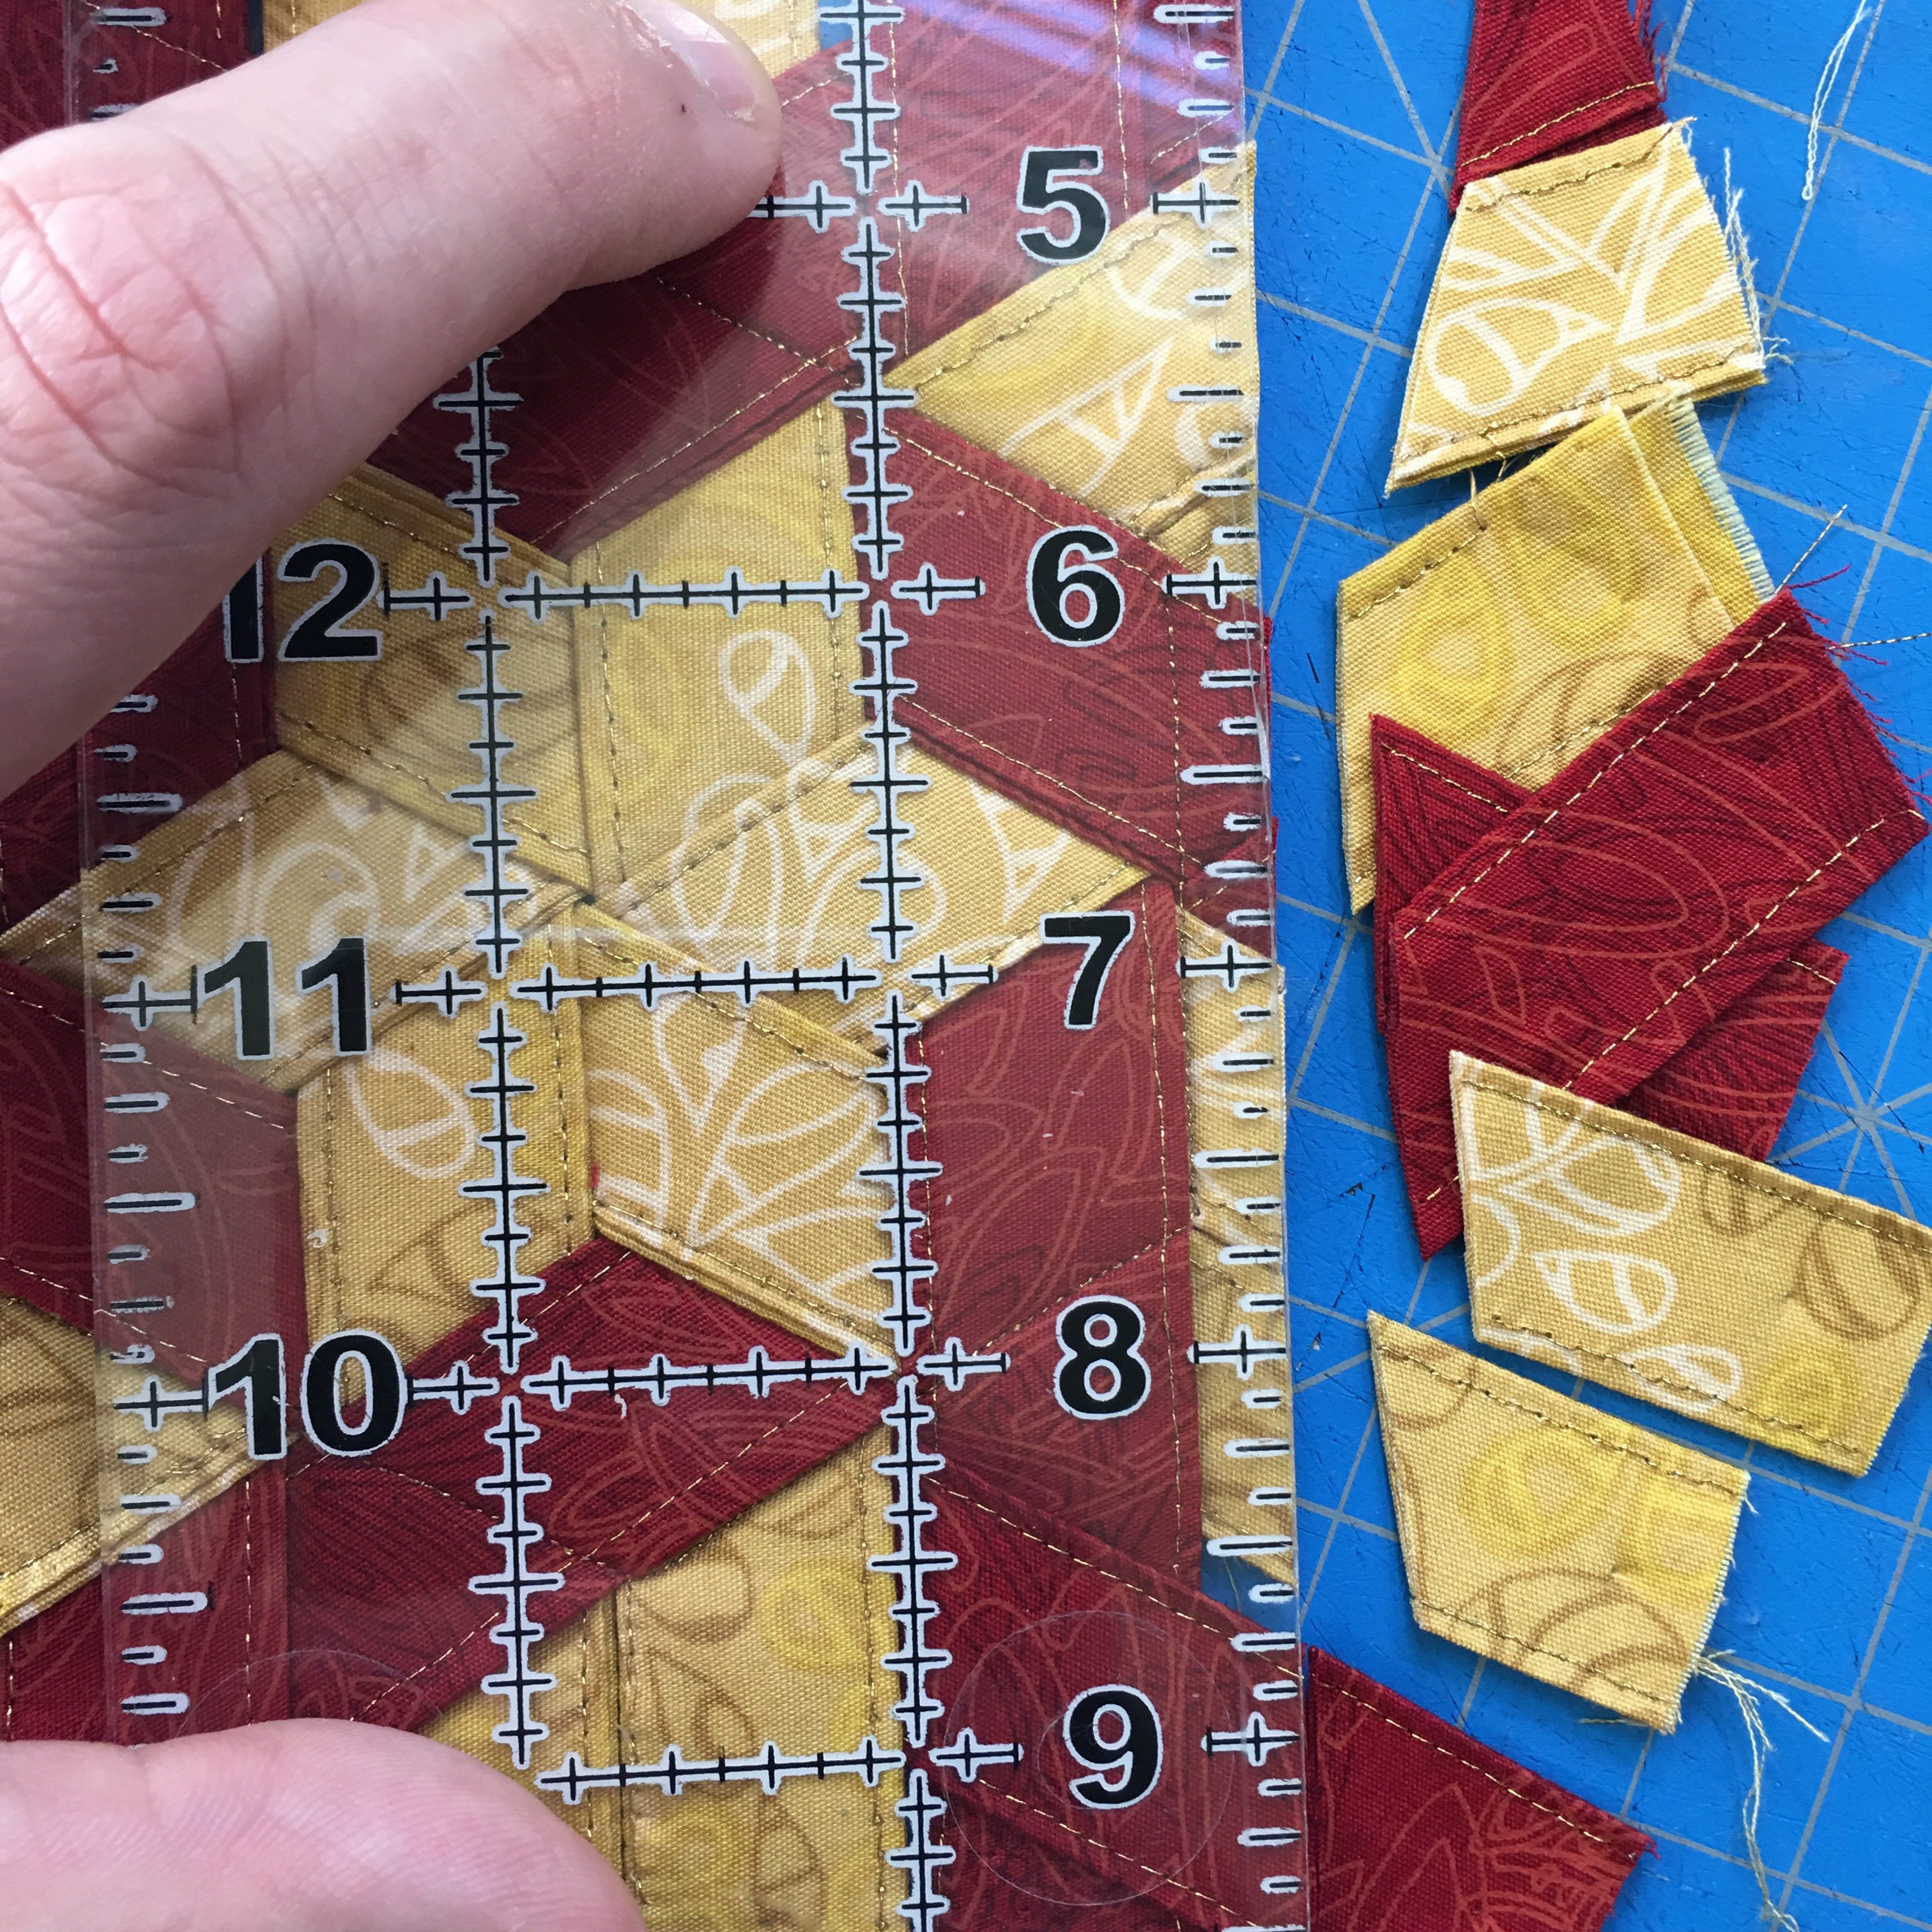
PREPARING YOUR HEXIE
First you need to secure your weave with tape. Place a piece of tape on the inside of the edge of the woven hexie part.

Unpin your weave. No worries it’ll be all good.
Now, using a stitch length of 1.4, sew right on the outside of the tape that forms the hexagon. Once you’ve secured the perimeter, remove the tape and trim 1/4″ outside of this stitch line.
Once again pause and look at what you just did and happy clap.
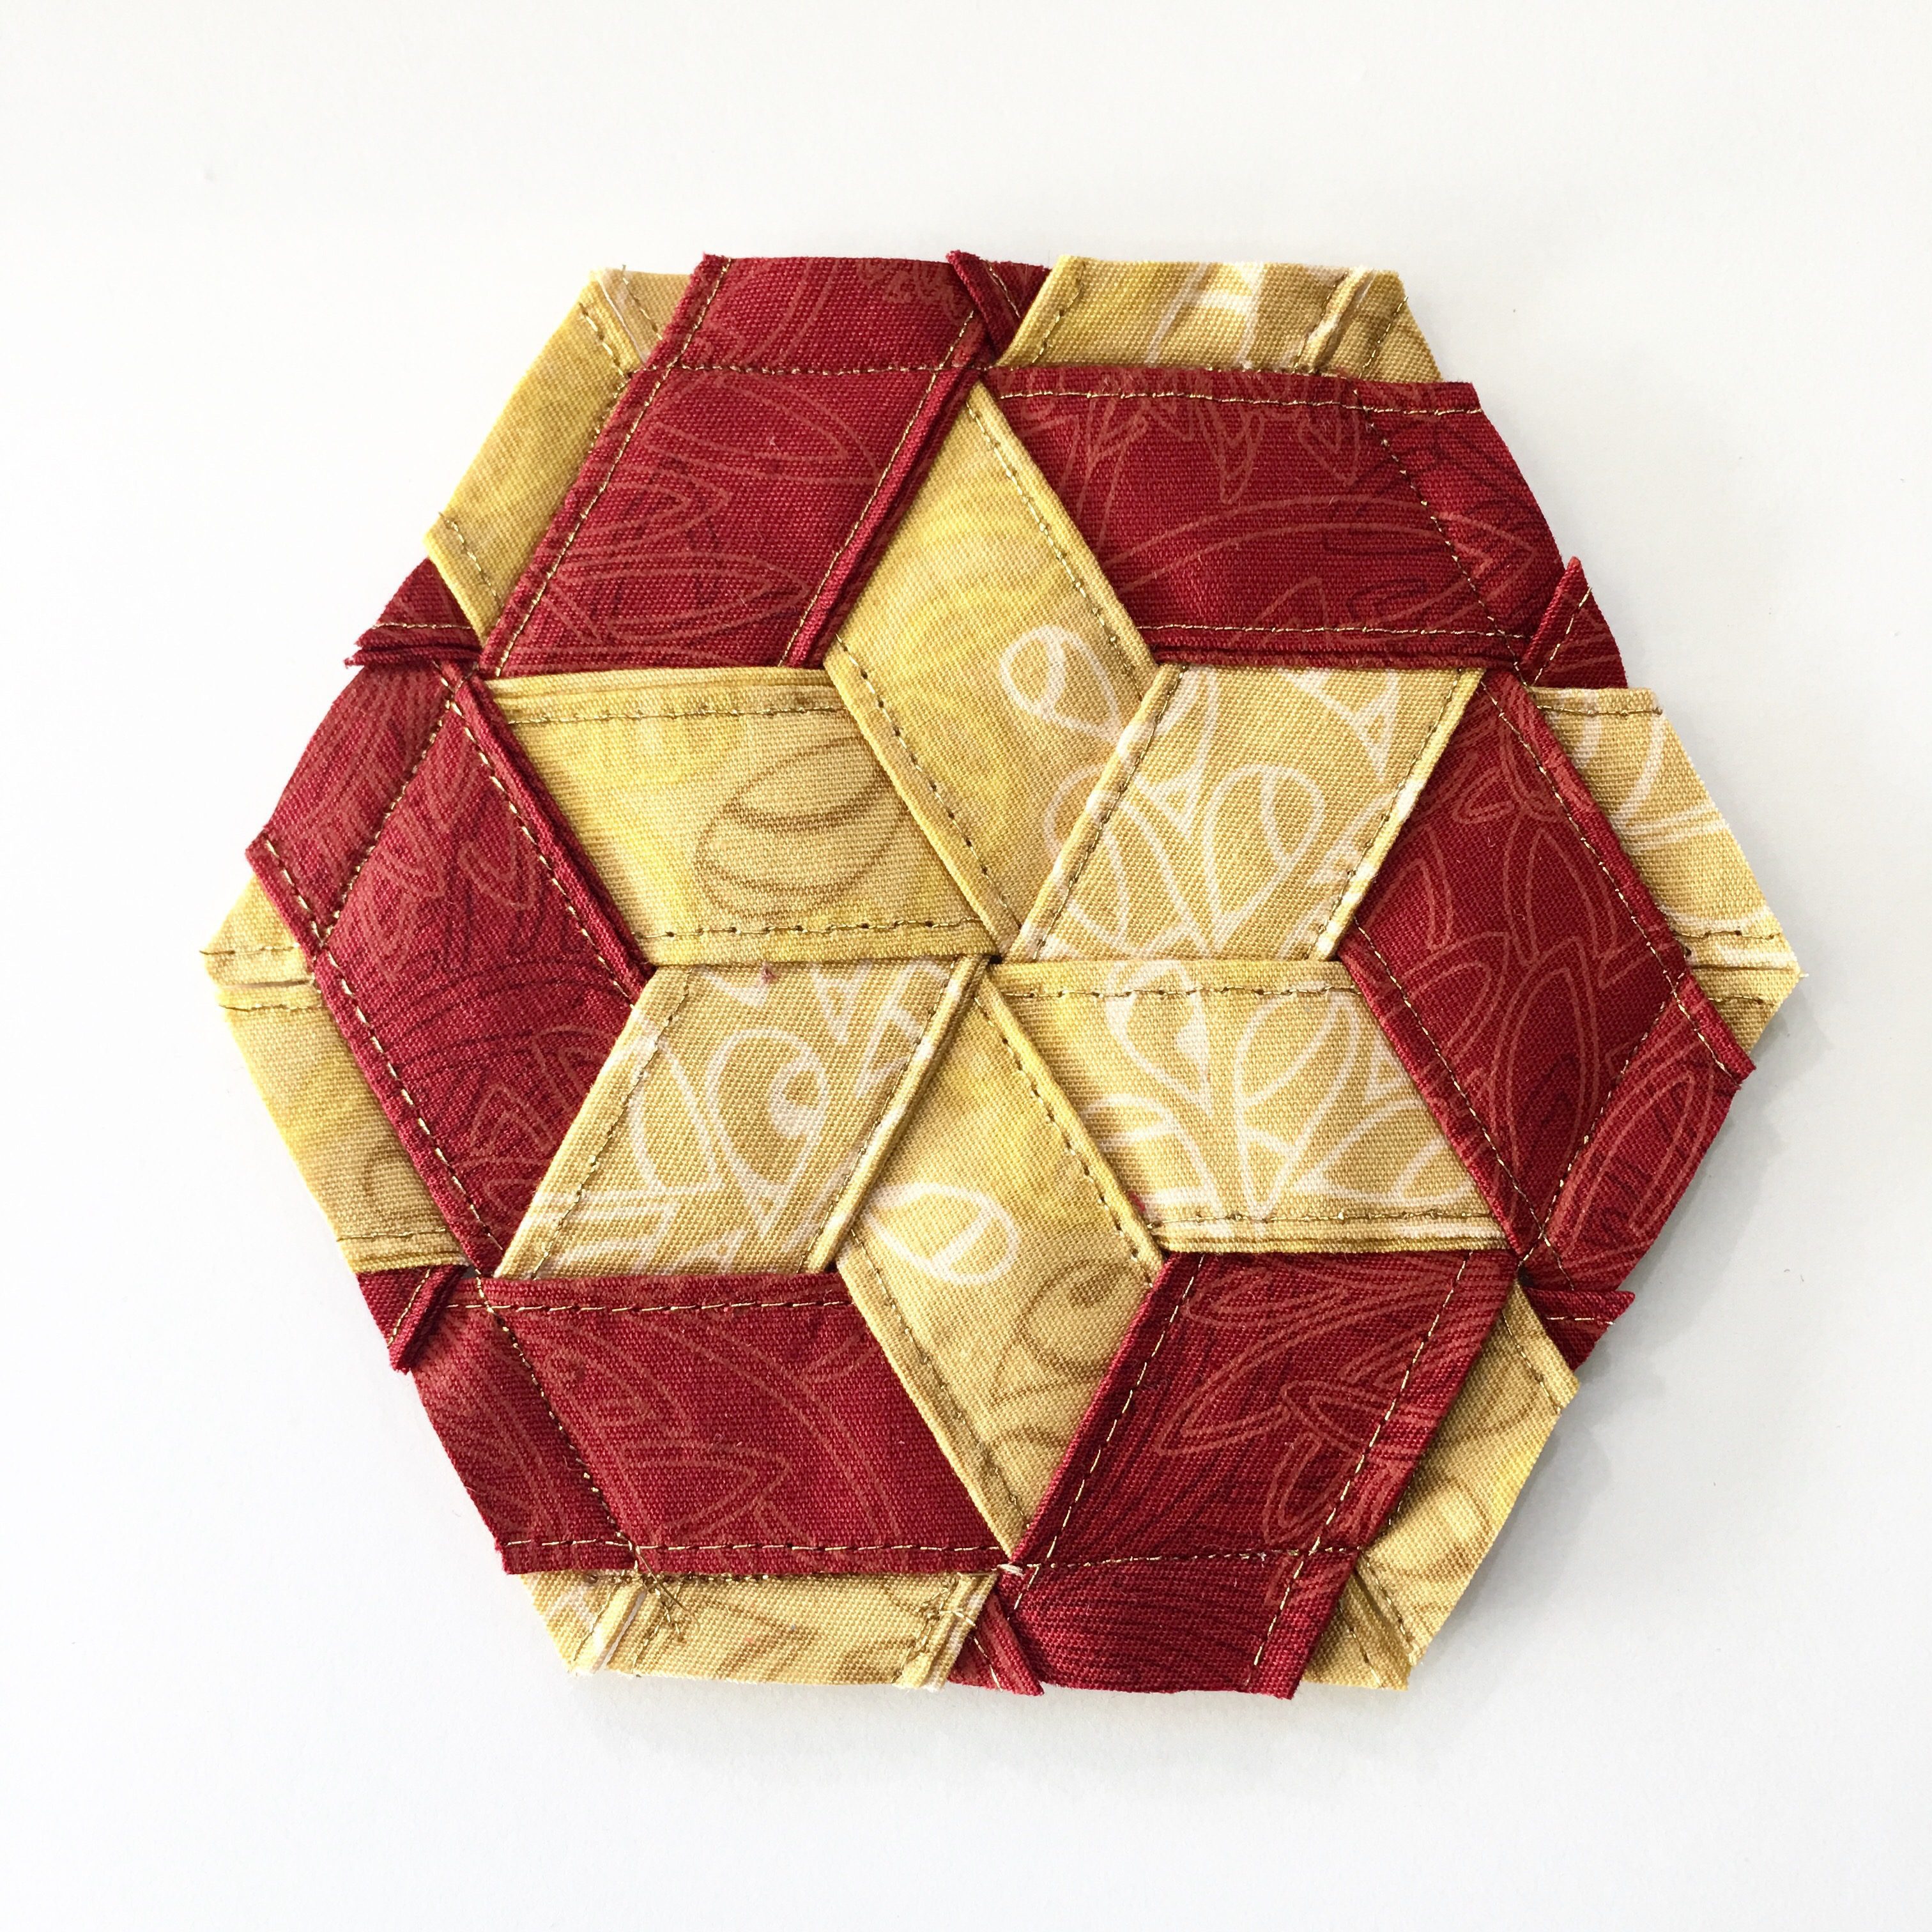
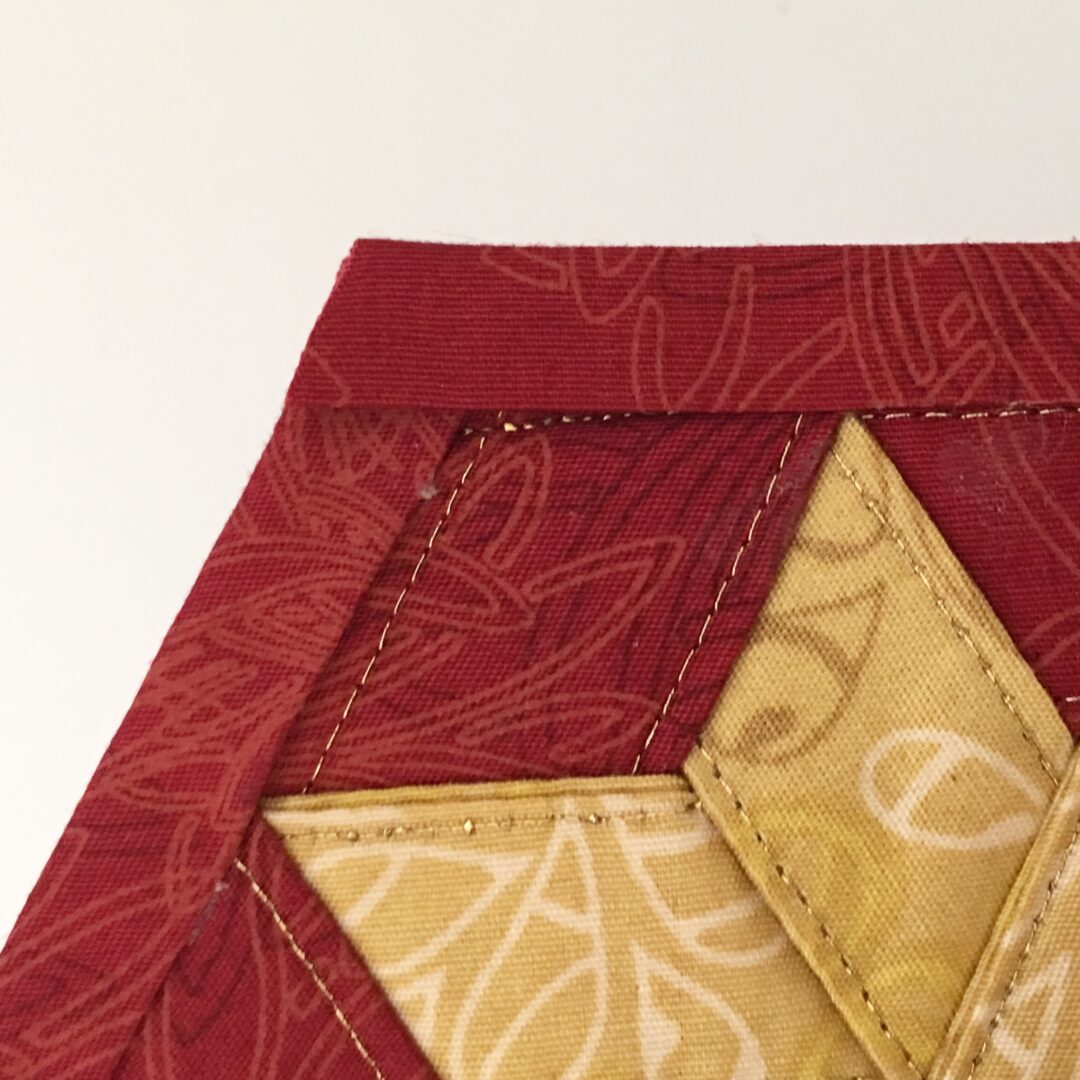
BINDING THE HEXIE
Cut a strip 1.5″ wide. Iron it like the strips you did up top but don’t edge stitch it.
With this folded strip, glue baste in place. I mean like if you wanna be all brave and bind it on the regular, go for it, but I glued first.
When you get to the end, snip it and fold it as such.
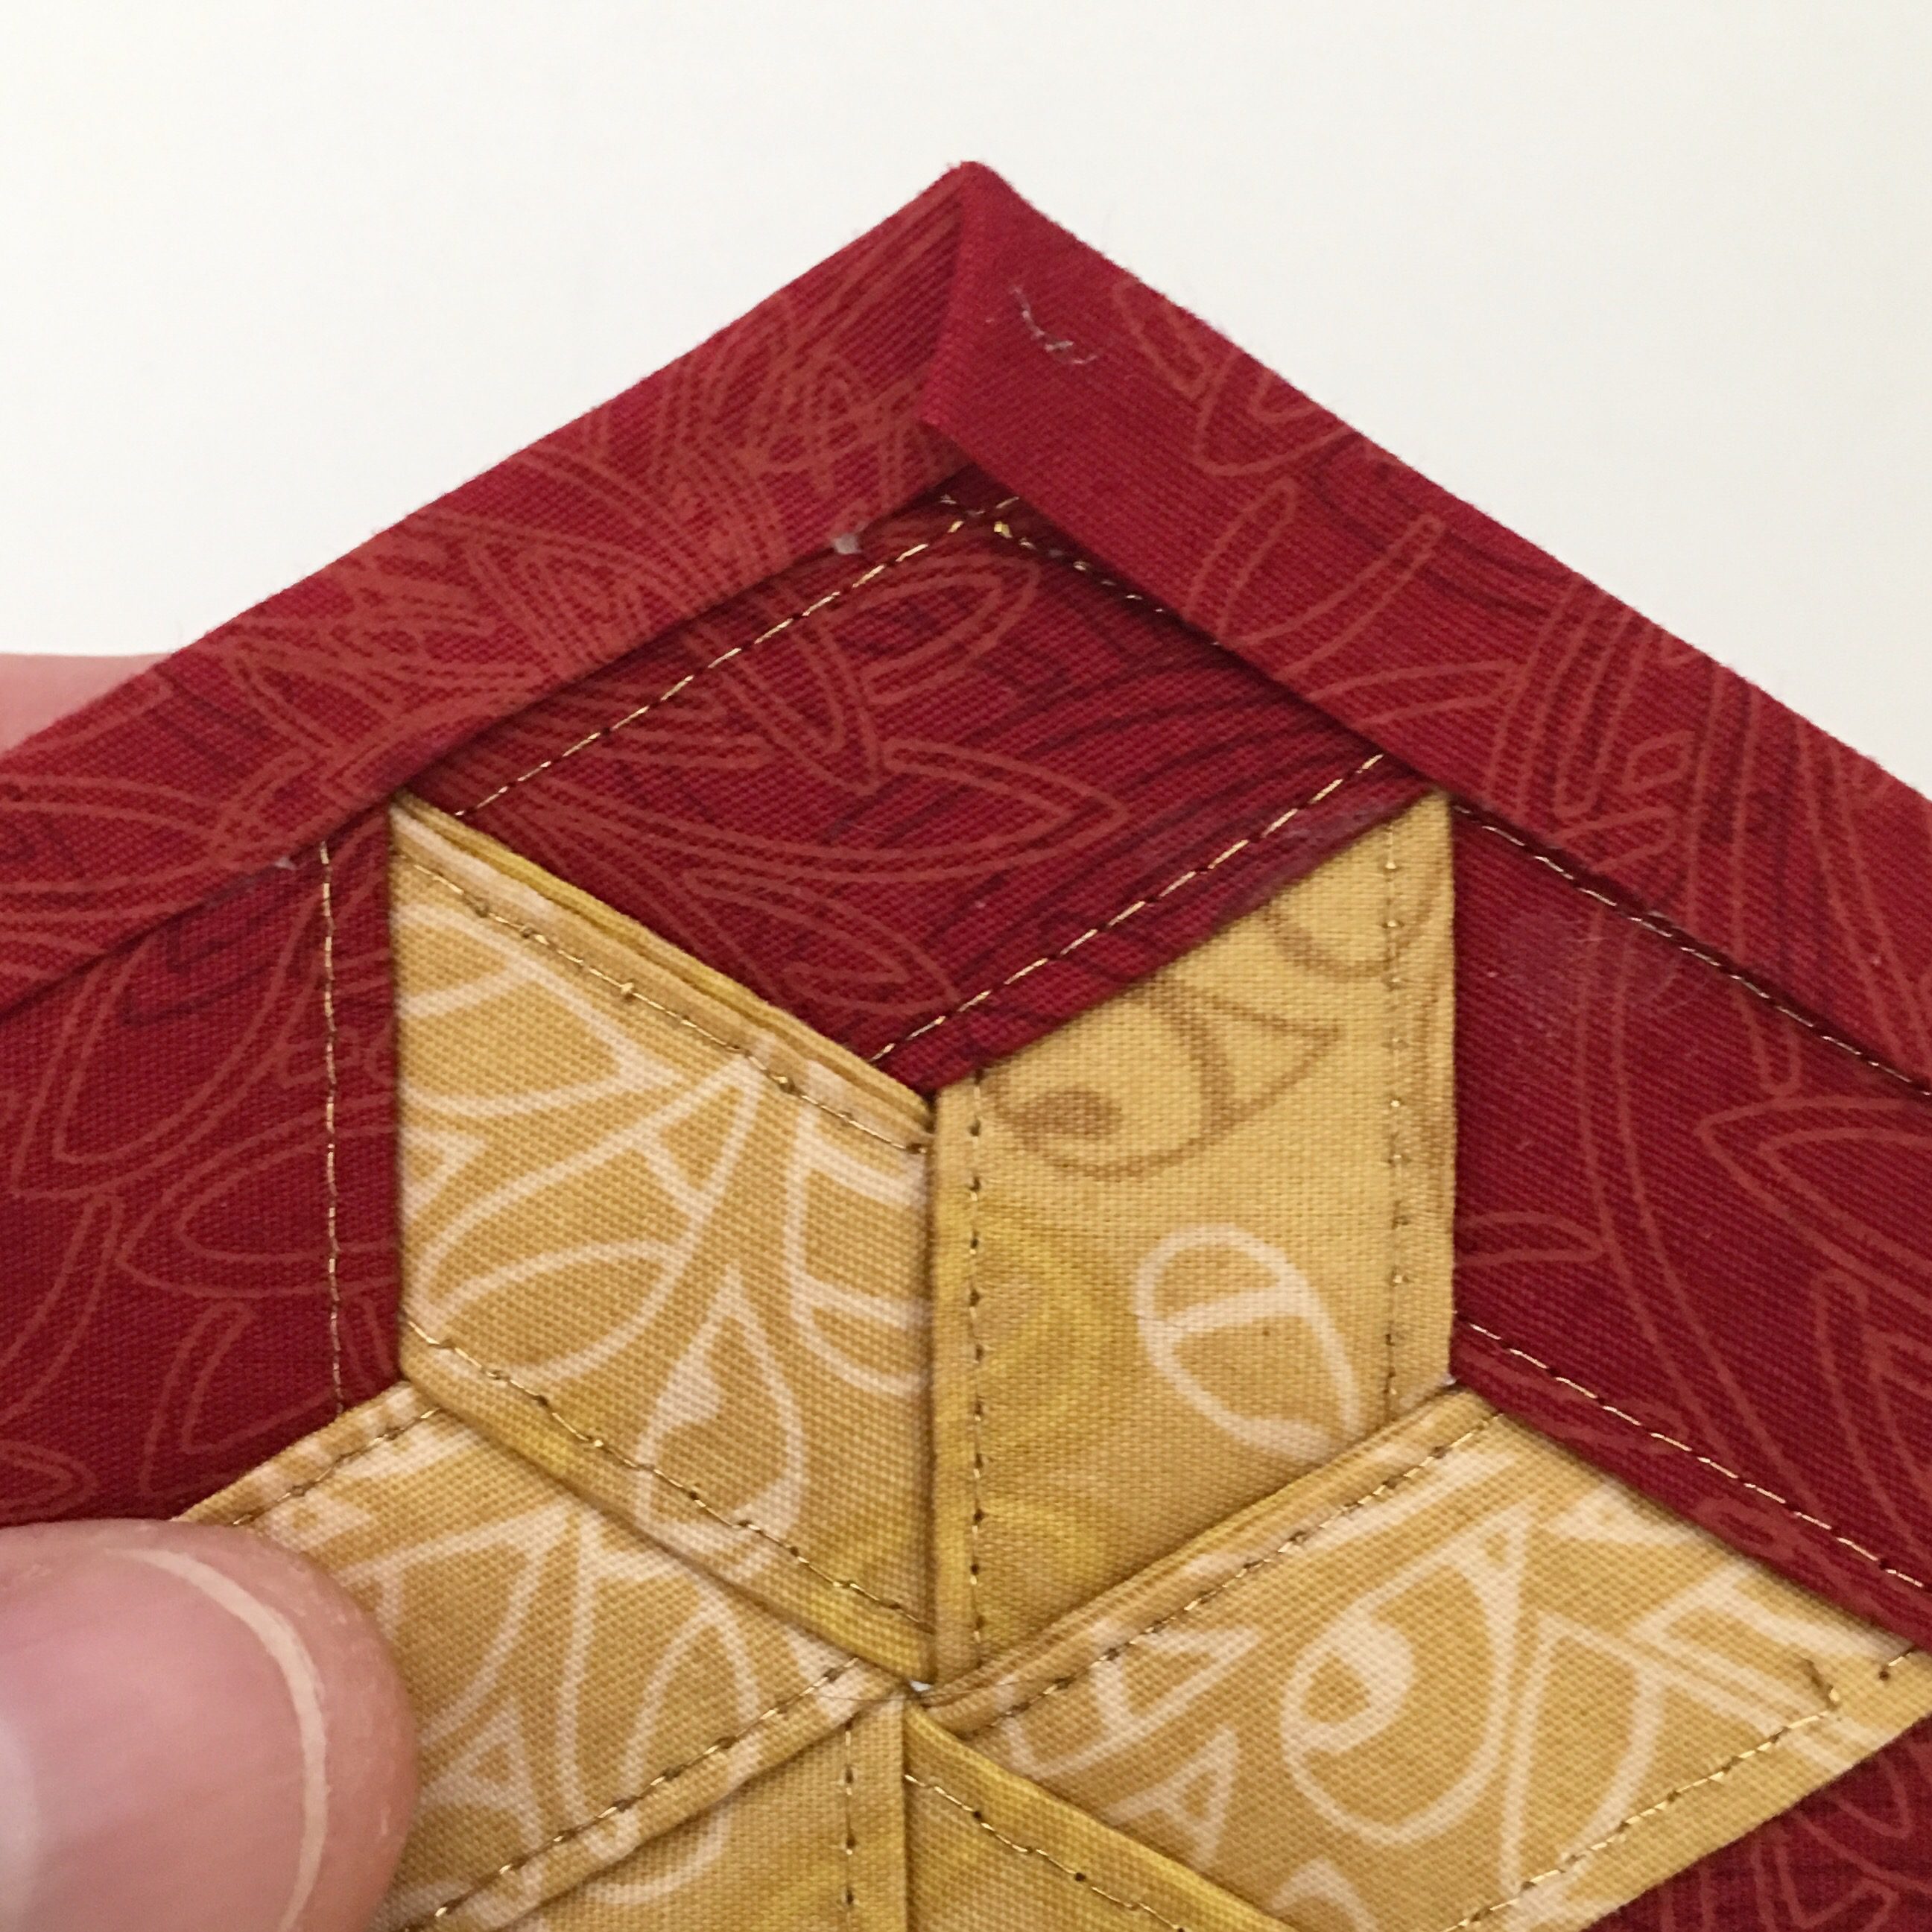
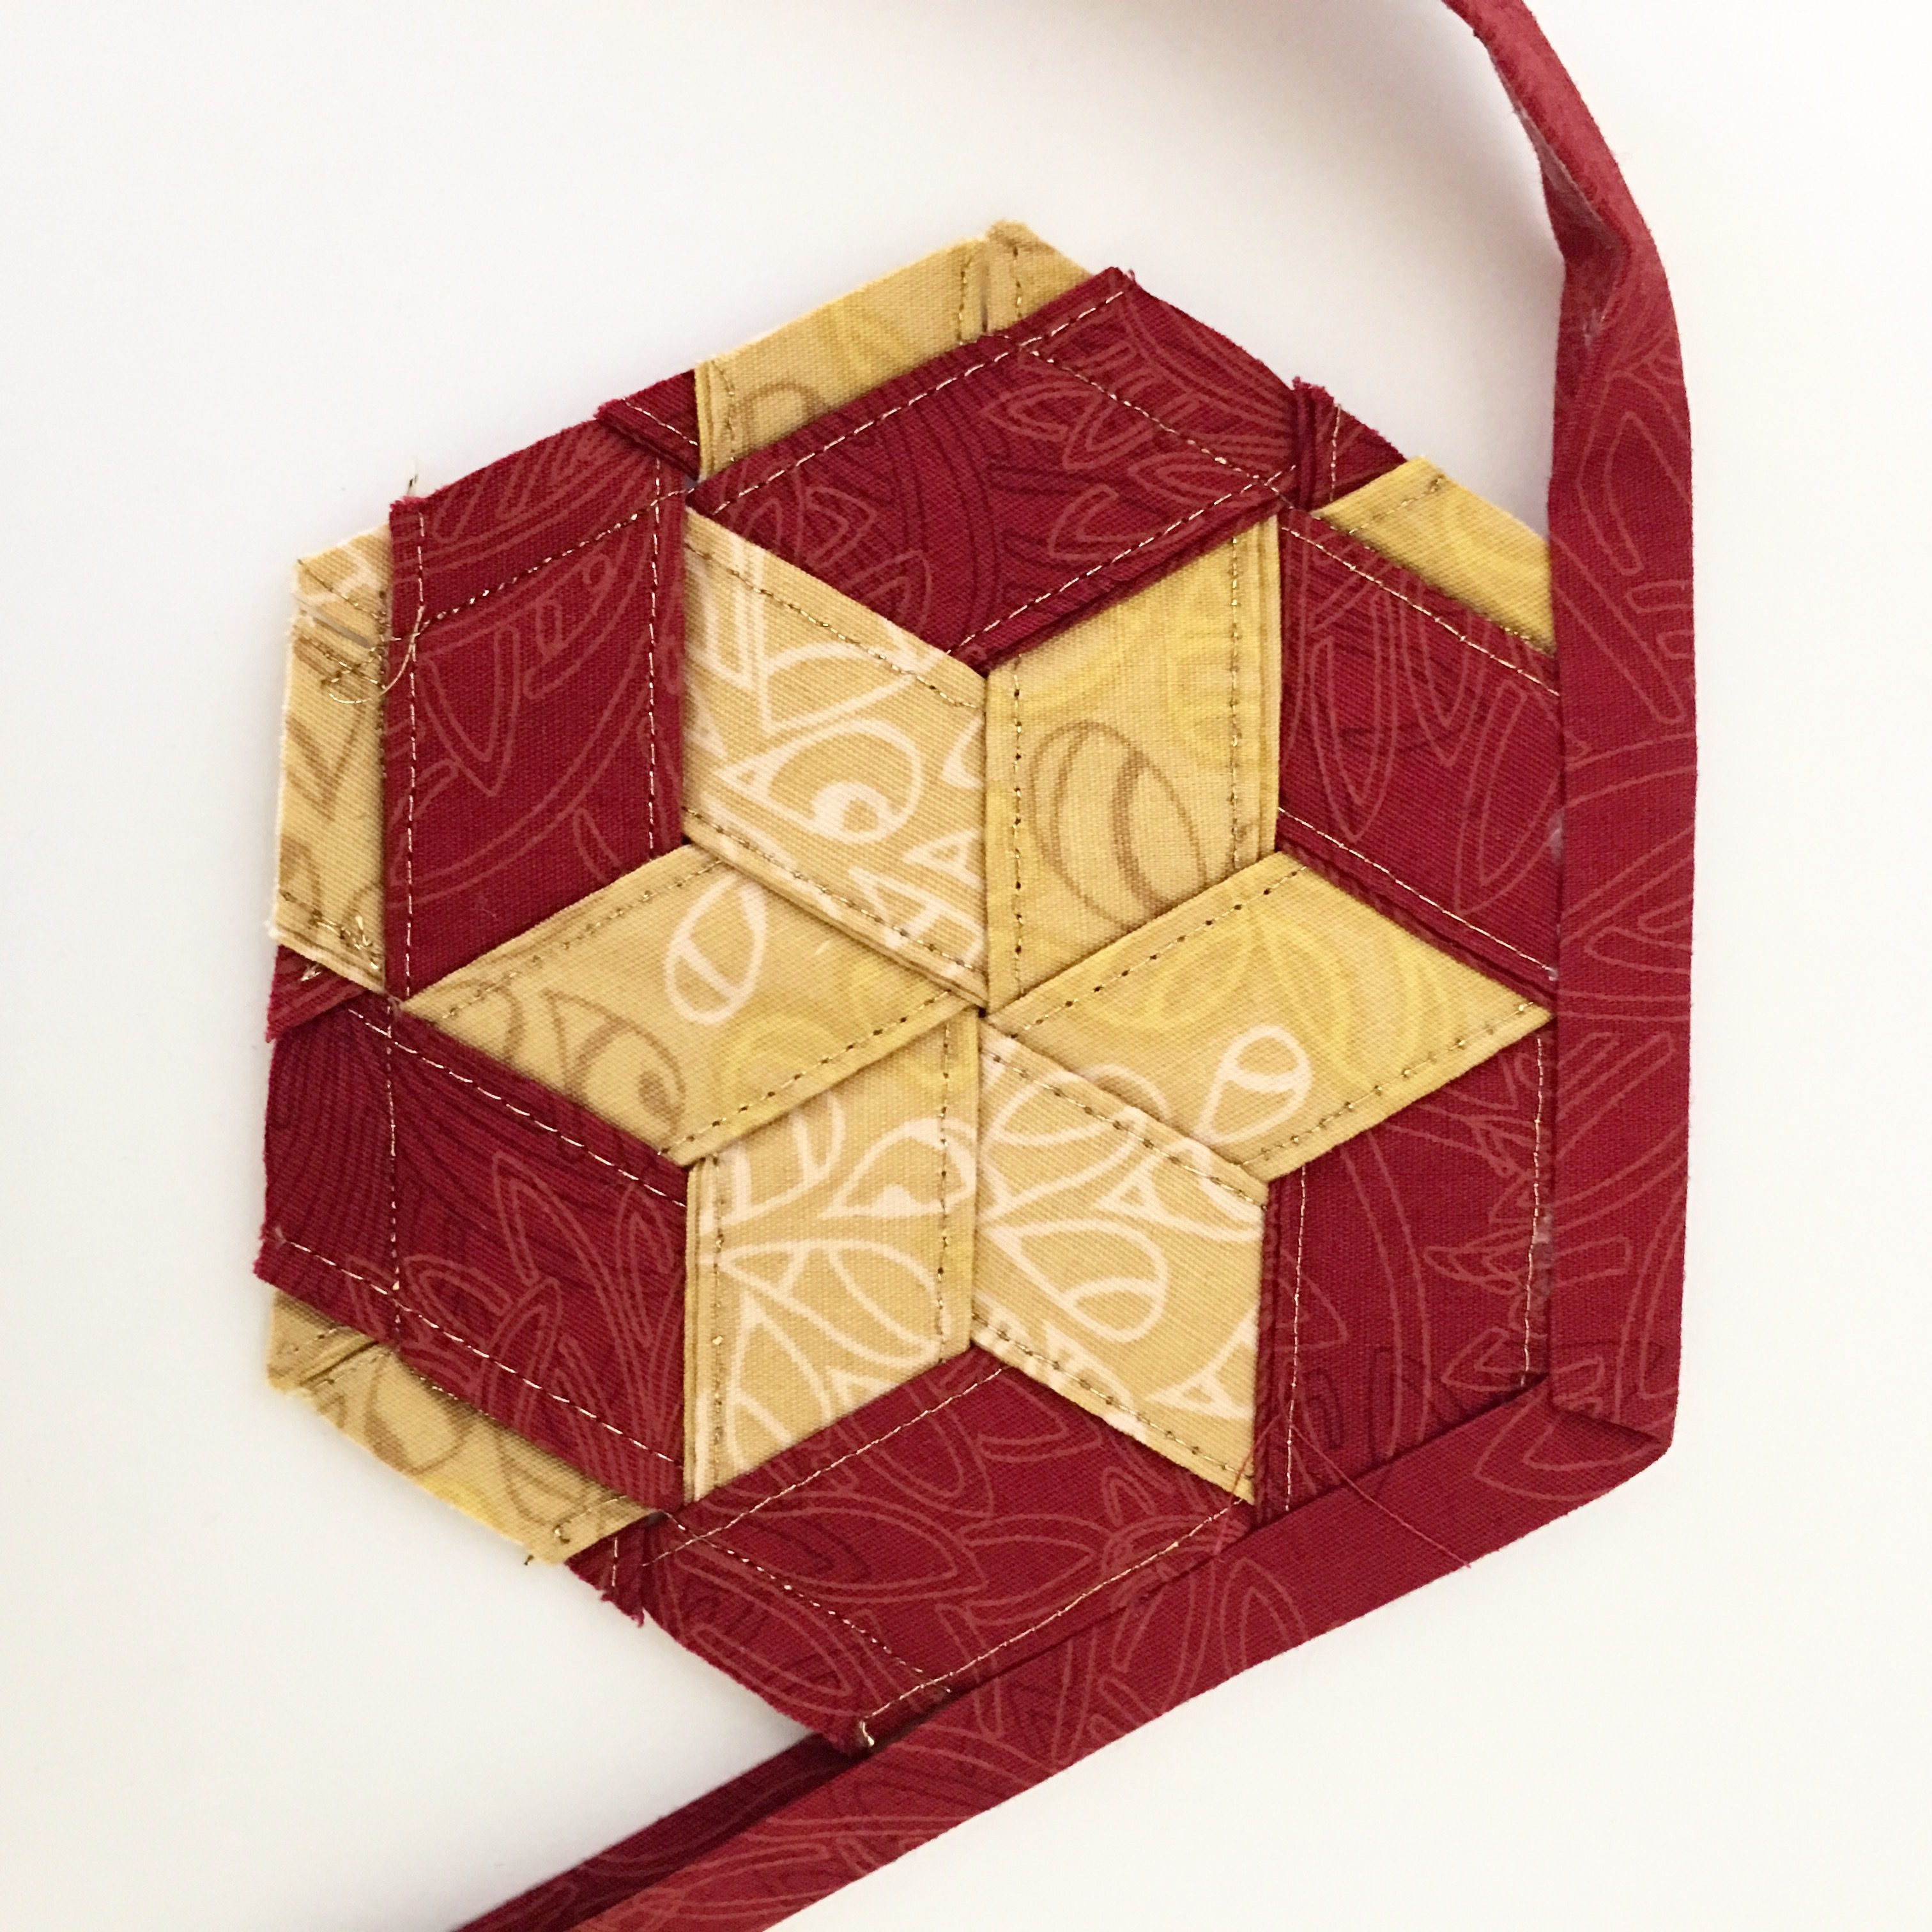
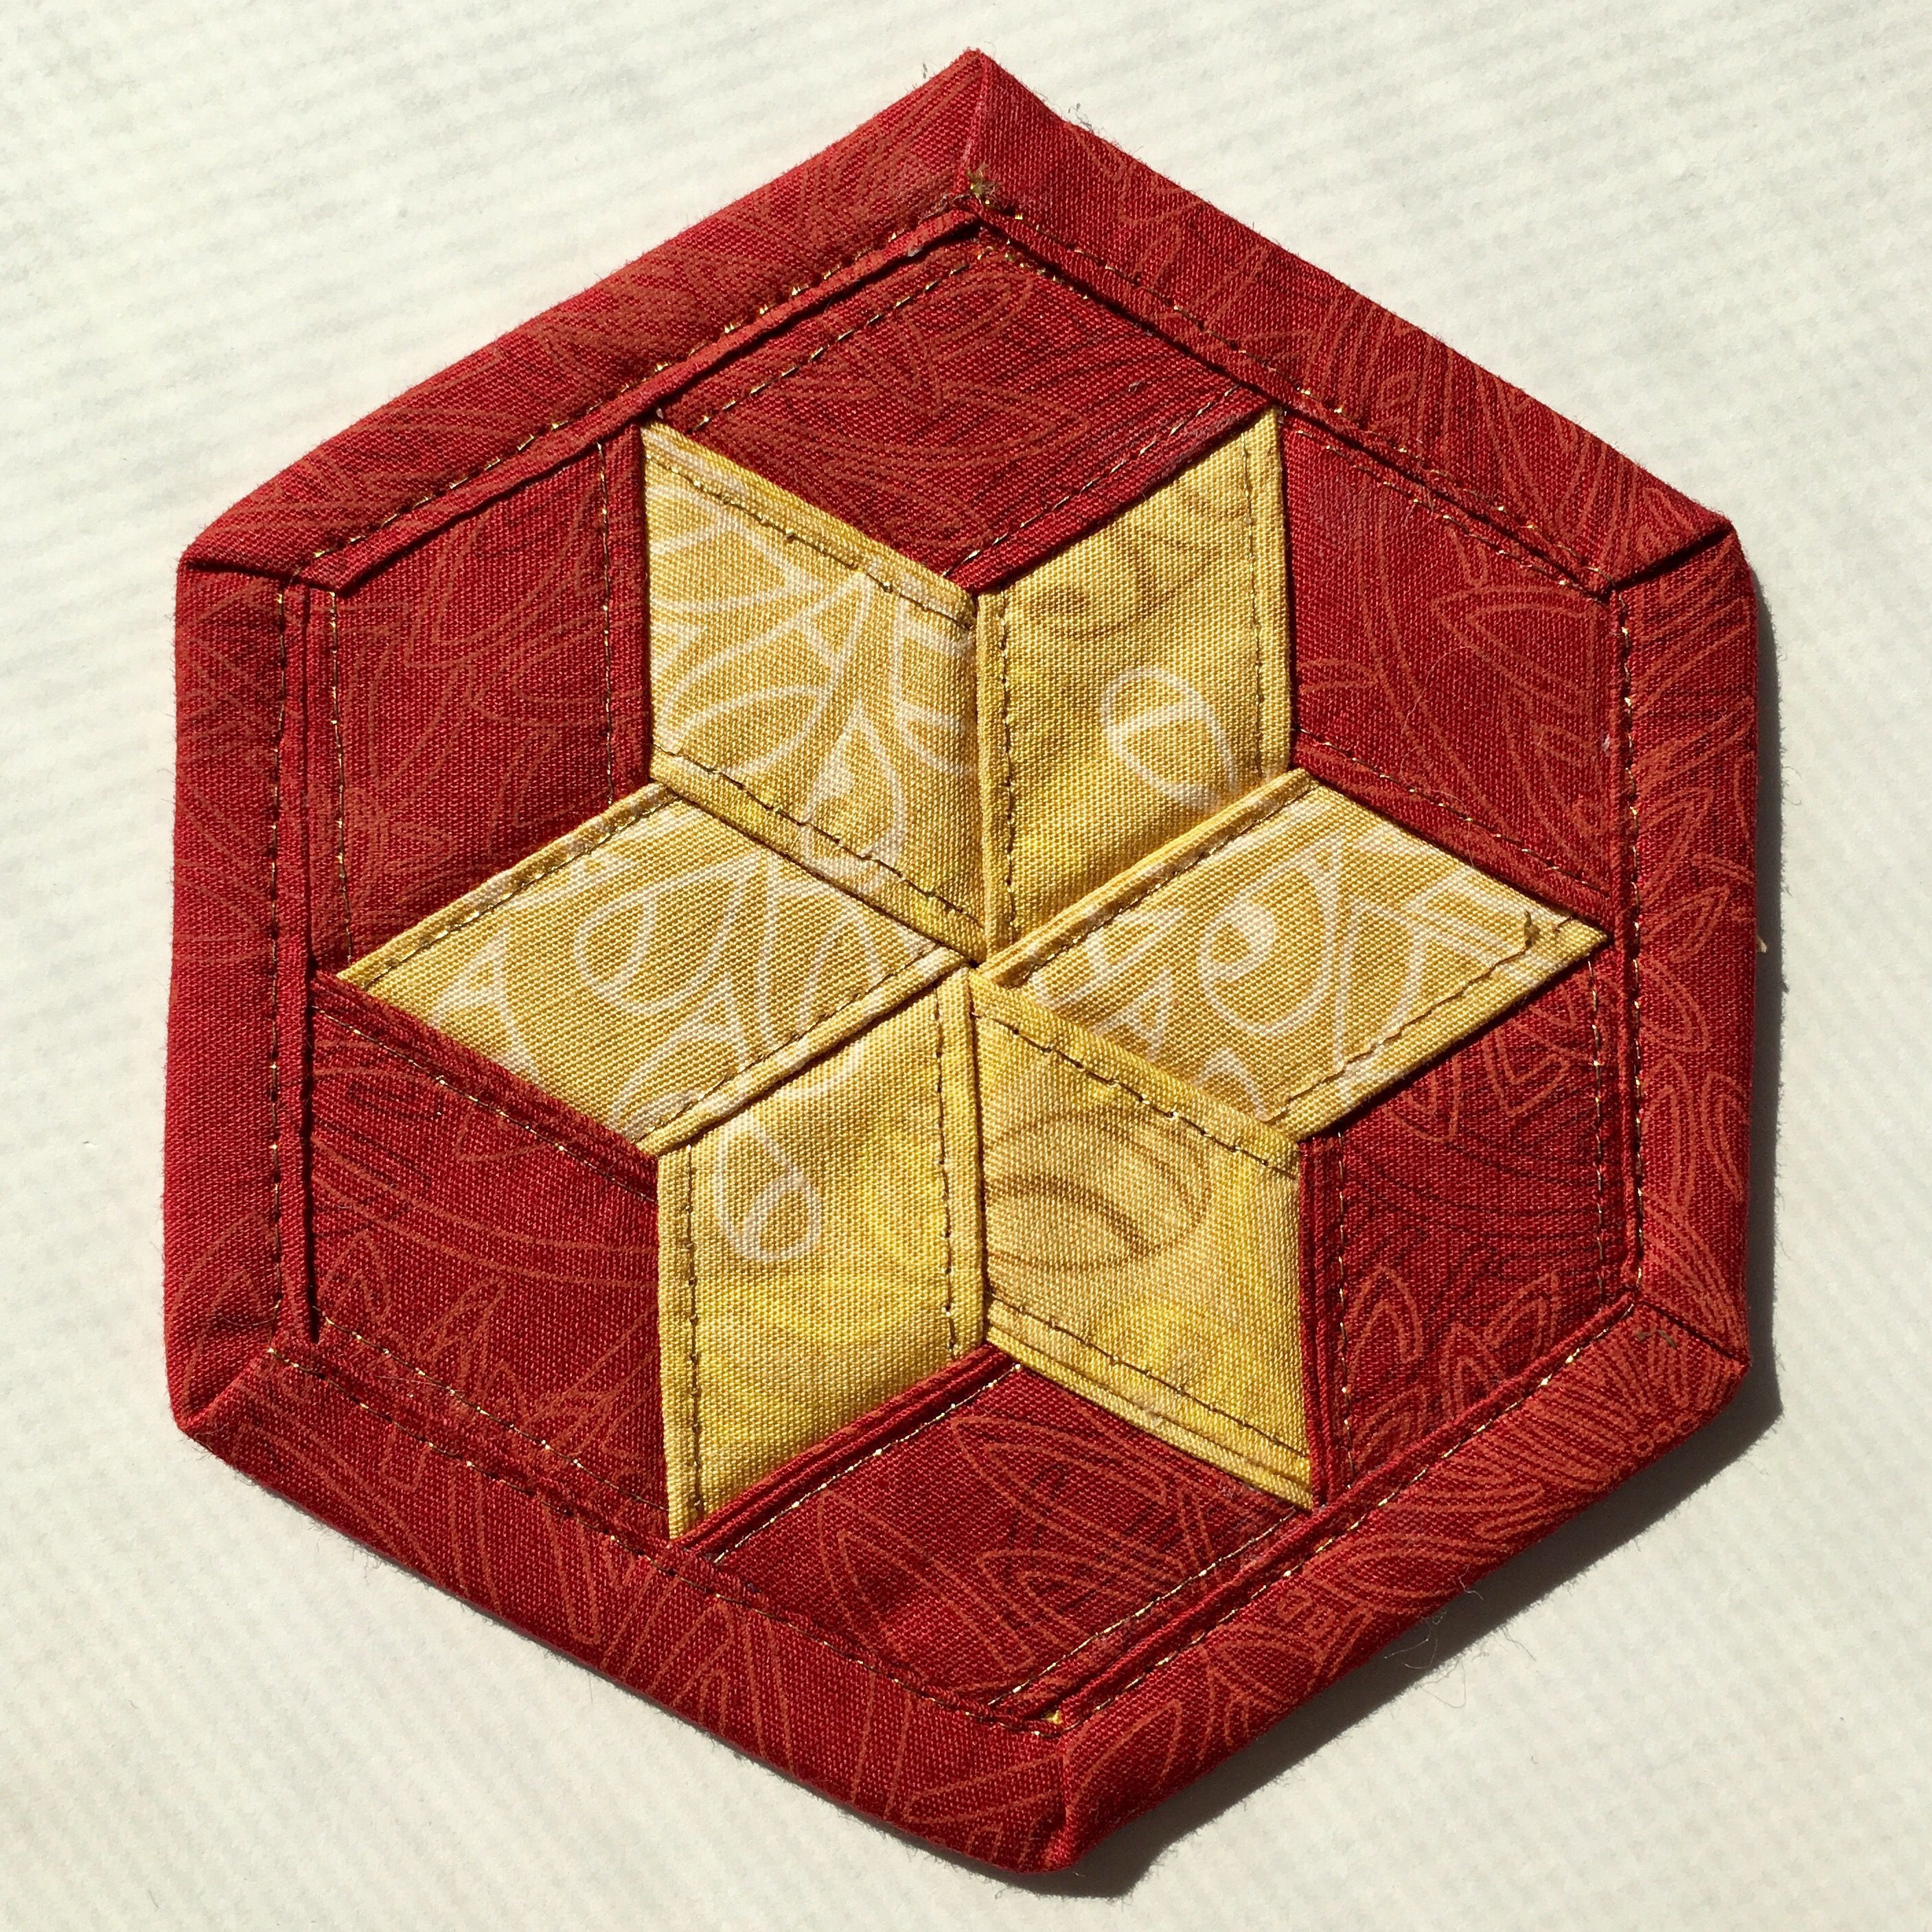
Next edge stitch the binding onto the hexie and boom you have your pre-ornament woven hexie. And like legit I see so many things you can do with this so if you ain’t into ornaments, make yourself a coaster or something.
And now I all used a grommet and ribbon to hang on my tree and I’m not gonna teach you that, but loooook. And if you make one use the hashtag #wovenhexie so we can all see.

VIDEO
For video awesomeness, head over to my YouTube Channel or click on the image.
PRIZE
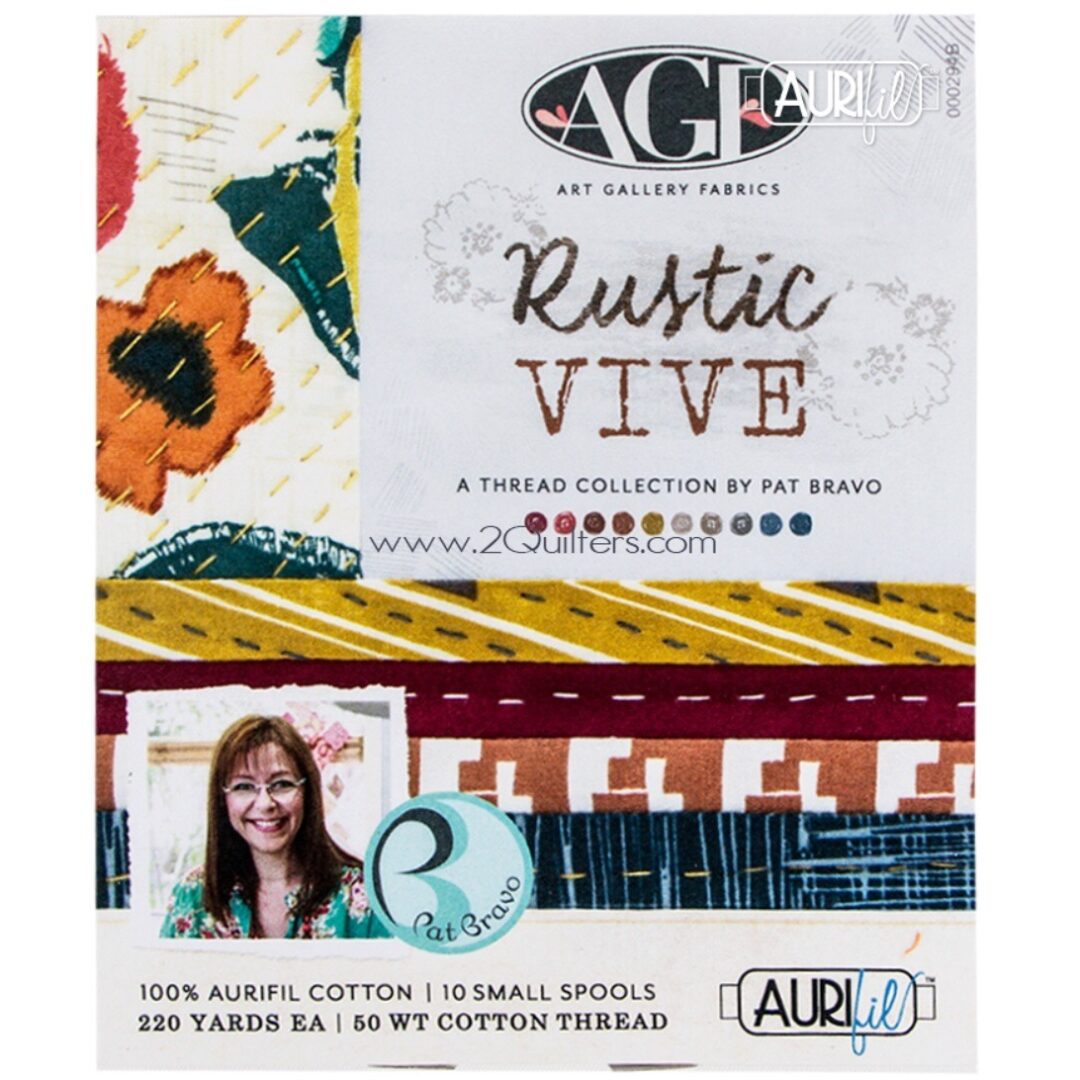
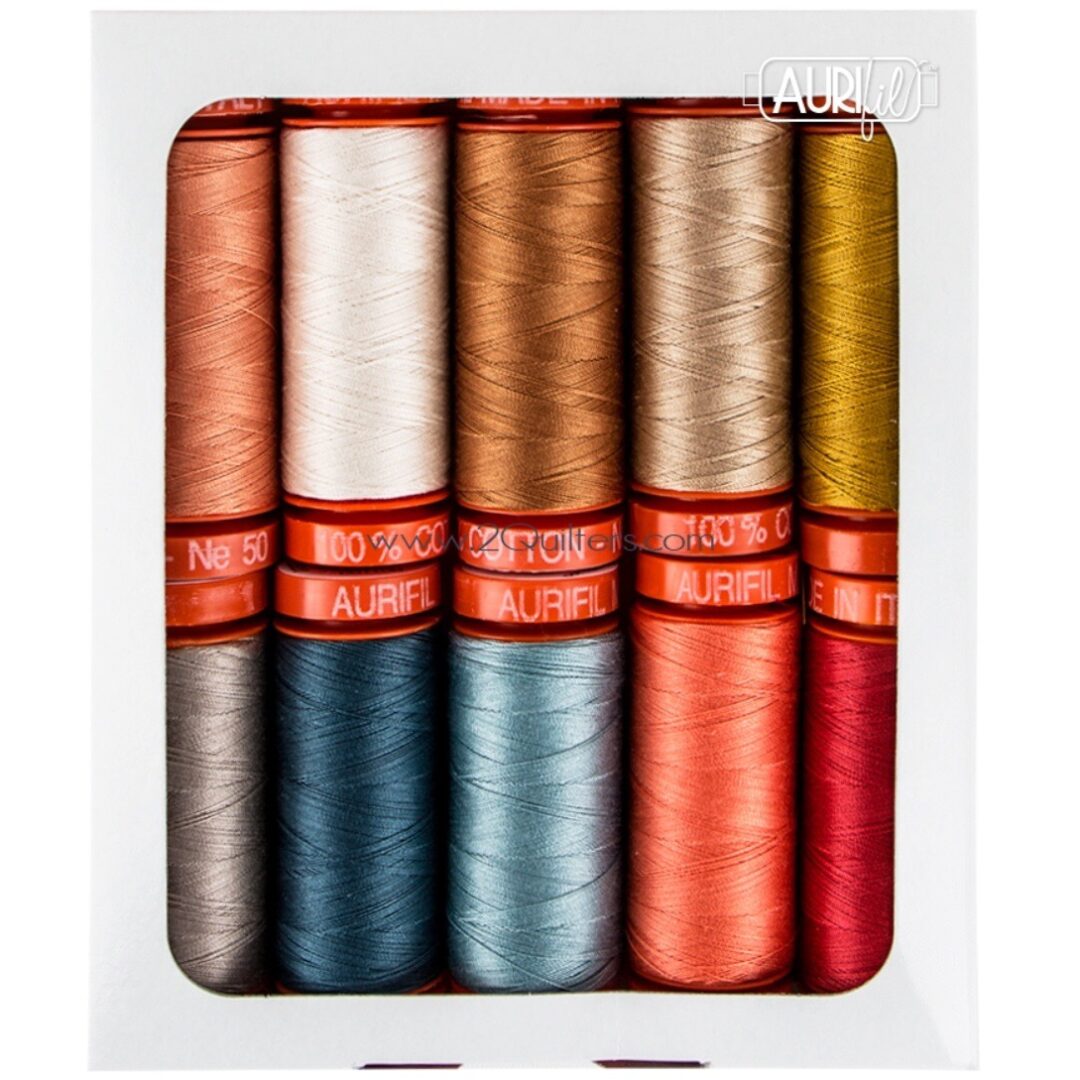
This week’s prize is sponsored by Aurifil. The lucky winner will receive this small thread box of Pat Bravo’s Rustic Vive Thread Collection. So make sure to use the hashtags #ornamentalong and #wovenhexie to be eligible. And congrats to @lisberry for winning last week’s awesome prize. Also don’t forget to check out Tara’s Ornament on her blog.
While I don’t promote anything unless I legit love it, this post contains affiliate links.


Thank you for the tutorial! I just received my Wefty Needles as a gift and cannot wait to try my hand at it! This little piece, I just might be able to handle!
where can I get the weefty needles?? They look like they would make this doable!!
https://www.fatquartershop.com/wefty-needle?gclid=EAIaIQobChMI2d2h3t2E3wIVjh6tBh1C0QLtEAQYASABEgL-HvD_BwE
so cute, thank you!!
Thank you, thank you, thank you!!! Now I can start (another) project!! I knit, crochet, see, paint and wood craft!! Now I can weave!!
Definitely doing this; thanks for the inspiration! If I use bias tape, will top stitching still be needed?
You won’t. It’s mainly decorative. What an awesome idea!
I love it, thanks for sharing!
Where do you get a wefty needle? I think I might need to try this.
https://www.etsy.com/listing/480267575/wefty-fabric-weaving-needle-set-of-two-1
Muchas gracias por compartir. Es un trabajo precioso.
The strips need to be at least 6” long not 5 I managed to get it done but another inch or inch and a half would have been very helpful!!!
Nice pattern. I did one with 2 inch strips instead of 3 inch strips and it worked fine. I started making them with strips that are not top stitched and that worked too. I tried starting with the center two strips first and adding the outer strips later. I pinned the strips in the center as I went and later on got them all straight. This way each of the center strips goes in the same way and each of the outer strips goes in the same way. I used a piece of cork board instead of a foam board as that is what I had.